
VirtualBox Guest Additions enhanced the user experience on VirtualBox by integrating the host and guest systems. This allows users to enjoy the improved display resolution and shared clipboard functionality in VirtualBox.
The installation of the Guest Additions enables the functionality listed below:
- Shared Clipboard and Drag’n Drop
- Full-Screen Resolution
- Hardware Accelerated Graphics
- Seamless Windows
- Guest Control of Applications
More information about the VirtualBox Guest Additions can be explored by visiting its official website.
This blog will walk through the installation procedure of the VirtualBox Guest Additions on Debian 12.
Prerequisite
To install the VirtualBox Guest Additions on Debian 12, ensure that the VirtualBox has been installed. Also, a new machine with the ISO of Debian 12 has been created on the machine.
What is the Installation Method of VirtualBox Guest Additions on Debian 12?
When users install the Debian distribution of Linux on Virtual Machine, they have to install the VirtualBox Guest Additions. This can be installed by mounting the ISO of VirtualBox Guest Additions on Debian 12 following the steps explained below.
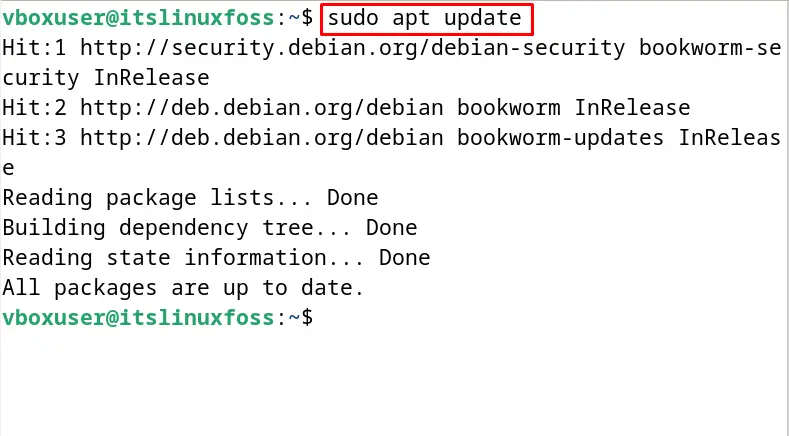
Step 1: Update the Packages
First, ensure that all the packages are up to date with the Debian 12 distribution:
$ sudo apt update
Step 2: Install the Necessary Packages
Now using the apt package manager install the necessary packages for Guest Additions:
$ sudo apt install build-essential dkms linux-headers-$(uname -r)
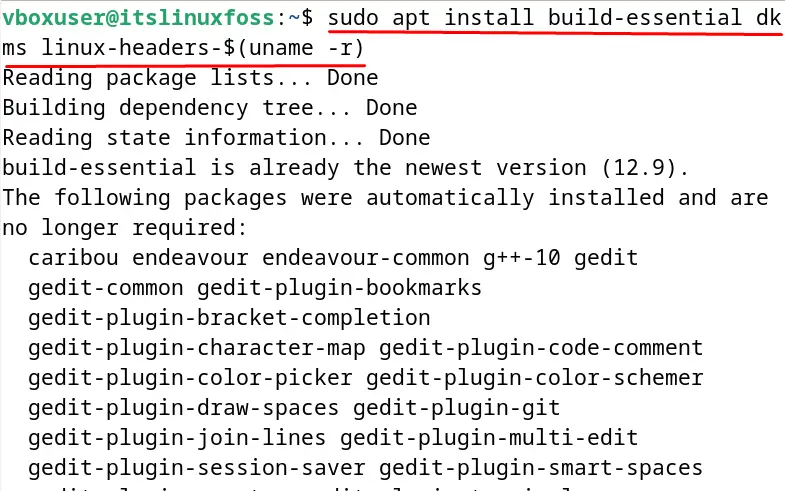
The above installed packages are used to build the modules of Kernel. The “uname -r” is used in the above command to display the version of running Kernel.
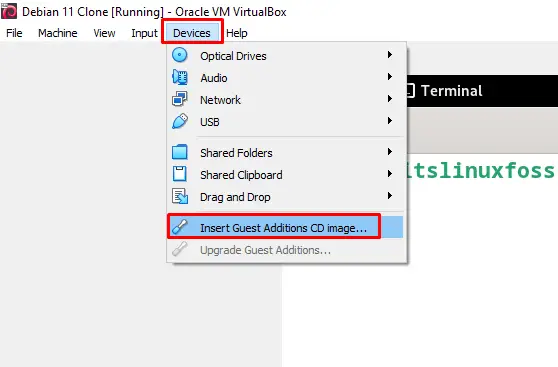
Step 3: Add the CD Image
Click on the “Devices” option on VirtualBox for inserting the CD image of the Guest Additions. A drop-down menu will appear, choose the “Insert Guest Additions CD Image” as shown below:
Step 4: Create a Directory
Now, create a new directory where the inserted CD image will be mounted. To create the directory use the “mkdir” command:
$ sudo mkdir /mnt/cdrom

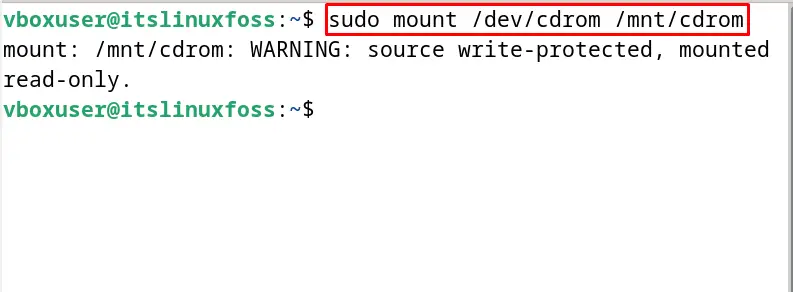
Step 5: Mount the CD Image
After creating the new directory, mount the inserted CD image of Guest Additions to /mnt/cdrom directory:
$ sudo mount /dev/cdrom /mnt/cdrom
Step 6: Run the VBoxLinuxAdditions Script
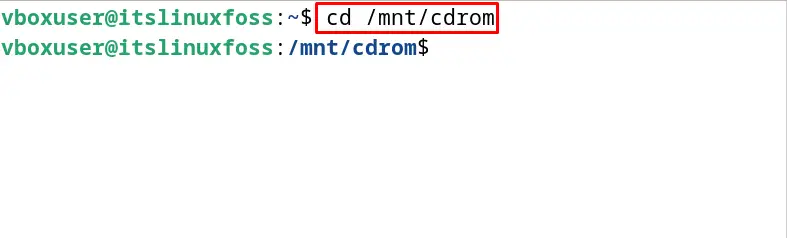
Next, navigate to the /mnt/cdrom directory using the cd command utility:
$ cd /mnt/cdrom
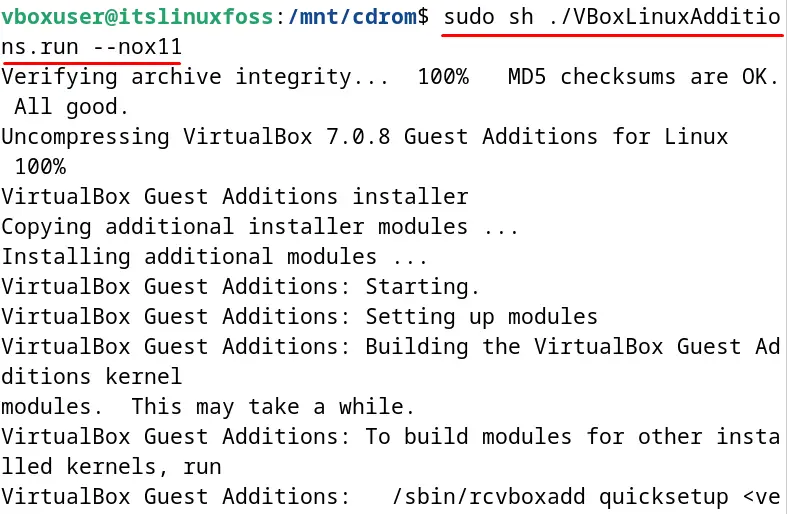
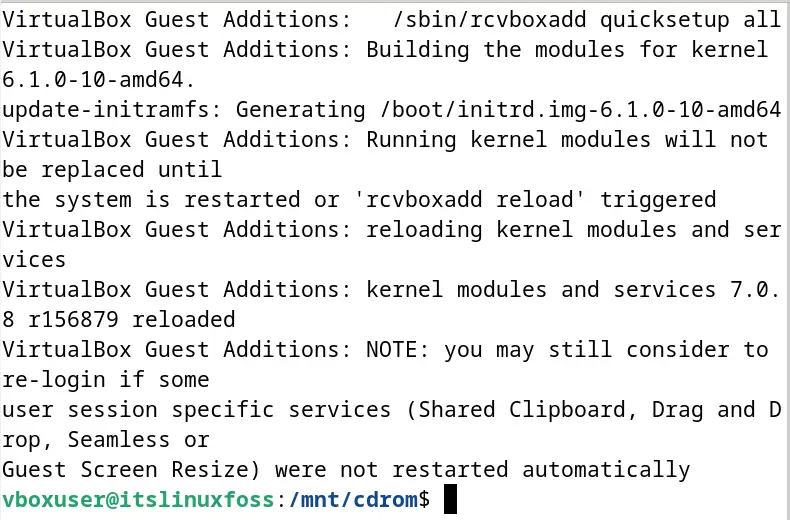
Run the VBoxLinuxAdditions script to install the Guest Additions. To restrict the installer from spawning an xterm window, use “–nox11”:
$ sudo sh ./VBoxLinuxAdditions.run --nox11
Step 7: Reboot the Computer
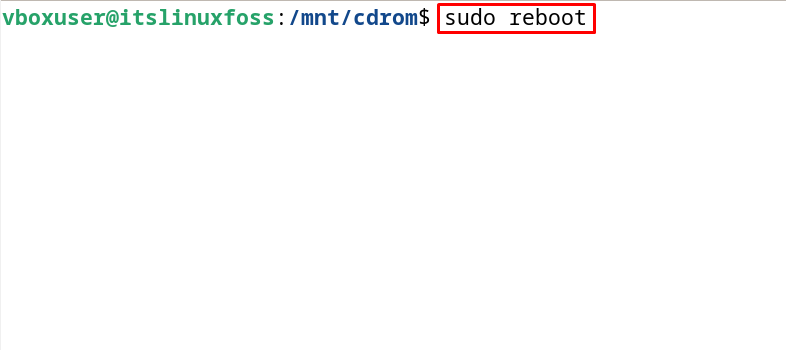
When the command is executed successfully, restart the machine to save the changes:
$ sudo reboot
Step 8: Verify the Installation
After the machine is restarted, list down the modules of vboxguest using the command:
$ lsmod | grep vboxguest
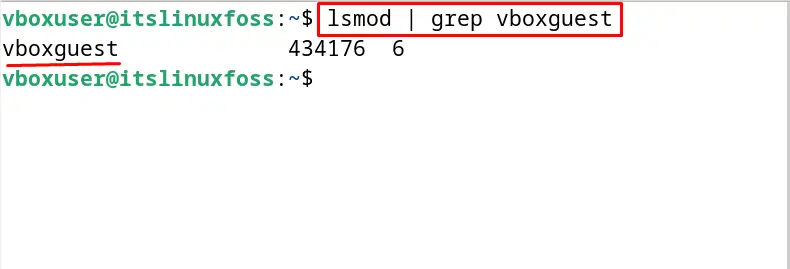
The output is showing the successful installation of VirtualBox Guest Additions on Debian 12.
The VirtualBox Guest Additions have successfully been installed on Debian 12 by following the above-mentioned easy steps.
Conclusion
Mount the Guest Additions CD image in the new directory after inserting it in the VirtualBox. To complete the installation of the VirtualBox Guest Additions on Debian 12 execute the “VBoxLinuxAdditions” script. This post has demonstrated the step-by-step installation guide of VirtualBox Guest Additions on Debian 12.
