
The ping command is used to find the networks’ reachability and check the server’s status. The ping command is the most popular command-line tool to troubleshoot networks.
The ping command sends the requests to the network server and displays the information on the screen. The displayed information contains the time duration of establishing the connection as well the information of the packets.
This blog will explain the usage of the ping command with the help of common examples. The content carried out in this post is:
- How Does the ping Command Work in Linux?
- Examples of Using the ping Command in Linux
- Change the Time Interval Between Packets
- Check the Status of the Local Network
- Limit the Number of Packets
- Flood the Network
- Get a Summary of Statistics
- Make the ping Audible
- Add Timestamp Before Each Line
Let’s start with the ping command’s general syntax.
How Does the ping Command Work in Linux?
The general syntax of using the ping command in Linux is:
$ ping [options] [hostname]
The explanation of the above general syntax of the ping command is:
- Ping is used to revoke the command
- Different options of the ping command can be used
- Mentioned the hostname or IP address of the network
Different options of the ping command which can be used are:
| -4 | It will use the IPv4 only |
| -6 | It will use the IP6v only |
| -a | It will generate the sound while packets are sending to the network |
| -b | It will allow the pinging to broadcast the address |
| -c | It will define the value of count. After reaching the count value, the ping will stop sending packets |
| -D | It will print the timestamp before each line |
| -s | It defines the size of the packets sent to the network |
| -v | It will display the progress of the execution of the command |
| -V | It will display the version details of the ping command |
| -h | It will display the help menu of the ping command |
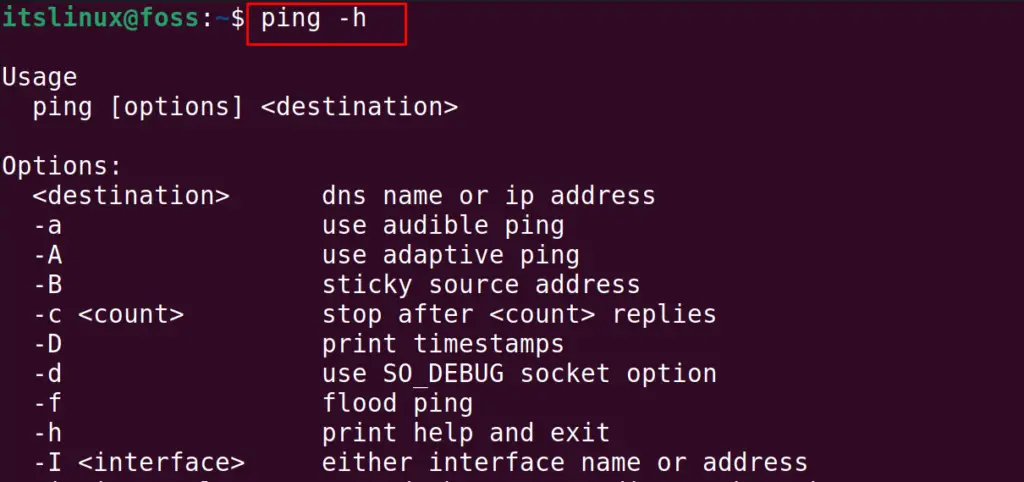
There are many more options of the Ping command which can be explored with the “-h” option of the ping command:
$ ping -h
We can also display the installed version of the ping command using the “-V” option:
$ ping -V

Now, we will explain the usage of the ping command with different examples.
Examples of Using the ping Command in Linux
Different examples will be used, but first, we will ping our own domain:
$ ping itslinuxfoss.com
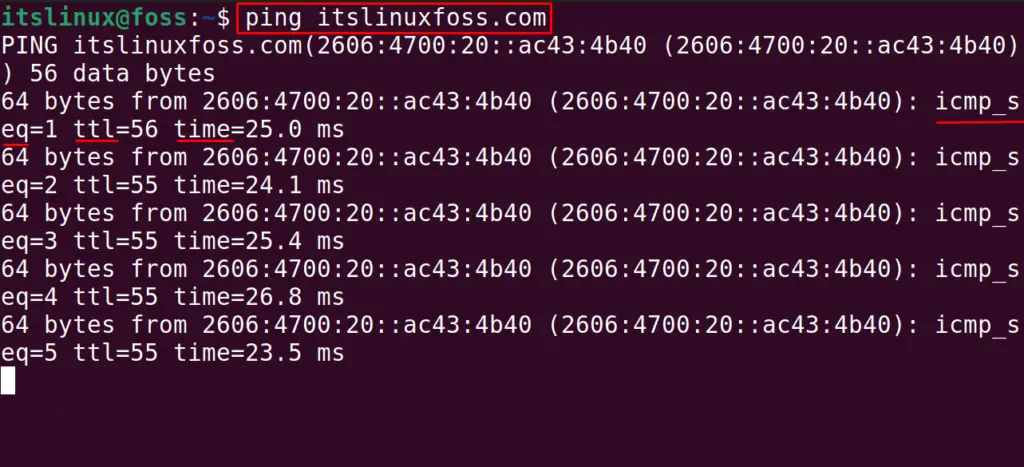
In the above output, we can see three different results on each line whose explanation is:
| icmp_seq | It is the index number or the sequence number of the packet sent to the network. It will be 1 for the first packet sent. |
| ttl | Time To Live is the time duration in which the packet reaches the destination |
| time | This is the time duration that is taken by the packet to reach the network and then return to the machine |
The ping process can be terminated with the shortcut key of CTRL+Z:

The ping process has been stopped after sending the 253 packets to the itslinuxfoss server.
Example 1: Change the Time Interval Between Packets
The time interval is the time after which the ping command sends the packet. By default, this time interval is 1 second, but it can be changed by using the “i” option:
$ ping -i 2 itslinuxfoss.com
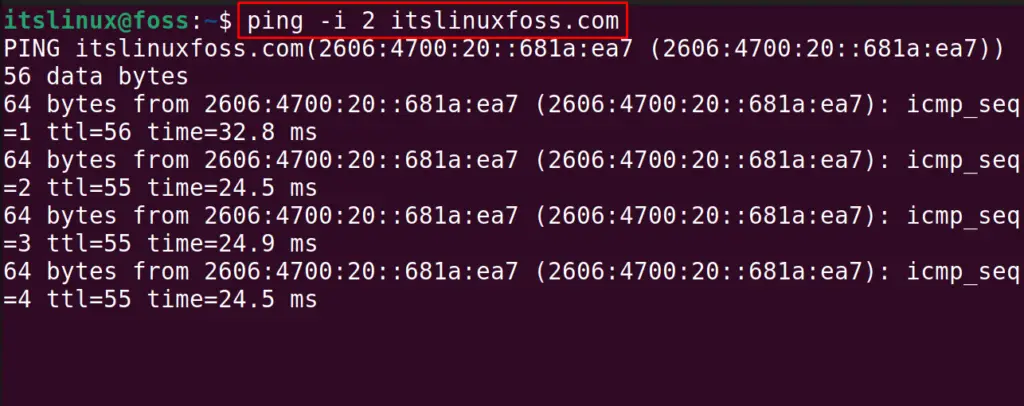
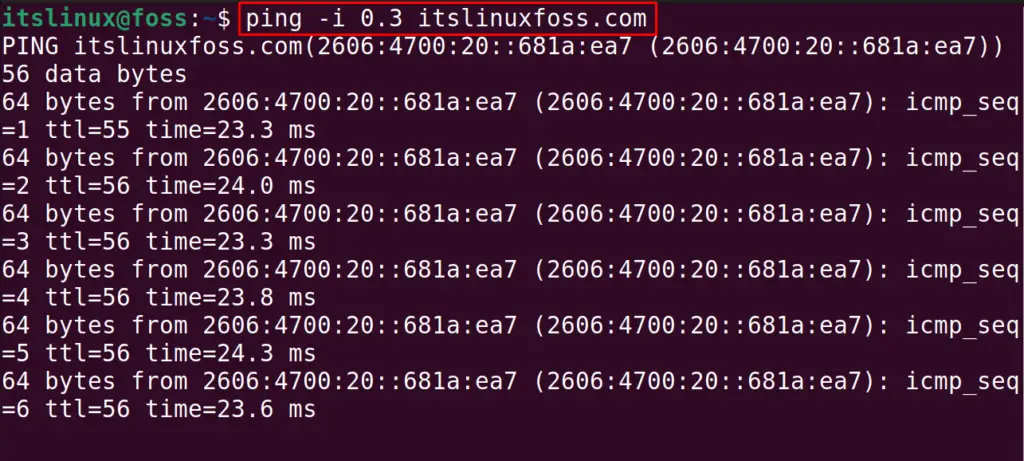
The packets will be sent after 2 seconds. Similarly, we can decrease the time interval from one second:
$ ping -i 0.3 itslinuxfoss.com
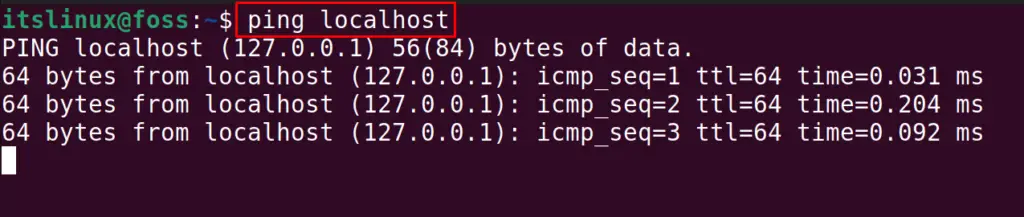
Example 2: Check the Status of Local Network
Sometimes, the connection with the network server is not established because of the misconfiguration of the local network. The local network can also be checked using the ping command:
$ ping localhost
Example 3: Limit the Number of Packets
The ping command will continue sending the requests until it is not interrupted manually with the shortcut key of CTRL+Z or the CTRL+C. To limit the number of packets sent to the network, use the “c” option of the ping command with the defined number of packets to be sent:
$ ping -c 5 itslinuxfoss.com
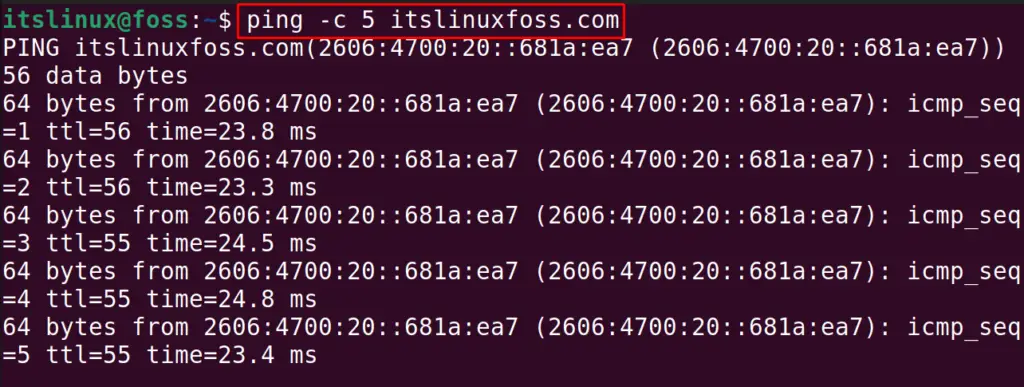

In the output, it can be verified that only five packets have been sent to the itslinuxfoss server. Another approach to limit the packets sent is by defining the time duration of pinging. For example, we define the 2 seconds with the “w” option of the ping command:
$ ping -w 2 itslinuxfoss.com
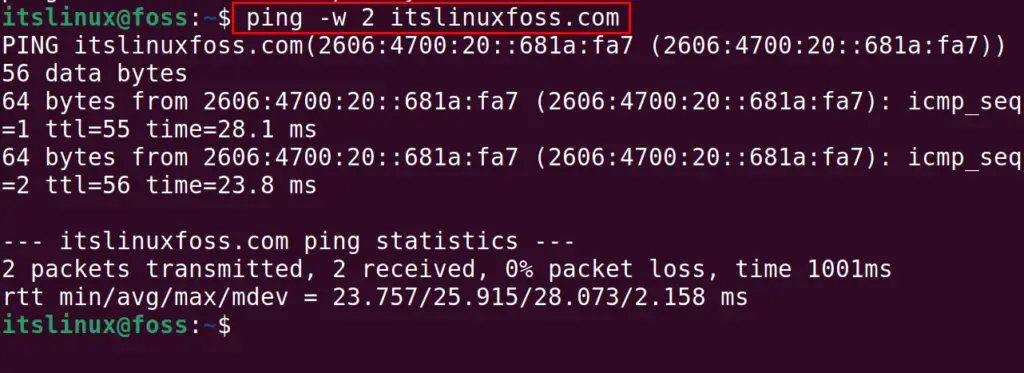
The pinging is stopped after two seconds.
Example 4: Flood the Network
To check the network’s working under the heavy load of requests, we will ping the network with the flood of packets using the command:
$ ping -f itslinuxfoss.com

The dot in the output represents the packet sent to the network server, and the space represents the response of the server.
Example 5: Get a Summary of Statistics
To get the summary of the statistics of pinging the network, we will use two options of the ping command. One is “c” to send the limited packets and “q” to quit the pinging:
$ ping -c 5 -q itslinuxfoss.com
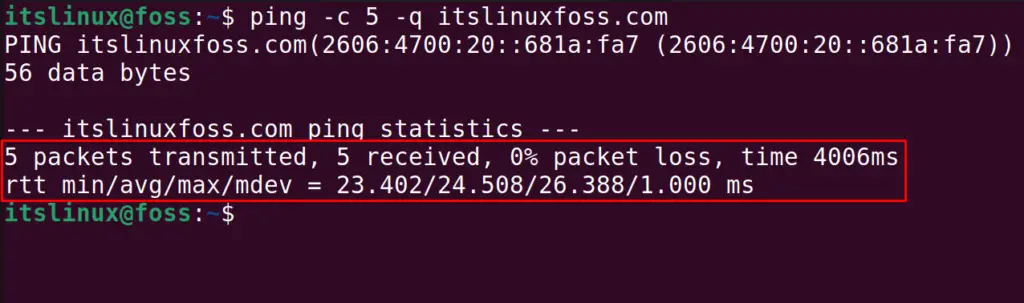
The output displays the number of packets sent and received. Also, the percentage of the loss of the packets and the time duration taken by the ping command.
Example 6: Make the ping Audible
To make the ping generates the sound while pinging, use the “a” option:
$ ping -a itslinuxfoss.com
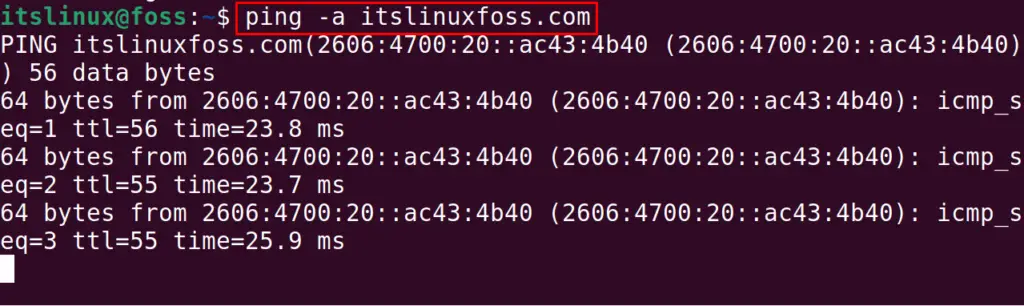
A beep sound will be heard after sending each packet.
Example 7: Add Timestamp Before Each Line
The timestamp is used to note the time of the day in the UNIX format when the ping command is executed:
$ ping -D itslinuxfoss.com
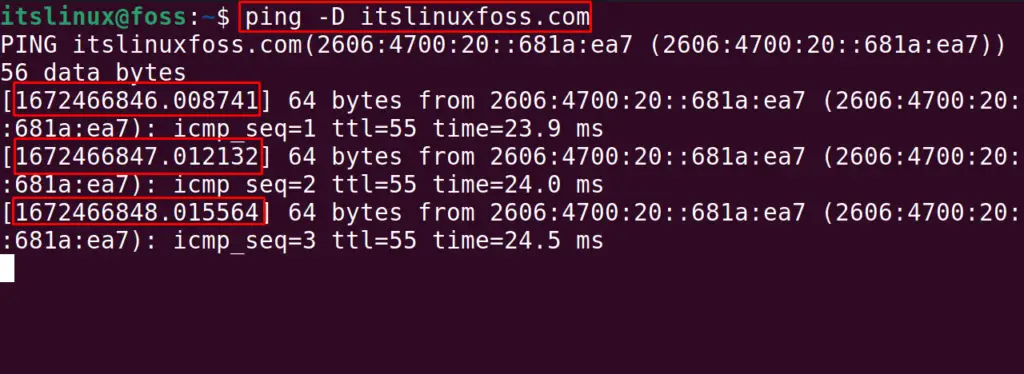
The timestamp can be seen in the output.
This is all about the ping command.
Conclusion
In Linux, the ping command is used to troubleshoot networks, including the local machine network. The ping command comes preinstalled on Linux. This post has briefly explained the working/usage of the ping command in Linux.
