FFmpeg is a command line-based utility comprising different projects that handle multimedia files including encoding, decoding, filtering, converting, transcoding, and much more. It is an open-source and free tool that provides the base for major applications/platforms like Youtube, iTunes, and softwares like VLC.
In this technologically rich era, storage is the key component of any device, and videos are the primary things affecting overall system storage. The FFmpeg tool assists in reducing the size of the video file to optimize the storage.
This post will address the multiple examples of the FFmpeg commands to reduce the video size.
- Install FFmpeg on Linux
- Reduce Video Size with FFmpeg
- Syntax of the FFmpeg Command
- Change Dimensions of a Video
- Trim a Part of a Video
How to Install FFmpeg on Linux?
FFmpeg is available on the official repositories of all Linux distributions and is installed using these commands:
$ sudo apt install ffmpeg   #For Ubuntu/Debian
$ sudo pacman -S ffmpeg   #For Arch Linux
$ sudo yum install ffmpeg ffmpeg-devel -y   #For CentOS/RHEL
$ sudo dnf install ffmpeg ffmpeg-devel   #For Fedora
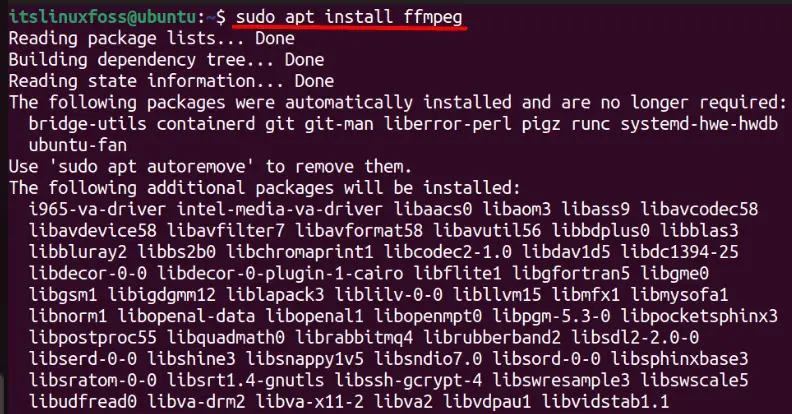
Users may be prompted to enter “Y” to continue with the installation.
How to Reduce or Compress a Video With FFmpeg on Linux?
Reducing a video in size, it is evident that it will also affect the audio and image quality of any video. Still, it is useful where a video of a large size is required to be sent or kept. The general syntax of FFmpeg to reduce the video size is described below:
$ ffmpeg [global_options] [input_options] -i input_file_name [output_options] output_file_name
Here is an explanation of the above command:
- The keyword “ffmpeg” is used to invoke FFmpeg.
- The “global_options” are added to control the behavior of the entire command. Read the official documentation here.
- Input_options” defines the options that are used on the input file.
- The “-i” specifies the input file
- Input_file_name is the name of the file which is input.
- Output_options defines the options for the output file.
- Output_File_Name is the file name for the generated file after conversion.
Example 1: Reduce a Video File Size Using FFmpeg
Before reducing a video file, it is recommended to know about the software library called “X265.”
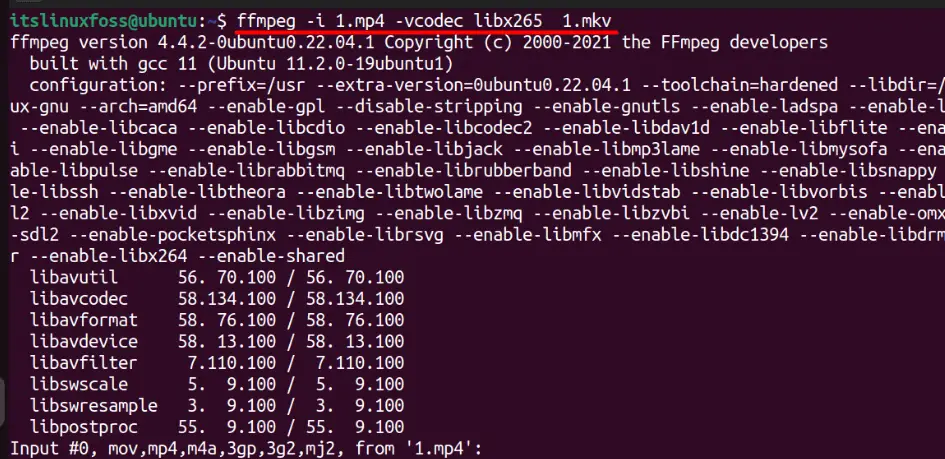
The command description in this scenario is:
- ffmpeg is the command, and “-i” is the flag used for input.
- 1.mp4 is the input file.
- –vcodec libx265 specifies the transcoding process, which, in this case, is “X265”. It is highly efficient because most files use the “X264” library, which takes more space, while the “X265” library takes less space and maintains similar quality. The same is true here
- 1.mkv is the output file.
$ ffmpeg -i 1.mp4 -vcodec libx265 1.mkv
Let’s see the reduced video size using the “ls -l” command:
$ ls -l

By looking at the above image, it is concluded that the video size was reduced by “203,368” bytes.
Example 2: Change Dimensions of a Video / Lower the Resolution
By changing the dimensions of a video, the size is also reduced. As you may know, a video with 720p and 360p resolution significantly differs in size.
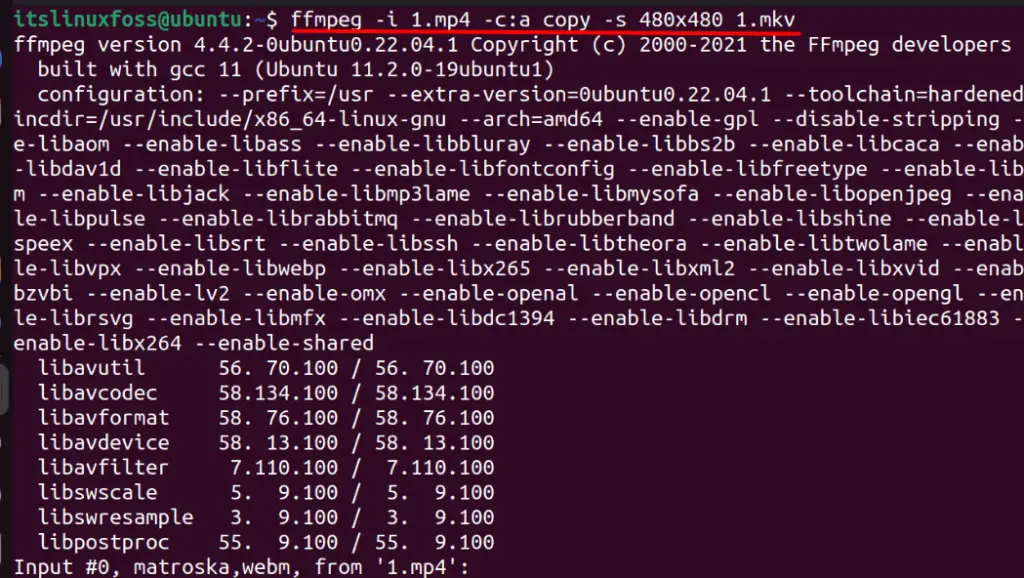
To change the video dimensions through FFmpeg, use the below command with the description:
The “1.mp4” is the input file, while “1.mkv” is the generated file. For the flags, “-i” is used to get input (either a local file or a video URL), and “-c:a” means to “copy” the video streams being processed. While “-s” is used to specify the size or resolution (480×480 in this case):
$ ffmpeg -i 1.mp4 -c:a copy -s 480x480 1.mkv
Let’s see how much the size was reduced when the video‘s dimensions were changed:
$ ls -l
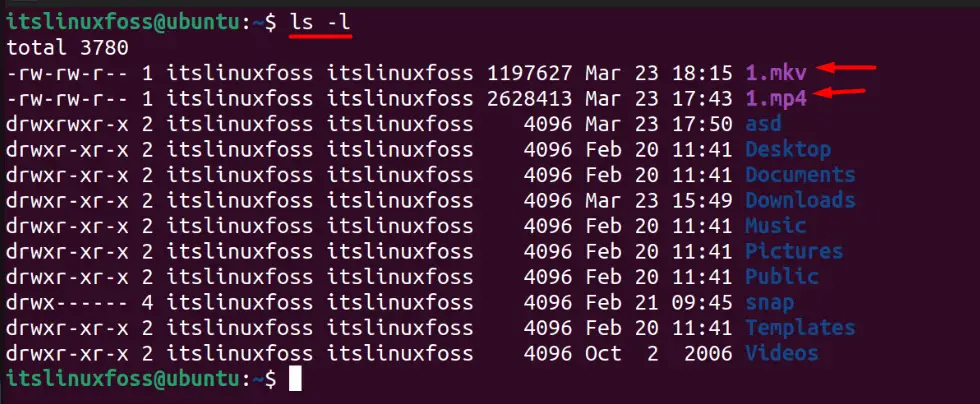
The above output image confirms that the size of the video was reduced to “1197627” bytes from “2628413” bytes when the video’s resolution was lowered to “480×480”.
Example 3: Trim a Part of a Video
Trimming is meant to cut out a part of a video into an output file. This does not affect the quality of the video but is useful in conditions where a certain part of the video is needed to be shared.
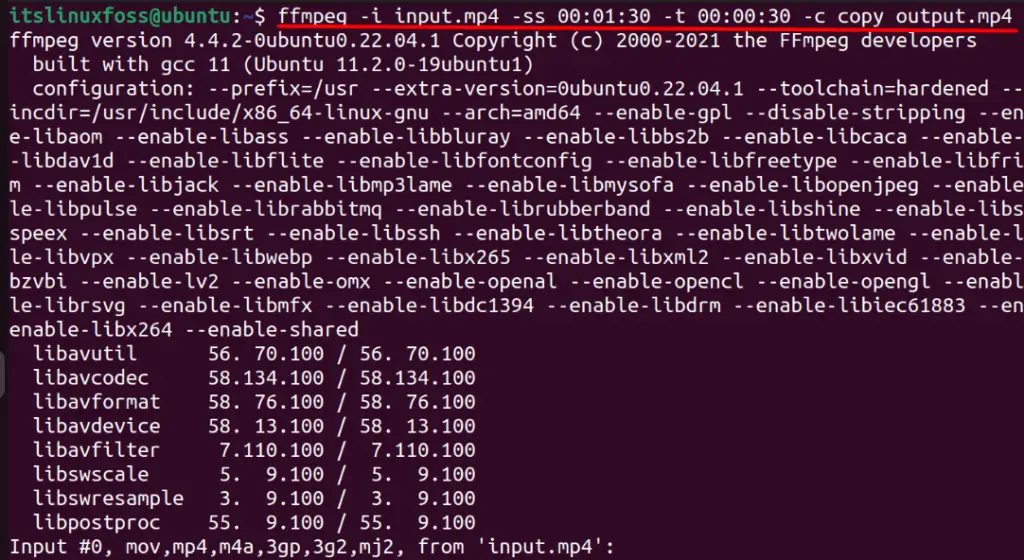
For example, a command is used to trim a specific video part. It trims the video from “00:01:30” to the next thirty seconds as specified “00:00:30” and saves it in the “output.mp4” file:
$ ffmpeg -i input.mp4 -ss 00:01:30 -t 00:00:30 -c copy output.mp4
Let’s compare the size of the original and trimmed video using this command:
$ ls -l
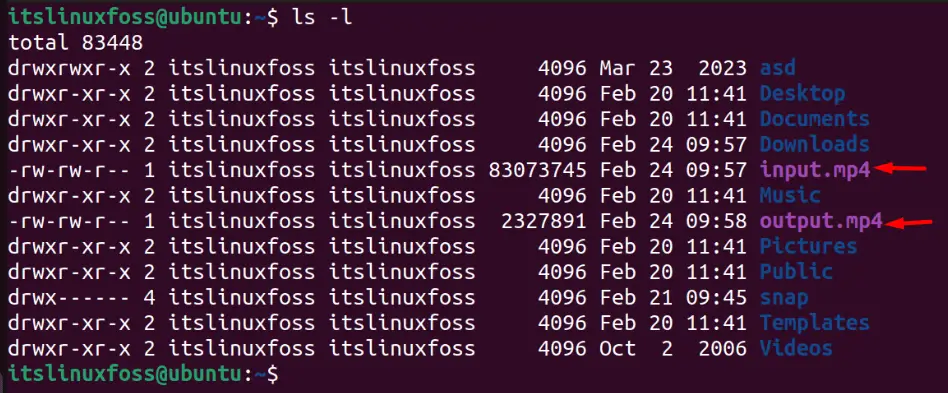
By looking at the above command; it is evident that the output file (trimmed) had a low size compared to the original file.
Conclusion
The FFmpeg tool can be used to reduce video size. It offers various options that allow the users to reduce the video size by changing the dimension of the video, changing the file format, trimming the video, and much more.
This post has briefly explained the working of the FFmpeg tool to reduce the video size.

Check our LinkedIn company page