AppImage is a Linux Package format that provides a fully bundled package/application. It does not require any dependencies or the package manager to install or run it. Because of its no/least dependencies, AppImages are portable and can be used across the systems without worrying about the package managers/dependencies. AppImages are directly offered by the application authors and thus nullify the need to wait for the package to offer distribution support.
Today, we will provide the methods to run an AppImage on Ubuntu 24.04. However, the process is applicable to all the Linux distributions.
Outline:
Prerequisites: Install libfuse2 Package
As discussed, AppImages are self-contained packages, i.e., application and its dependencies. The “libfuse2” library actually provides a virtual environment for the AppImages to run properly on the system. When an AppImage is executed, it loads the application and the relevant dependencies. The “libfuse2” keeps the system uninterrupted from the AppImage execution and operation.
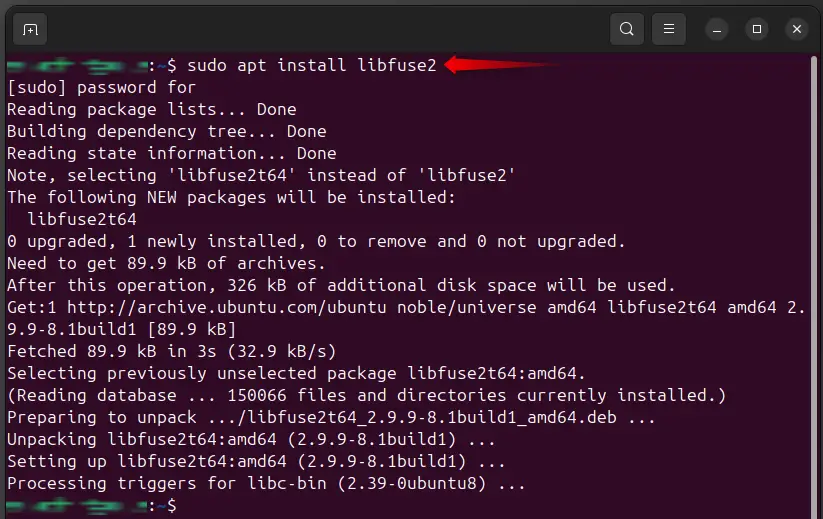
Without the “libfuse” library, the AppImage may cause execution problems. To install it on Ubuntu, run the command:
sudo apt install libfuse2
Tip: Installing fuse Library on Other Linux distributions
If you want to run an AppImage on any other Linux distributions, you can choose the below commands to install the “libfuse” library:
sudo pacman -Sy fuse2                                 #Arch
sudo dnf install fuse fuse-devel                      #Fedora/RHEL
sudo zypper install fuse libfuse2                     #openSUSE
How to Run AppImage on Ubuntu 24.04
Ubuntu has two possible methods to run an app image file, i.e., via the command line and the GUI. The users working on Servers can go for the terminal-based method and the desktop users can also use the GUI or terminal method to run an AppImage.
Method 1: Run the AppImage From the Terminal
To run the AppImage from the Ubuntu terminal, you need to have the AppImage file and then make it executable. Follow the below steps to see how it works:
Step 1: Get the AppImage
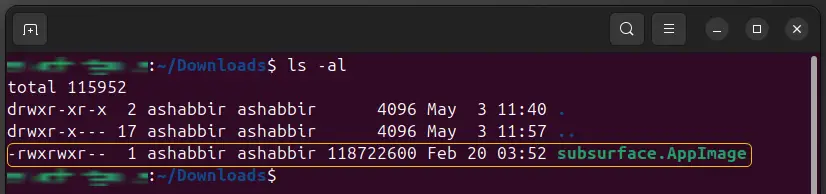
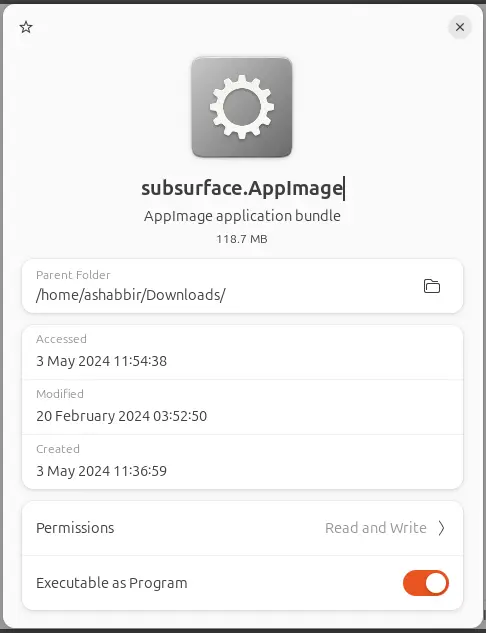
Ensure that you have the AppImage file by checking its properties:

If you check the permissions, the AppImage is not executable by any user.
Step 2: Make it Executable
First, make it executable using the “chmod” command but with care. Do check the below commands and grant the permissions as per your requirement:
| Command | Description |
|---|---|
| chmod u+x <filename> | To make it executable for the current user. |
| chmod ug+x <filename> | To make it executable for the current user and the users in its group. |
| chmod a+x <filename> chmod +x <filename> | Executable permissions for all users. (Not Recommended) |
We will grant the execution permissions to the “current user” and the “users in its group”:
Note: You might need to use sudo depending on the location of the AppImage on your system.
chmod ug+x <AppImage-File>

Confirm the permissions:
The AppImage is now executable by the current user and the group users of the current user.
Step 3: Run the AppImage
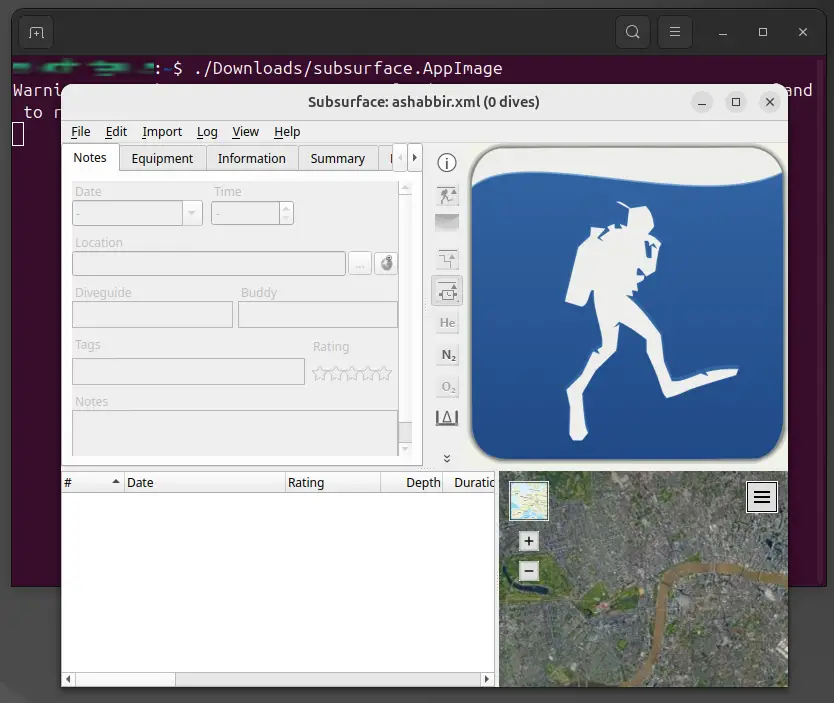
Either navigate the terminal where the AppImage resides or use the path of the AppImage to launch it:
./Path/of/AppImage /Path/of/AppImage
Method 2: Run the AppImage From the GUI | For Desktops
GUI is available on the Ubuntu Desktop or you can get it on your servers too. Let’s see how to make the AppImage executable and run it using the GUI:
Go to the location where the “AppImage” file is available and open the file properties:
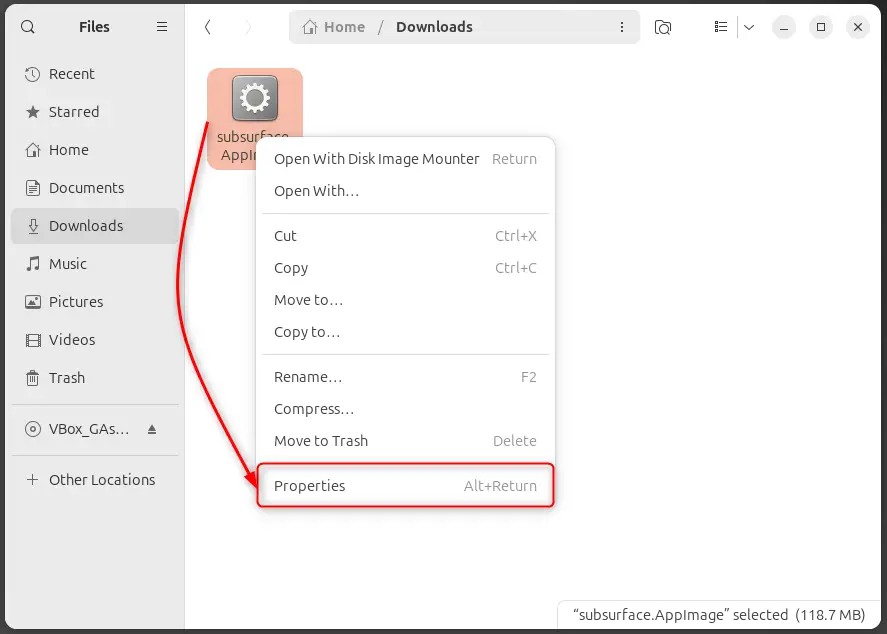
Toggle ON the execution button, as highlighted below:
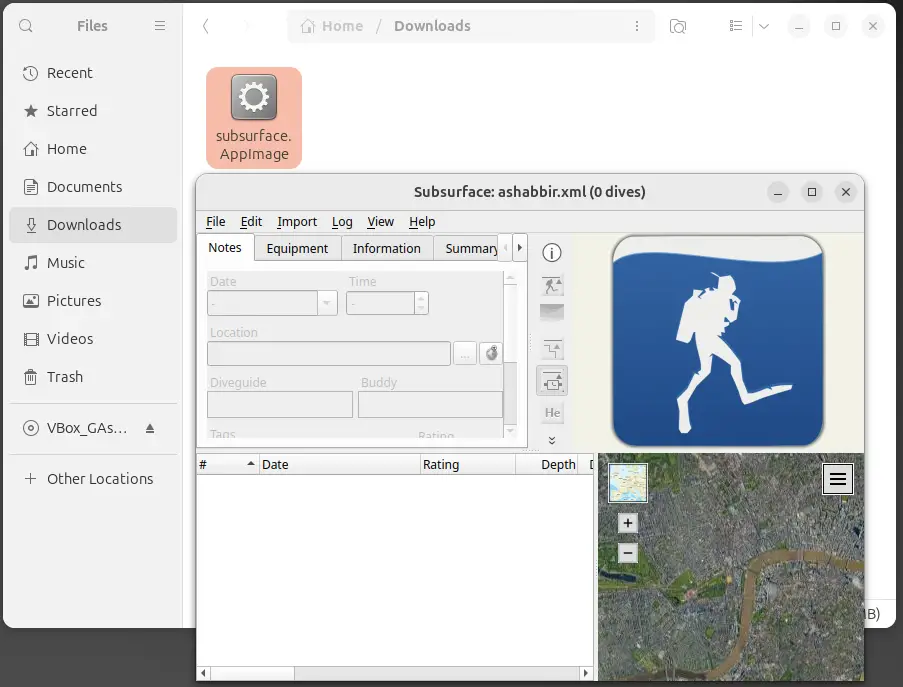
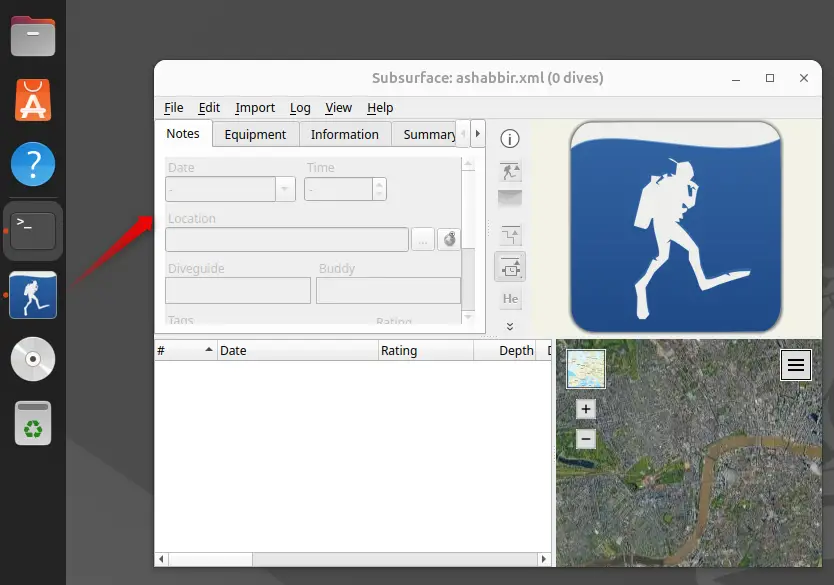
Once done, the AppImage is made executable, double click it or right-click on it to Run. Here is the interface of the AppImage we used:
That’s how you can make the AppImage usable on your Ubuntu 24.04.
Tip: How to Add AppImage to Menu in Ubuntu 24.04
When AppImage is made executable, it can be run from the terminal only. To make an executable launcher of that AppImage, you have to create a Desktop entry file “AppImageName.desktop” in one of the following locations:
For the Current User Only:
~/.local/share/applications
For All the Users:
/usr/share/applications
And here is the syntax of the “.desktop” files.
[Desktop Entry]
Type=Application
Name=appName
Exec=AppImage/Path
Icon=Path/of/AppImage.icon
You need to change the following parameters, i.e., Version, Name, Exec Path, and Icon path. There are a few optional fields such as TryExec to provide an alternative path if the main executable is not working. Similarly, the Comments field to add any specific comment about the application.
Here’s the desktop entry in our case (we created the file in the “/usr/share” to make it accessible for all the users). Use the Absolute Paths wherever the path is required:
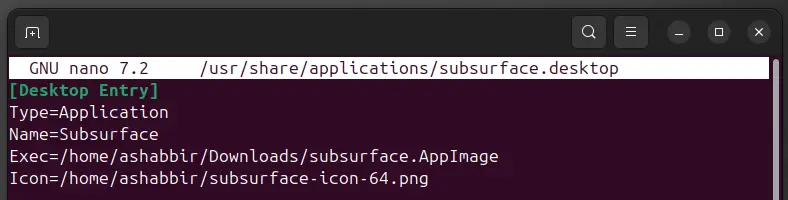
Note: Ensure that the AppImage is Executable.

Right now, you will see the application nowhere on your PC. You need to update the desktop database for the appropriate user(s):
For the Current User (If the .desktop file is created in ~/.local/share/applications):
update-desktop-database ~/.local/share/applications/
For All Users (If the .desktop file is created in the /usr/share/applications/):
sudo update-desktop-database /usr/share/applications/
Finally, Install the Desktop Entry file to get it in your applications menu:
sudo desktop-file-install <Path-of-File>

Right after the successful installation, the application is now launchable from the applications menu:
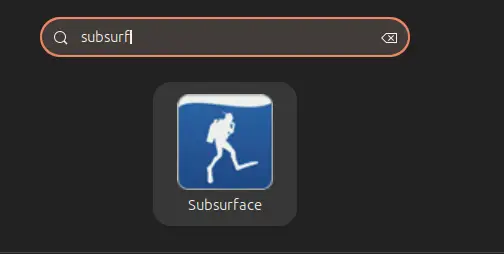
Here’s the interface after the launch:
That’s how you can deal with the AppImage files on Ubuntu 24.04.
Bottom Line
AppImage is a renowned package format that simplifies the package distribution across Linux distributions. Initially, an AppImage file is non-executable and thus cannot be used. First, you have to ensure the availability of the “libfuse2” which provides a virtual environment for AppImages and then you must make the AppImage file executable.
This post has briefly instructed the ways to run an AppImage on Ubuntu 24.04.
