
Java is a popular programming language for developing different web and mobile applications. The “JAVA_HOME” is the environmental variable for the operating system and can be set with the Java Development Kit. This helps in recognizing the availability of Java by any other application or system program.
This article will explain the step-by-step procedure to set the “JAVA_HOME” in Ubuntu.
- Set JAVA_HOME in Ubuntu Temporarily
- Install JDK
- Find the Location of JDK
- Set the JAVA_HOME Variable
- Set JAVA_HOME Permanently
How to Set JAVA_HOME in Ubuntu?
The “java-home” is useful to run Java programs in the operating system. To set the “JAVA_HOME” variable in Ubuntu, follow the below steps:
Step 1: Install the Java Development Kit (JDK)
To check whether the JDK is already installed on Ubuntu, run the command:
$ javac --version
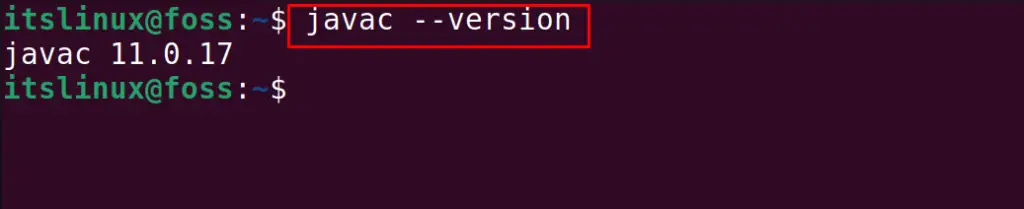
In our case the version of “javac 1.0.17” has already been installed. But if the package Java is not installed, then we can install it:
$ sudo apt install default-jdk -y

After ensuring that the package Java is installed, we will proceed to the next step.
Step 2: Finding the Installed JDK
To find the location of the installed JDK package, utilize the “readlink” command. It reads the actual location of the symbolic links by specifying the “which javac” command:
$ readlink -f `which javac` | sed "s:/bin/javac::"

If the location of “which javac” is symbolic, then it will display the actual location of the javac. In our case, it is “/usr/lib/jvm/java-11-openjdkamd64”.
Step 3: Setting the JAVA_HOME Variable in Ubuntu
Now we will declare the variable “JAVA_HOME” and assign it with the location of the javac “/usr/lib/jvm/java-11-openjdk-amd64/bin/java”:
$ export JAVA_HOME=/usr/lib/jvm/java-11-openjdk-amd64/bin/java

Now, check whether the value of the JAVA_HOME is set or not:
$ echo $JAVA_HOME

The JAVA_HOME variable is set, but this is set for the temporary time period. It means when you restart the terminal, the value will be removed.
How to Set JAVA_HOME Permanently in Ubuntu?
To set the “JAVA_HOME” permanently, edit the “bashrc” file. It is recommended to create a backup of the “.bashrc” file before making any changes.
$ cp ~/.bashrc ~/.bashrc_backup.bak

Add the Path of the “JAVA_HOME” Variable
Use the below-stated command, which will write the path to the “.bashrc” file:
$ echo "export JAVA_HOME=/usr/lib/jvm/java-11-openjdk-amd64" >> ~/.bashrc

To confirm the above changes, display the last few lines of the bashrc:
$ tail ~/.bashrc
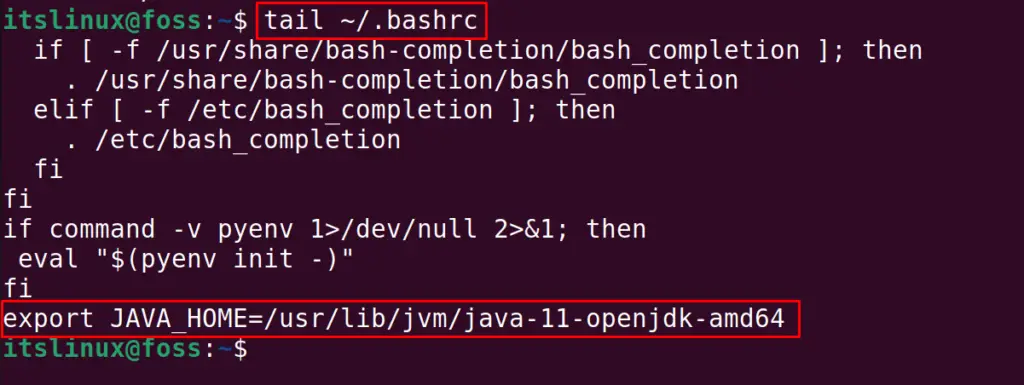
The “JAVA_HOME: variable is set, now reboot the computer:
$ reboot

Now, when the computer is restarted, you will find the JAVA_HOME variable will be set with the value you have assigned to it.
Conclusion
To set the “JAVA_HOME” variable in Ubuntu, assign the path of the “javac” package to the JAVA_HOME variable in the bashrc file. Additionally, users can visualize the path by executing the “tail ~/.bashrc” in the terminal. This article has explained the step-by-step instructions to set the “JAVA_HOME” in Ubuntu.
