
A Firewall is a tool mainly used for network security. It was introduced in the 1980s as packet filters that examine a network’s incoming and outgoing packets. Nowadays, it is utilized to track network traffic and prevent threaded traffic from the network.
This post will demonstrate the essential steps to install, set up, and remove a Firewall on Ubuntu 22.04.
Firewall Installation on Ubuntu 22.04
To install the Firewall on Ubuntu 22.04, follow the steps given below.
Step 1: Update System Packages
First, open up the Ubuntu 22.04 terminal by utilizing “CTRL+ALT+T” and update the packages of the system:
$ sudo apt update && sudo apt upgrade -y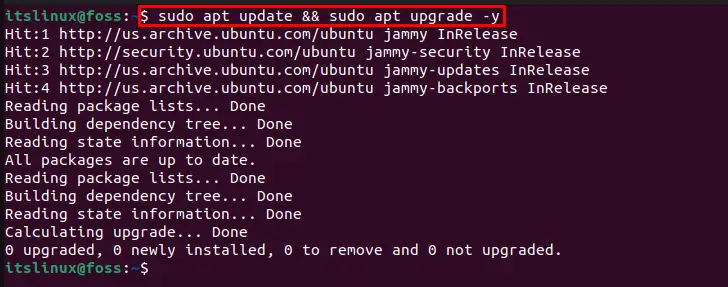
Let’s move to the next step.
Step 2: Install Firewall
Use the provided command to install Firewall on Ubuntu 22.04:
$ sudo apt install ufw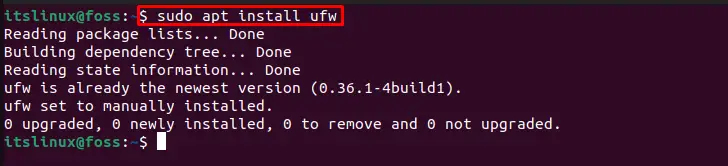
Firewall installation is successfully done. Let’s check out the method to set up the Firewall on Ubuntu 22.04.
Set Up Firewall on Ubuntu 22.04
To set up a Firewall on Ubuntu 22.04, follow the below-listed steps.
Set Up Default Policies
Firstly, disconnect the default incoming connections:
$ sudo ufw default deny incoming
Next, allow the Firewall outgoing connections:
$ sudo ufw default allow outgoing
Now, move ahead to enable connections.
Enable SSH Connection
Before enabling Firewall, first, permit incoming connections for SSH:
$ sudo ufw allow ssh
By default, SSH listens on the port “22”, so the below-given command will also perform the same operation:
$ sudo ufw allow 22
If SSH is listening to any other port because of the manual configuration, then permit connection from that particular port. For instance, we have specified the “1122” port in the following command:
$ sudo ufw allow 1122
Enable Firewall
Enable the Firewall on Ubuntu 22.04 using provided command:
$ sudo ufw enable
Allow Connection Within a Range
In order to allow a range of specific ports, follow the below command:
$ sudo ufw allow 5000:5006/tcpThe given command will open ports ranging from “5000” to “5006” for “TCP” connections:

Similarly, the below-given command will allow “UDP” connections for the specified port range:
$ sudo ufw allow 5000:5006/udp
Allow Specific IP
You can also allow a specific IP address by utilizing the below command:
$ sudo ufw allow from 92.168.254.130
Allow Network Interface
To allow any Network interface on Firewall, check out the following example.
Example
Let’s enable the “ens3” interface to permit HTTP connections for listening on port “80”:
$ sudo ufw allow in on ens3 to any port 80
Deny Connections
If you want to deny incoming HTTP connections, write out the given command:
$ sudo ufw deny http
It is also possible to deny connections coming from a specific IP address:
$ sudo ufw deny from 92.168.254.130
Reset the Firewall
To reset the Firewall default settings, type the given command in Ubuntu 22.04 terminal:
$ sudo ufw reset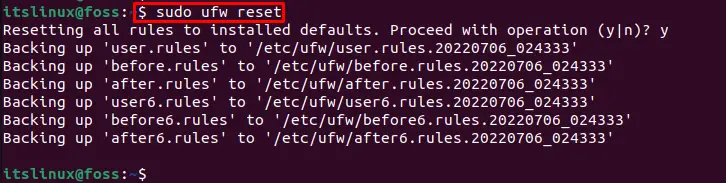
We have elaborated all the essential steps along with examples for setting up Firewall on Ubuntu 22.04.
Firewall Removal From Ubuntu 22.04
To remove the Firewall from Ubuntu 22.04, follow the below-given procedure.
First, disable the Firewall:
$ sudo ufw disable
Then, execute the below command to remove the Firewall completely from Ubuntu 22.04:
$ sudo apt remove ufw --purge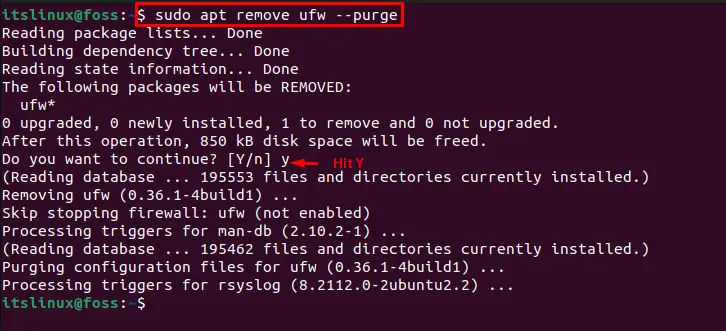
We have effectively demonstrated the instructions to install, set up, and remove the Firewall on Ubuntu 22.04.
Conclusion
To set up a Firewall on Ubuntu 22.04, install the Firewall on the system and use the “$ sudo apt install ufw” command. Then, enable the Firewall on Ubuntu 22.04. You can also allow or disable any specific IP address or connections using the “ufw” command. We have demonstrated all the essential information about the installation, set up, and removal of the Firewall on Ubuntu 22.04.

Saryia is a technology entrepreneur and digital publisher specializing in Linux, open-source technologies, and developer education.