
Being a Linux user we always ask ourselves whether we can run a certain Windows application on our system? As we know that there are various applications available for Windows and having them to be available on Linux systems will be a dream come true, right?
There are several ways to run Windows applications on Linux systems but most of them require a lot of resources and time. Here comes the easiest solution that’s WINE, which isn’t a virtual machine but rather a compatible layer for running various Windows applications on UNIX OS, such as Linux.
Wine works by translating the Window logic to UNIX logic, converting the command easily understood by the Linux system. Now, all you need is to install it on your system, here we’re installing it on Ubuntu 20.04 along with the guide on how to use it. So follow the guide provided in this article.
Step By Step Guide for Installing and Using Wine
Various ways are out there for the installation of Wine on your system. To start with the most straightforward and easiest way, follow these steps:
Step 1: Update and install WINE
Mostly the applications for Windows are for 32-bit architecture. Here, we’ll enable multiarch that’d allow us to install the application for both 64-bit and 32-bit architecture:
$ sudo dpkg --add-architecture i386
Now, we need our system to be updated before any installation:
$ sudo apt update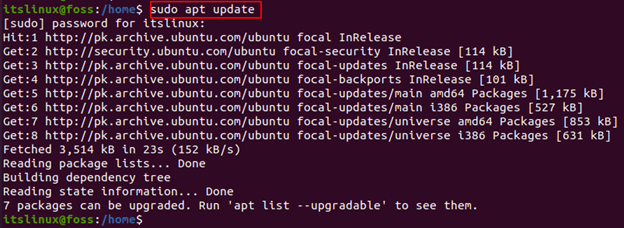
Now, after this run the given command for installation of wine for both the architectures:
$ sudo apt install wine64 wine32
This might take some minutes, don’t worry. This will be followed by multiple commands. After this you need to check the version of the wine you downloaded. For this:
$ wine --version
Here, we’ve installed the version 5.0 on our Ubuntu 20.04. This has successfully installed WINE. Now it’s time to use it, for this we need to configure it first.
Step 2: Configuration of WINE
After the installation, we’ll configure it and set the environment. For this purpose “winecfg” command is used to install “Mono” and “Gecko”:
$ sudo winecfg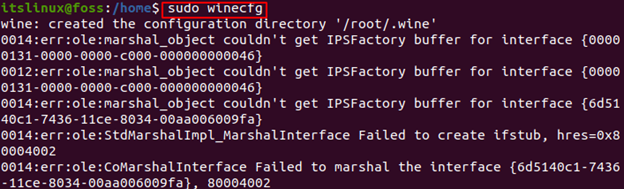
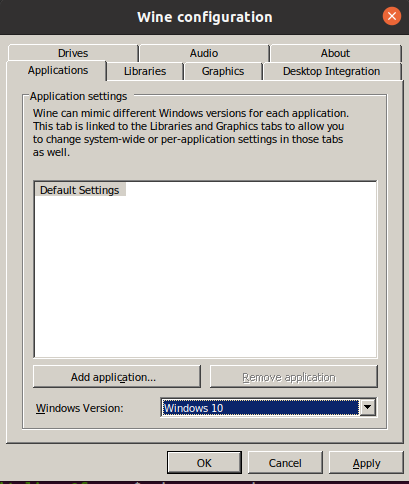
This will open up the following window showing you the settings, let it remain default. I simply changed the Window version to Window 10 and click on “Apply” and then “Ok”:
Step 3: Install Applications with Wine
Now that WINE is installed and all configurations are completed, let’s install some window applications. Here in this example we’ll install “Notepad++”. Go to your browser and simply download the notepad++ file as you normally do on your Windows.
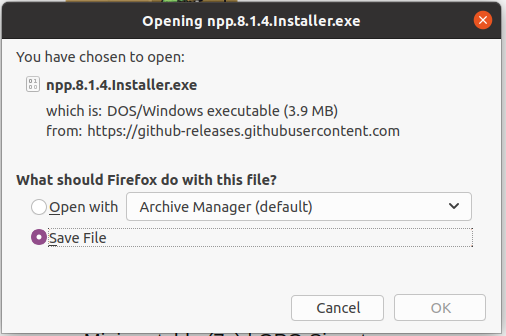
Now, I’ll recommend that you save the file on Desktop. Now go to the Desktop directory by running the following commands:
$ cd DesktopHere you’ve to type “wine [name of the exe file]:

This will open up the following window:
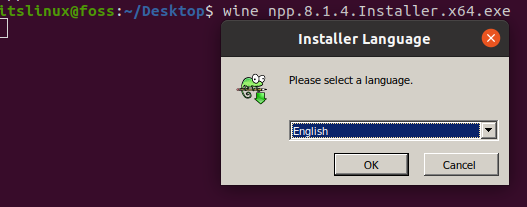
Click on “OK”:

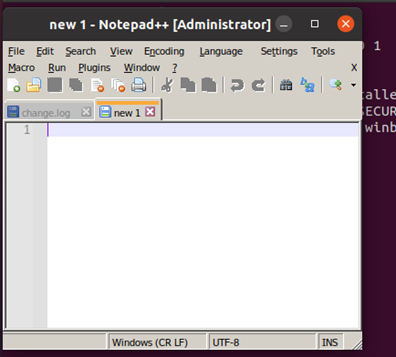
Now, simply click on next and start the installation. You’ll now successfully have Notepad++ on your Ubuntu 20.04:
Conclusion
Having Windows applications on various OS environments is extremely beneficial, especially for Linux users. Wine provides this facility in just the simplest steps. Here we learned how to install and use Wine on Ubuntu 20.04. Following the above steps you’ll be able to use various applications for Windows on Ubuntu. This will save your time from finding the alternative of the best applications out there and you’ll be able to use these softwares easily.

Saryia is a technology entrepreneur and digital publisher specializing in Linux, open-source technologies, and developer education.