
What is VNC? The full form of VNC is Virtual Network Computing. If you are not comfortable with the Command-line interface this is the tool for you. It is a connection system that gives you a graphical interface on a remote server where you can use your mouse and keyboard to interact with it. It makes your life easy as you don’t have to write commands anymore to manage files or software or even settings.
In this article, we are going to install and configure VNC on Ubuntu 20.04. We are going with the TightVNC that will help us in setting up the VNC Server. We will also connect it to an SSH tunnel and then use a VNC client program on our machines to interact with the server through an interactive graphical desktop environment.
Prerequisites
We will run all the following commands being a superuser using the keyword “sudo”.
Also, we have to check whether the firewall UFW is running on our ubuntu or not. For this purpose type the following command:
$ sudo ufw status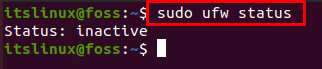
If it shows status as inactive then you have to enable it or turn it on using the following command:
$ sudo ufw enable
Now that it is enabled, we can open a port. It will help us in incoming VNC connections. If we are setting up one connection then one port is enough. Let’s open port 5901 with the following command:
$ sudo ufw allow 5901/tcp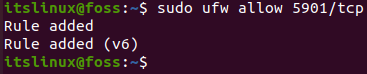
If we have more connections we can open more ports as well, for example port 5902,5903 etc.
TightVNC Server Installation
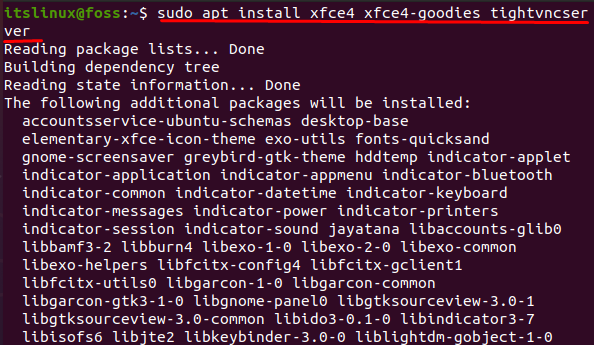
In Ubuntu by default the VNC server is not installed. We have to manually install a graphical shell if we want to connect to some remote desktop. For this purpose type the following command in your terminal:
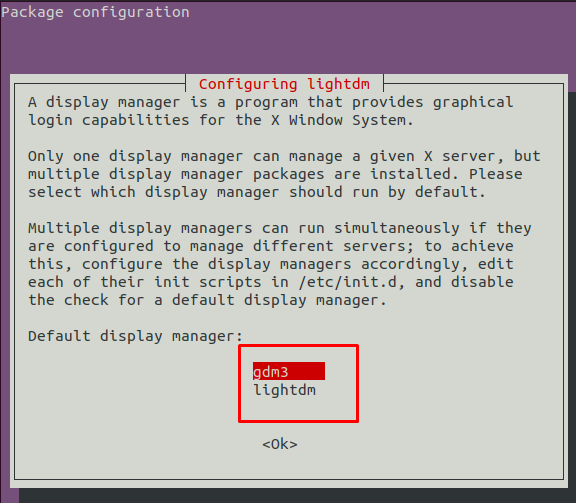
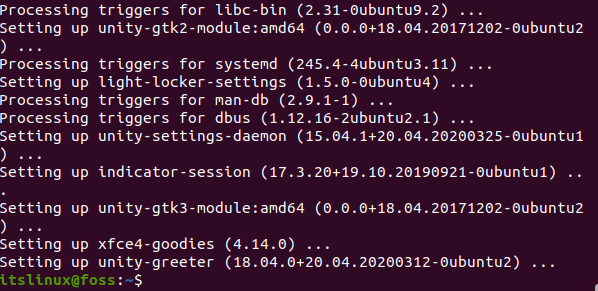
$ sudo apt install xfce4 xfce4-goodies tightvncserverWhen the installation process is going on, you may be redirected to a window where you will be asked to choose the default display manager. There are two options which are gdm3 and lightdm.
A display manager is a program. It basically allows us to select or log into a desktop environment using a graphical interface. You can choose either of the options above mentioned. When you select one, press Enter.
TightVNC Server Configuration
When the installation is complete, we’ll start configuring our VNC server. To start the vnc server use the following command:
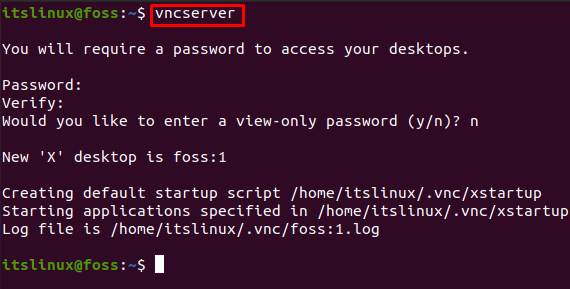
$ vncserverWhen you run this command it will ask you to set a password. It will be between 6-8 characters. If it is longer than 8 characters then automatically it will be truncated.
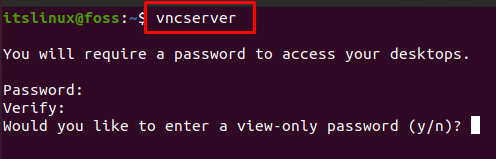
Then it will ask you whether you want a view with only a password or not. Reply y for yes and n for no. View only password is primary password where you have the option that anyone having this password will not be able to control the VNC instance using mouse or keyboard. Suppose you want to restrict remote desktop control then select read-only password.
Next step is to set up or adjust other settings. For this purpose we have to stop the current process which is the vncserver process. Type the following command to stop the process:
$ vncserver -kill :1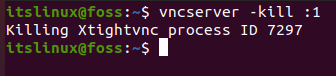
Let’s open the config file of TightVNc with the help of nano editor. Type the following command:
$ nano ~/.vnc/xstartupThe following screen will be visible.
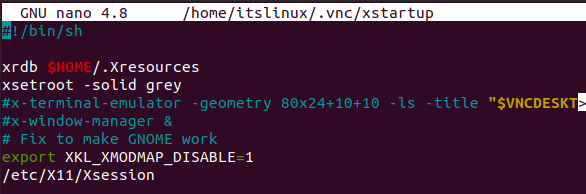
In the end of this file add the following line:
Startxfce4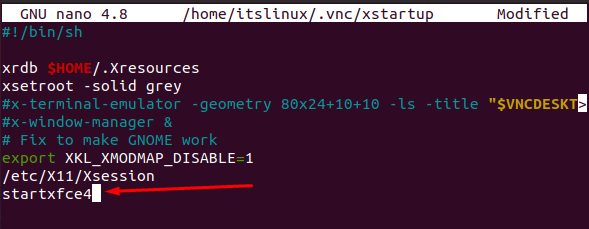

Save the file using CTRL+S and then exit it by pressing CTRL+X.
Let’s restart the server again with the following command:
$ vncserver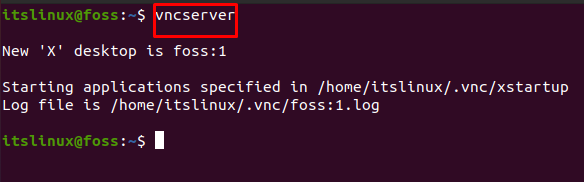
The configuration of the VNC server is done.
Autorun Set up
In TightVNc the daemon is not present by default. Also, it does not turn on when the system reboots. We have to fix it to move forward. We will use the following command to fix it:
$ sudo nano /etc/systemd/system/vncserver.serviceIt will open a file in the nano editor.

We have to insert the following configuration in the file:
[Unit]
Description=TightVNC server
After=syslog.target network.target

[Service]
Type=forking
User=root
PAMName=login
PIDFile=/root/.vnc/%H:1.pid
ExecStartPre=-/usr/bin/vncserver -kill :1 > /dev/null 2>&1
ExecStart=/usr/bin/vncserver
ExecStop=/usr/bin/vncserver -kill :1

[Install]
WantedBy=multi-user.target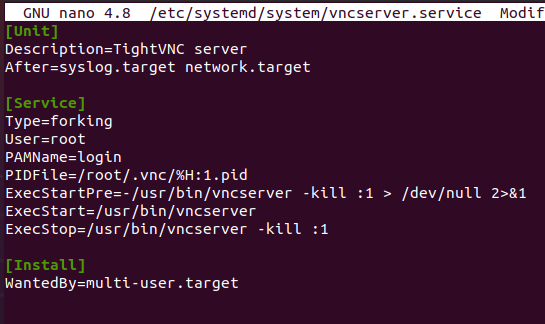
Press CTRL+S to save and then CTRL+X to exit the file.
Lets reload the systemd using the following command:
$ systemctl daemon-reloadAfter reloading systemd let’s enable autorun of TightVNC Server and lets start it with the following command:
$ sudo systemctl enable --now vncserverRemote Desktop Connection
We can use any VNC client. For windows it can be a RealVNC or TightVNc viewer. With linux it’s Remmina. We have to use the IP Address of our server with. We can use port 5901 as the VNC Server.

Here we have to enter the password that we set in the previous steps. Once we give the correct password we will see the remote desktop. Congratulations!
Conclusion
We have now installed and configured VNC Server on Ubuntu 20.04. We can now easily interact with a remote server using our mouse or keyboard. We can also manage our files and software using a graphical interface. We don’t have to rely anymore on the command line interface if we are not comfortable with it.

Saryia is a technology entrepreneur and digital publisher specializing in Linux, open-source technologies, and developer education.