“nmap” is the abbreviation for “Network Mapper” which is an information gathering tool used by Network Administrators. More specifically, it’s a free open-source scanner used famously for scanning the security and managing the network.
On a computer network, it scans the host, services and sends packets. Furthermore, it analyzes their responses. Nmap is available on all the popular OS environments, such as Linux, Windows and macOs. Here, in this tutorial we’ll learn the installation and use of nmap on Ubuntu 20.04. So follow the steps and guide provided in this article.
Install “nmap” command
Before understanding how to use it, we need to install it on our system. For this firstly update your system.
$ sudo apt update
Now, in order to install it following command should be run:
$ sudo apt install nmap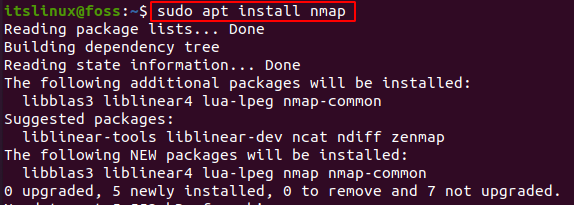
This might take a few seconds, and after this you’ve successfully installed it on your system. Check the version using the following command:
$ nmap --version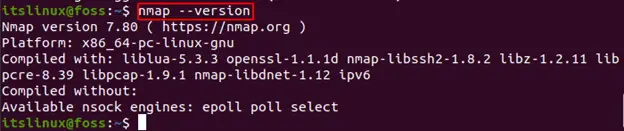
We have successfully installed it on our system. Let’s now see how it is used.
How to Use nmap?
Nmap provides the user with various features. Some of these key features are provided below:
Scan Hostname using nmap
You can scan any hostname using the command “nmap”. In the below command i set the hostname as “google.com” and performed the scan:
$ nmap google.com
You can replace google.com with any hostname that you want to perform a scan on.
Scan with “-v” command using nmap
In order to get a more detailed scan of a particular host or an ip address, we use “-v”, for example:
$ nmap -v google.com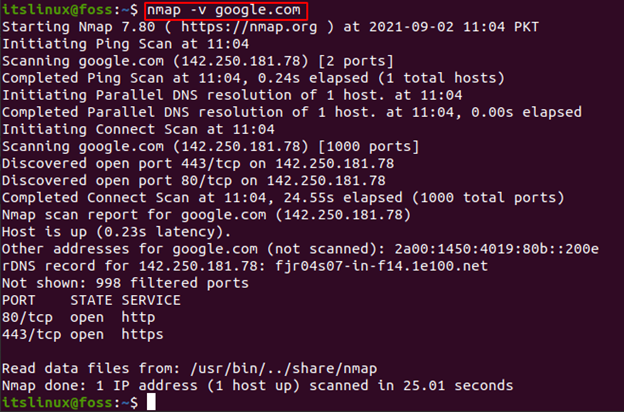
This provides you with more details of the scan you’ve performed.
Scan IP Address using nmap
Similarly, in order to scan a particular ip address, you’ve to run “nmap [ip address]” example is provided below:
$ nmap 142.250.181.78
Scan Subnet using nmap
Subnet mask or entire range can also be scanned using the nmap command.
$ nmap 255.255.255.0
IP Address Range using nmap
You can even scan a range of ip address at once by just defining the range as provided below:
$ nmap 127.0.0.1-100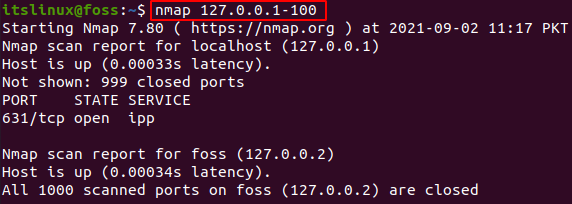
This will scan the entire range and provide you with the information.
Detect OS using nmap
You can detect the OS version running on various hosts using “-O”. You can either provide an IP address or hostname.
$ sudo nmap -O 127.0.0.1-100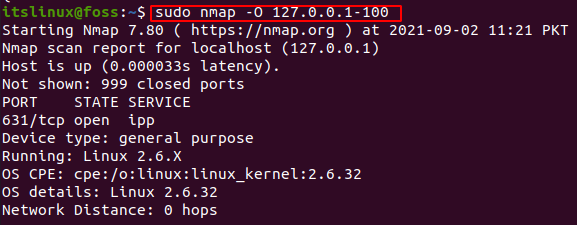
Or using hostname:
$ sudo nmap -O google.com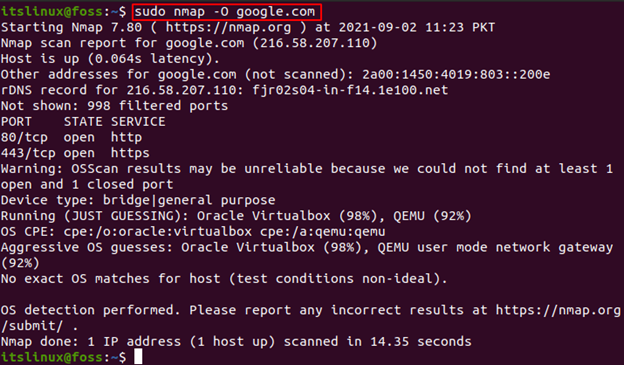
Detect Firewall using nmap
In order to check whether local host is using any firewall, simply use “-sA” with nmap:
$ sudo nmap -sA 127.0.0.1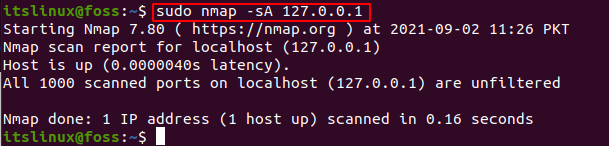
Live Host Finding using nmap
You can also find the list of all the live host using “-sP”:
$ sudo nmap -sP 127.0.0.1
Host Interfaces Information using nmap
In order to find the list of all the host and route interfaces, following command is used:
$ sudo nmap --iflist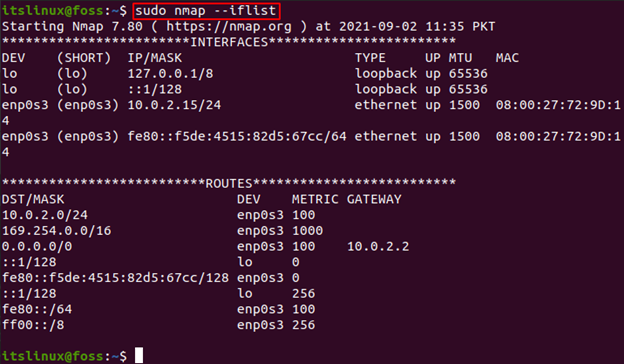
These are some of the various ways you can use nmap to scan ip addresses, subnet mask, hostnames or even check OS and firewall detection.
Conclusion
Nmap is a famously used command for scanning and maintaining the network. It helps the network administrator for securing and managing their networks. In this article we taught you how to install it on your Ubuntu 20.04, along with how to use it with examples. With the help of this guide, now you’ll be able to perform various scans and detection on your network.

Saryia is a technology entrepreneur and digital publisher specializing in Linux, open-source technologies, and developer education.