Everyone wants to protect their system from any harmful attacks. These cyber attacks could occur due to various reasons, one of them is using your system on a publicly available network.
These cyber attacks put your system at risk and hence your system security is exposed to the hackers. In order to protect your system and secure it, the Fail2ban tool is used. It helps in blocking various unwanted IP addresses for a defined period of time.
Today, in this step-by-step guide, we’ll learn how to install Fail2ban on your Linux system and configure it. So that you could reduce the risk of your system being exposed to any attacks.
Installation of Fail2ban
For this you’ve to use the terminal with sudo privileges. Follow these steps given below:
Step 1: Update Your System
Run the following command:
$ sudo apt update
Step 2: Install Fail2ban
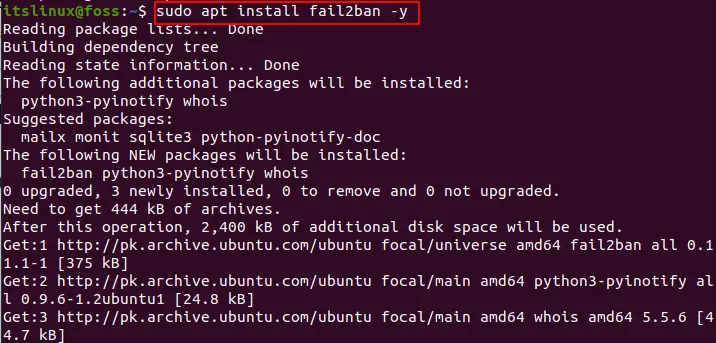
In order to install Fail2ban, run the following command:
$ sudo apt install fail2ban -yFollowing output will be displayed:
Step 3: Start the service
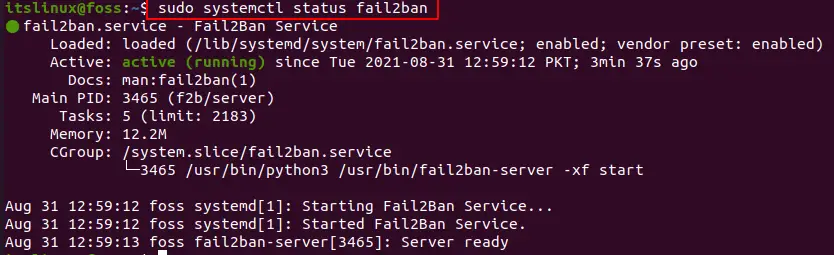
Run the following command:
$ sudo systemctl status fail2banThis will show you that the service is active and successfully running.
Step 4: Configure Fail2ban
The configuration files of Fail2ban are under the directory /etc/fail2ban. In the file “jail.conf”, all the basic configurations are present. You can use these to create new configurations. In order to avoid the update on jail.conf file, we’ll create a copy of all the configuration into a new file called “jail.local” file. For this, run the following command:
$ sudo cp /etc/fail2ban/jail.conf /etc/fail2ban/jail.local
Now, we’ve to edit the jail.local file. For this purpose, run the following command:
$ sudo nano /etc/fail2ban/jail.local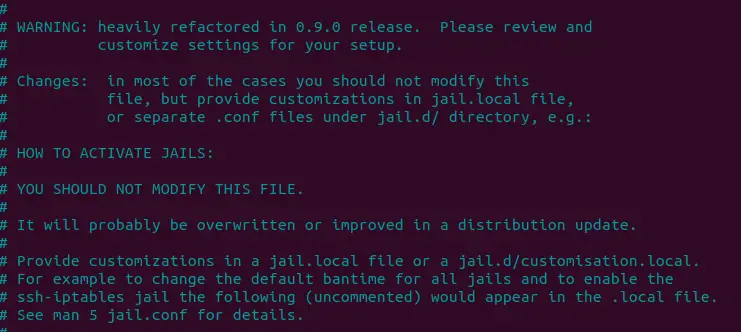
This command will open your file to edit. You’ve to go under the [DEFAULT] settings to make the following changes:
- bantime : shows for how many seconds the host is banned. Set the following and uncomment it.
bantime = 60m- maxretry : shows number of failures before setting the ban. Set the following and uncomment it.
maxretry = 5- findtime : shows a host is banned if it has reached “maxretry” during the “findtime” duration. Set it as following and uncomment it:
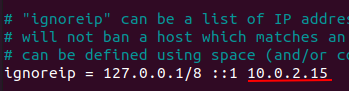
findtime = 5m- ignoreip : shows list of ips users want excluded from the ban. This could include your system ip address. Edit the following and uncomment it:
ignoreip = 127.0.0.1/8 ::1 10.0.2.15This should look something like this:
Now, don’t close the file because we’ve to update the various services.
Step 5: Jails in Fail2base
Fail2base includes a concept of jail which provides us various services and comes with customizable settings through which we can create filters and conditions. When the conditions that are defined are met, certain actions take place.
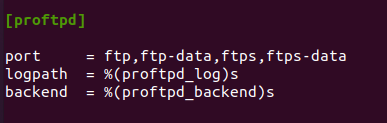
We can create the jail and configure it. By default, we’ve ssh jail enabled. In order to enable other jails, simply add “enabled = true”. To enable “[proftpd]” go down the file under [proftpd] and make the following changes:
Before:
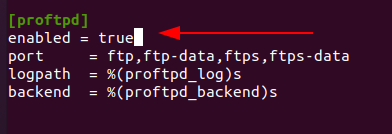
After:
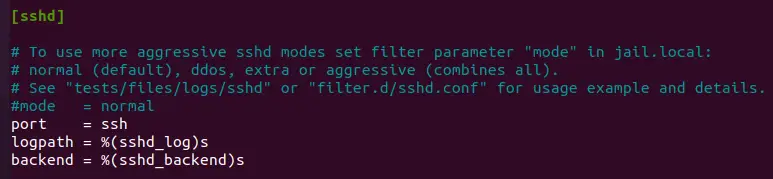
You can also enable [sshd] by making the following changes in the file:
Before:
After:
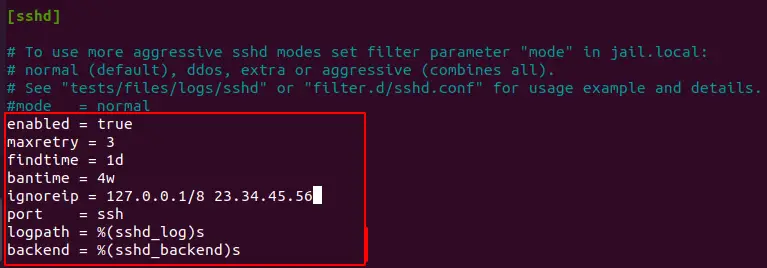
Now, make the changes and close the modified file.
Step 6: Fail2ban Services Managing
After all the changes has been made, run the following command to restart the services of Fail3ban:
$ sudo systemctl restart fail2ban.service
$ sudo systemctl enable fail2ban.service
These commands will provide you the following output:

Now, you’re all set to start blocking unwanted IP addresses and save your system from attacks.
Fail2ban Client
In order to interact with various services of fail2ban use the command fail2ban-client. You can check various options through the below command.
$ fail2ban-client -h
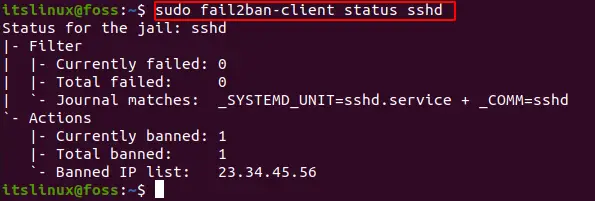
These can be used to ban or un-ban various ip addresses. In order to check the jail status you can use the below command.
$ sudo fail2ban-client status sshd
To ban an IP address
$ sudo fail2ban-client set sshd banip 23.34.45.56
After banning again, check the status.
To Unban an IP address.
sudo fail2ban-client set sshd unbanip 23.34.45.56
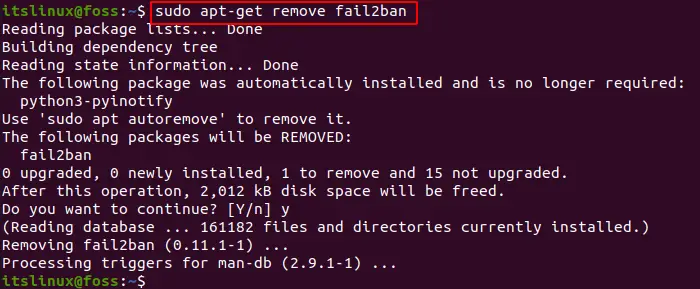
How to Uninstall fail2ban?
In case you want to uninstall it, run the following command.
Conclusion
Protecting your system is extremely important nowadays as we’re always at the risk of cyber attacks. Fail2ban tool allows you to secure your system from unwanted attacks. In this how-to guide, we learned the installation of Fail2ban along with its configuration.
It also provided you with the detailed configuration and how to secure various services. Through such tools, securing your system becomes an easier task, and saves you a lot of trouble and risk.

TUTORIALS ON LINUX, PROGRAMMING & TECHNOLOGY