
In modern computing devices, the firewall is the security system of the computer which monitors the incoming and outgoing network traffic. This support is available on cross-platform systems, including Linux/Windows/macOS. It allows and restricts the network traffic following the rules set by the user/administrator.
In Ubuntu, there are different approaches with the help of which we can set the rules for the firewall.
The most important rule to control the network traffic is using the UFW (Uncomplicated Firewall). In this post, we will demonstrate the possible methods to disable firewalls on Ubuntu, and the post’s content is as follows:
- What is the UFW in Ubuntu?
- What is the Method to Check the Status of the Firewall in Ubuntu?
- What is the Method of Disabling the Firewall in Ubuntu?
- Bonus Tip: What is the Method for Enabling the Firewall In Ubuntu?
- Conclusion
Let’s start the tutorial!
What is the UFW in Ubuntu?
The UFW (Uncomplicated Firewall) is the frontend/command-line tool that allows its users to manage the network traffic in Linux distributions. Most of the Linux distributions come with default support of UFW. The UFW allows the users to manage the network traffic by allowing or restricting both incoming and outgoing traffic.
Note: If the UFW support is missing on your Ubuntu system, read our article on the installation/configuration of the UFW utility on Ubuntu.
What is the Method to Check the Status of the Firewall in Ubuntu?
To check the status of the Firewall using the terminal, we can use the command mentioned below the terminal:
$ sudo ufw status

The status of the UFW has been displayed on the screen.
What is the Method of Disabling the Firewall in Ubuntu?
To disable the Firewall in Ubuntu, again, there are two different approaches, either using the terminal or the GUI.
Method 1: How to Disable the Firewall Using the Terminal?
The recommended approach to disable the Firewall in Ubuntu is by running the command:
$ sudo ufw disable

The confirmation of the above command can be done by checking the firewall status using the command:
$ sudo ufw status

The UFW has been disabled successfully.
Method 2: How to Disable the Firewall Using the GUI?
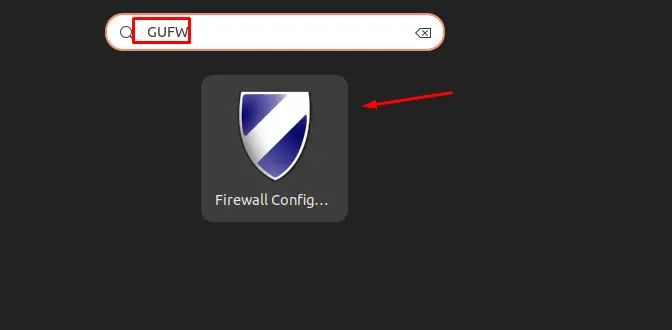
In this method, open the “GUFW” by searching it in the application’s menu and launch the application by clicking on its icon:
Once it is opened, turn off the “Status” toggle button to disable the Firewall in Ubuntu:
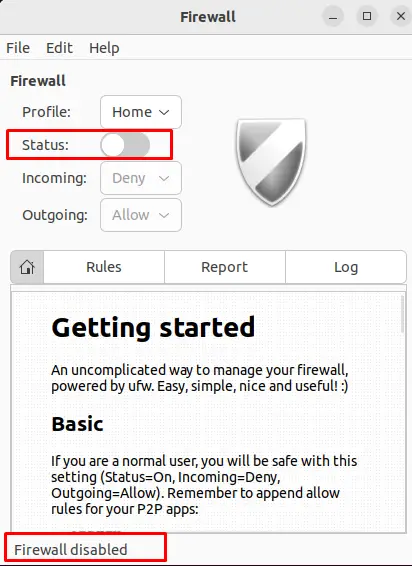
The UFW has been turned off successfully.
Bonus Tip: What is the Method for Enabling the Firewall In Ubuntu?
When the firewall is installed on the computer, you are supposed to enable the firewall, and this can be done by using the command line or GUI.
Using Terminal
To enable the UFW in Ubuntu, open the terminal and run the command mentioned below:
$ sudo ufw enable

The UFW has been enabled using the terminal.
Using the GUI
Another approach to enable the Ubuntu firewall is the GUI application of the UFW. Open the UFW by searching the “gufw” in the application’s menu and clicking on its icon:

Now, toggle the “Status” button and turn it on to enable the Firewall in Ubuntu:

The UFW has been enabled in Ubuntu using the GUI approach.
That’s all about this tutorial!
Conclusion
To disable the firewall in Ubuntu, open the terminal and run the command “sudo ufw disable”. Another approach is to turn off the status button in GUFW. In this write-up, the installation of ufw, the methods of enabling the firewall, checking the status of the firewall, and disabling the firewall have been explained in detail for Ubuntu.
