
Gradle is commonly used for the development of java applications. It is an open-source application utilized to implement libraries and packaging codes. Gradle is a part of a software that helps in developing mobile applications. It is designed to handle multi-projects deployment. Gradle saves time by only executing the required tasks because the execution of any unnecessary side task can affect the inputs or outputs.
In this article, we will describe how we can download, set up and install Gradle in Ubuntu 22.04.
Gradle Installation setup on Ubuntu 22.04
To install Gradle setup on Ubuntu 22.04 you have to follow the below given procedure.
Step 1: Update packages
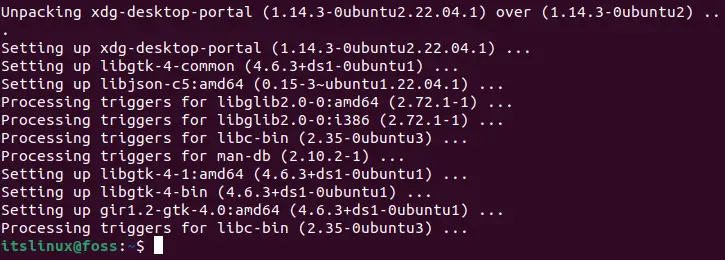
To update and upgrade system packages, start the terminal by shortcut key “CTRL+ALT+T” and run the following command:
$ sudo apt update && sudo apt upgrade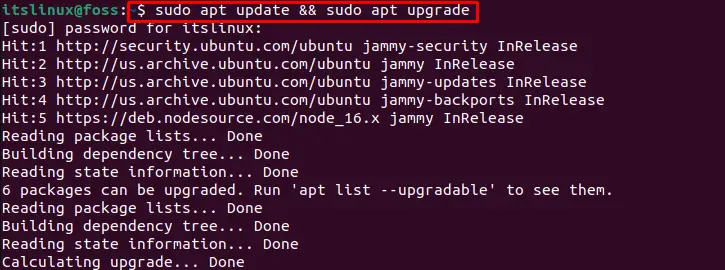
Step 2: Install JDK in Ubuntu 22.04
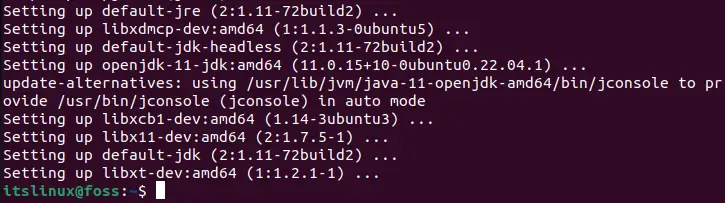
We have to install the JDK before installing Gradle. Use the below-mentioned command to install the JDK:
$ sudo apt install default-jdk -y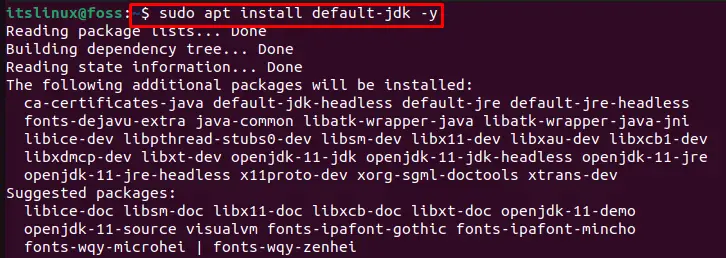
Step 3: Verifying JDK version
Now, verify the version of the installed JDK by executing the “java” command with “-version” option:
$ java -version
Step 4: Download setup for installation of Gradle
To install Gradle, it is required to download Gradle’s setup zip file using the below-mentioned command:
$ wget -c https://services.gradle.org/distributions/gradle-7.4.2-bin.zip -P /tmp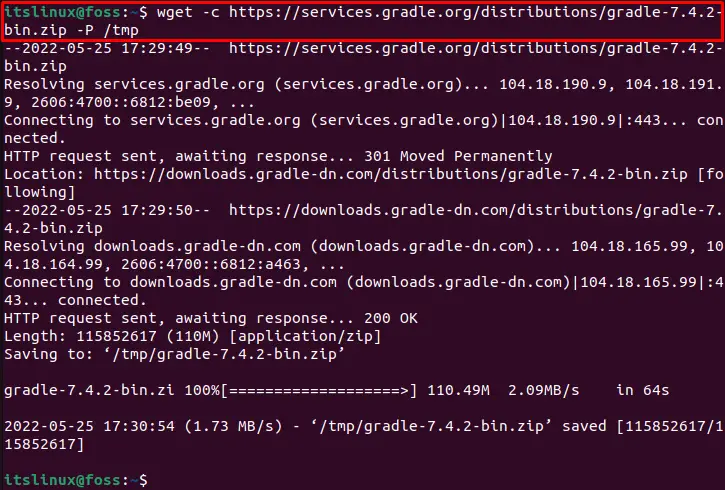
Now extract the setup file with the following command:
$ sudo unzip -d /opt/gradle /tmp/gradle-7.4.2-bin.zip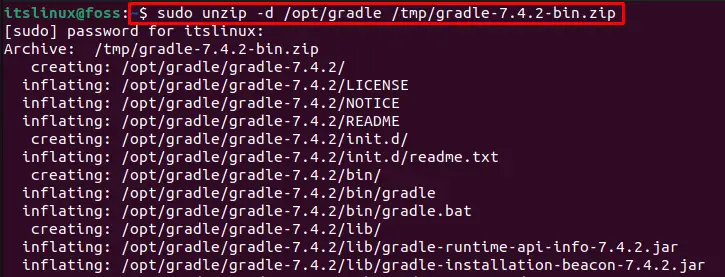
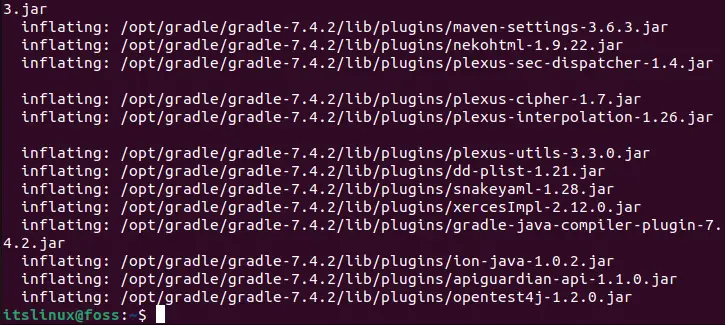
Now we will verify the extraction of Gradle setup by executing the following command:
$ ls /opt/gradleAs you can see, we have successfully extracted “gradle-7.4.2” on our system:

We are done with Gradle’s setup. Now we will move towards Gradle configuration on Ubuntu 22.04.
Gradle Configuration on Ubuntu 22.04
To configure Gradle on Ubuntu 22.04, you have to follow the below given procedure.
First of all, it is required to open gradle.sh file in nano editor:
$ sudo nano /etc/profile.d/gradle.shThen, add the following lines in the file and save the file using shortcut key “CTRL+O” and terminate the nano editor using “CTRL+X” shortcut key:
export GRADLE_HOME=/opt/gradle/gradle-7.4.2
export PATH=${GRADLE_HOME}/bin:${PATH}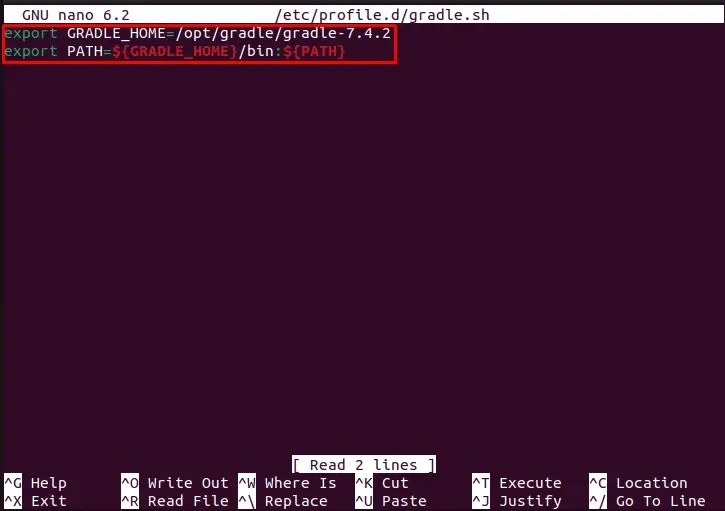
To make file executable use “chmod” command along with file path as shown below:
$ sudo chmod +x /etc/profile.d/gradle.sh
Now we will install Gradle by executing the “gradle.sh” script:
$ source /etc/profile.d/gradle.sh
After successful installation, you can confirm the Gradle version using the following command:
$ gradle --version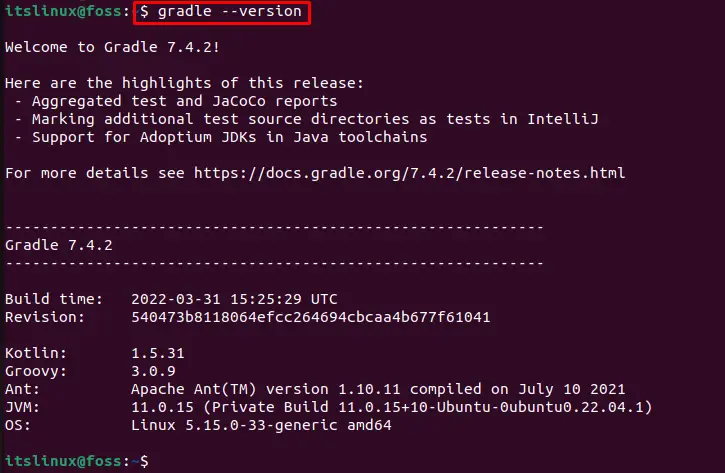
As you can see in the above output, it is confirmed that Gradle 7.4.2 is installed successfully on Ubuntu 22.04.
Conclusion
For installation of Gradle on Ubuntu 22.04, firstly, you have to install Java Development Kit (JDK) on your system and download the Gradle setup zip file for installation. You need to extract that file first then make it an executable with the “chmod” command. After doing so, execute the Gradle script by using the “$ source /etc/profile.d/gradle.sh” command. In this writeup we have covered the complete procedure about installation of Gradle on Ubuntu 22.04.

Check our LinkedIn company page