
OpenCV (open source computer vision) is a Linux tool for image processing and for different tasks of computing vision, moreover, it contains the binaries of Python and C languages. Tasks like landmark detection, red-eye detection, and objection tracking can be done by using the OpenCV. Renowned firms like Google, IBM, and Honda are using OpenCV because of its simplicity of OpenCV and code readability.
OpenCV can be downloaded on Linux, Windows, and macOS operating systems, but in this guide, we will focus the installation on Ubuntu 22.04.
Method 1: How to install OpenCV on Ubuntu 22.04 using the Python
For this method, we will confirm the installation of Python by using the command:
$ python3 --version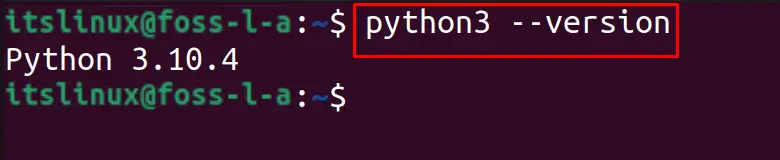
Now, we will use the Python3 to install OpenCV on Ubuntu by using the command:
$ sudo apt install python3-opencv -y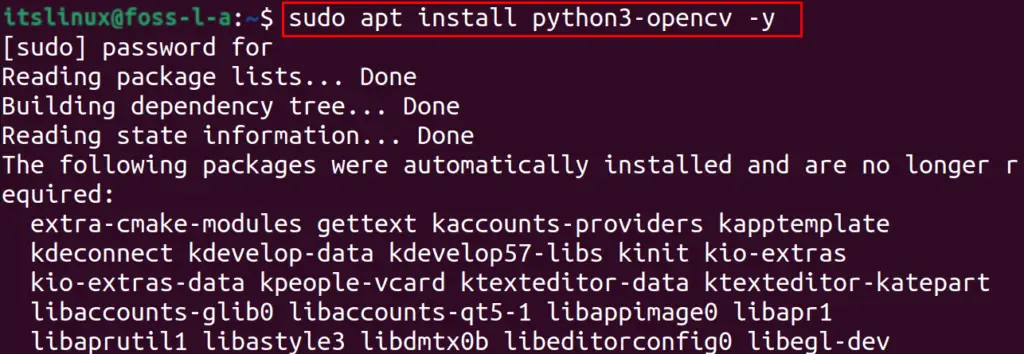
To confirm the installation of OpenCV by the above-executed command, we will display its version:
$ python3 -c "import cv2; print(cv2.__version__)"
And to uninstall the package of OpenCV, we will use the command:
$ sudo apt purge python3-opencv -y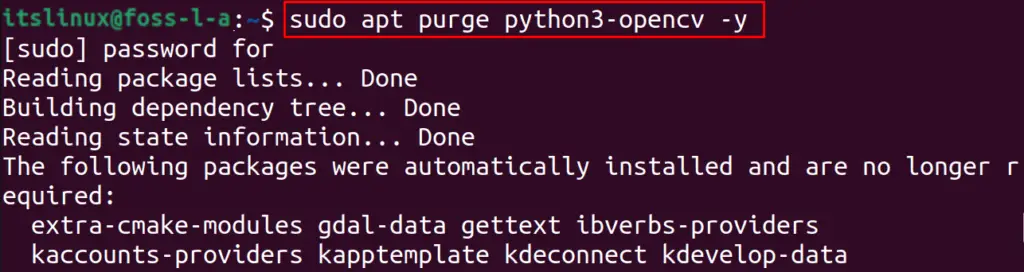
Method 2: How to install OpenCV on Ubuntu 22.04 using the Github
We will follow the below-mentioned steps to install OpenCV on Ubuntu.
Step 1: Clone the repository
We will clone the git repository of OpenCV from the GitHub and also OpenCV contribution by using the command:
$ git clone https://github.com/opencv/opencv.git && git clone https://github.com/opencv/opencv_contrib.git 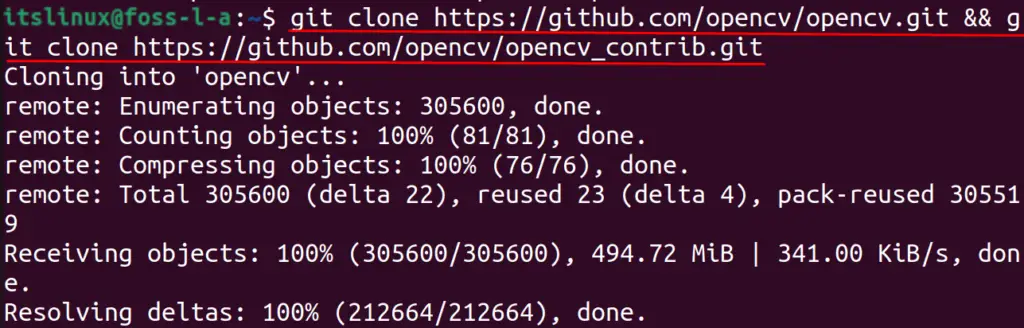
Step 2: Confirm the version of OpenCv and OpenCv_contrib
After cloning both the OpenCV and OpenCV contribution, we will navigate to the OpenCV directory and check the version of OpenCV that is cloned from GitHub:
$ cd opencv && git checkout $cvVersion && cd
Similarly, to the OpenCV, we will check the version of OpenCV contribution using the command:
$ cd opencv_contrib && git checkout $cvVersion && cd
Step 3: Compile the installation files of OpenCV
Now again we will navigate to the opencv directory, will make a directory of “build” and also navigate to it using the command:
$ cd opencv && mkdir build && cd build
Now, we will compile the binaries of OpenCV by using the cmake command:
$ cmake -D CMAKE_BUILD_TYPE=RELEASE \
-D CMAKE_INSTALL_PREFIX=$cwd/installation/OpenCV-"$cvVersion" \
-D INSTALL_C_EXAMPLES=ON \  -D INSTALL_PYTHON_EXAMPLES=ON \
-D WITH_TBB=ON \  -D WITH_V4L=ON \
-D OPENCV_PYTHON3_INSTALL_PATH=$cwd/OpenCV-$cvVersion-py3/lib/python3.5/site-packages \
-D WITH_QT=ON \
-D WITH_OPENGL=ON \
-D OPENCV_EXTRA_MODULES_PATH=../../opencv_contrib/modules \
-D BUILD_EXAMPLES=ON ..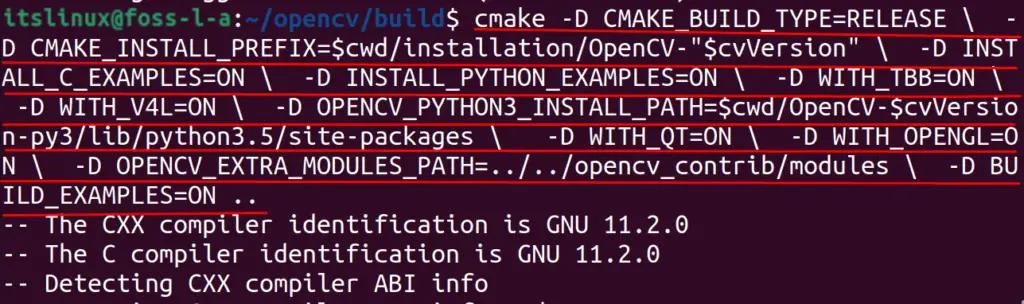
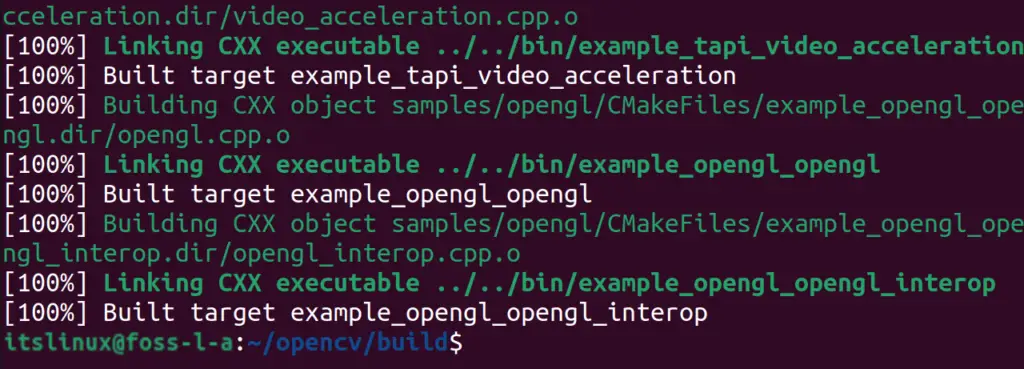
We will make the compiled binaries by running the command:
$ make -j$(nproc)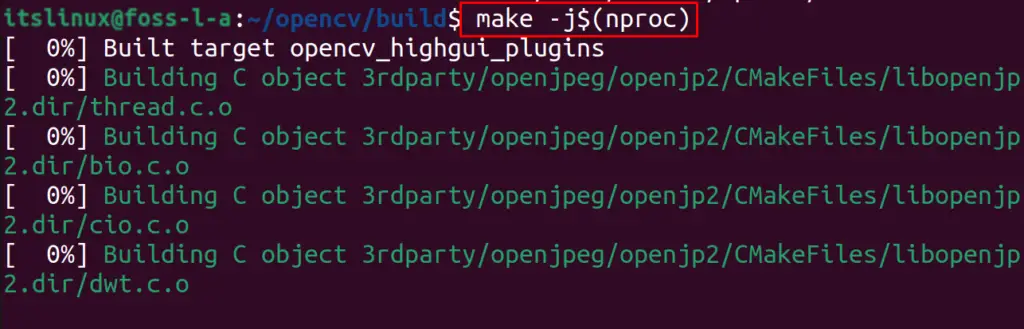
Finally, When all the binaries are made, then we will install OpenCV by using the command:
$ sudo make install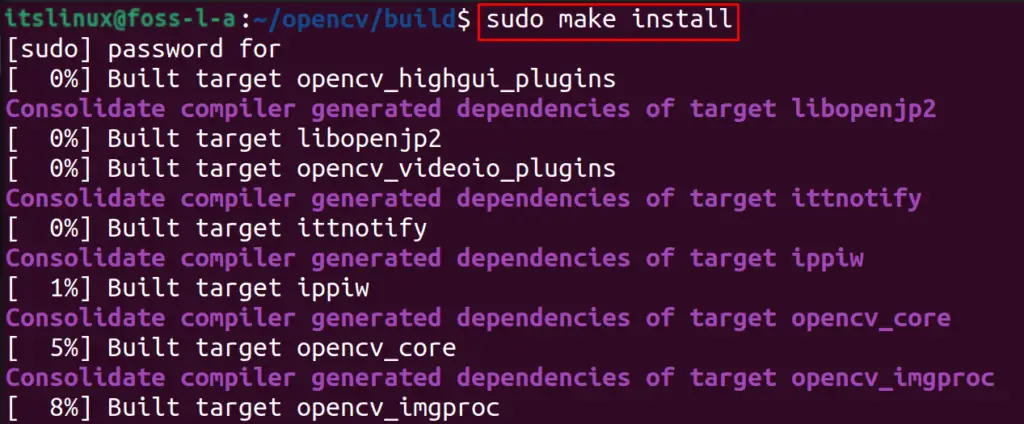
To confirm the installation of OpenCV by the above-executed command:
$ python3 -c "import cv2; print(cv2.__version__)"
Conclusion
OpenCV is a Linux tool for computing vision tasks and machine learning and is made up of Python, and C languages and contains more than 2500 algorithms that are used for these tasks. In this write-up, two different methods to install OpenCV on Ubuntu 22.04 have been discussed.

Saryia is a technology entrepreneur and digital publisher specializing in Linux, open-source technologies, and developer education.