
Apache Web server is an open-source used for the implementation of HTTP web server launched by the Apache Software Foundation. It is widely used all across the World because of its distinguished features, a few of which are mentioned here:
- It supports HTTP/2
- It contains loadable dynamic modules
- It helps in handling static files
- It also supports FTP connections
- It acts as a load balancer
Apache web server can be installed on a different operating system, but in this write-up, we are concerned with the installation of Apache Web Server on Ubuntu.
How to install and configure Apache Web Server on Ubuntu 22.04
The installation package of Apache Web Server comes in the default repository of Ubuntu so the most convenient method to install Apache web server on Ubuntu is by installing is from its default repository package using the apt package manager:
$ sudo apt install apache2 -y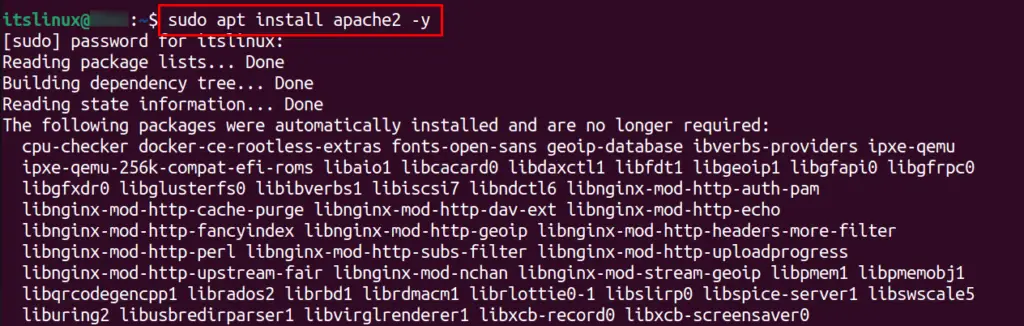
For the confirmation of installation of Apache web server, we will display its installed version:
$ apache2 -version
To allow traffic from firewall, we will allow the traffic from ports of Apache:
$ sudo ufw allow 'Apache' 
Then will verify the status of UFW:
$ sudo ufw status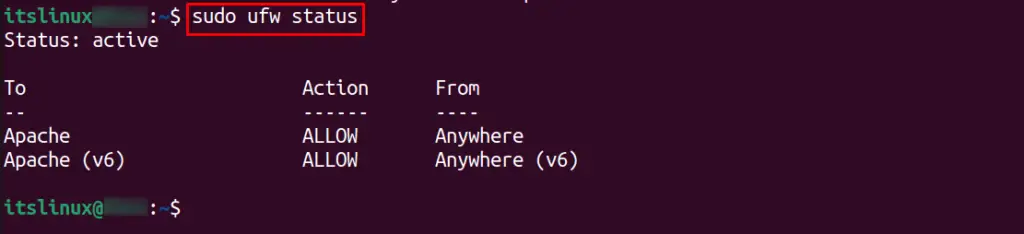
Then we will check the status of Apache web server service using the systemctl command:
$ sudo systemctl status apache2 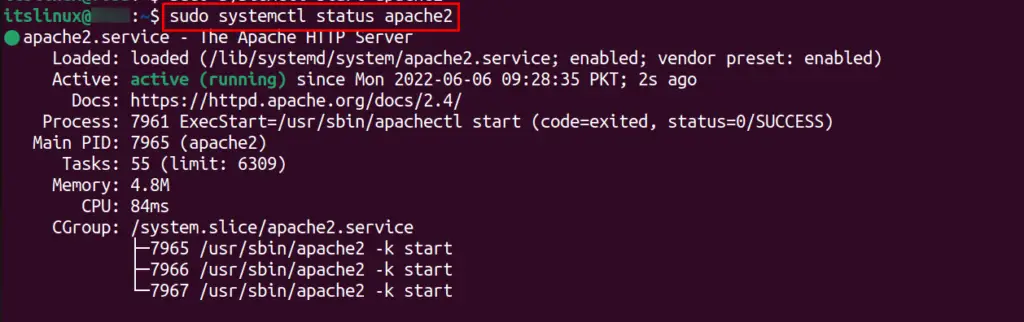
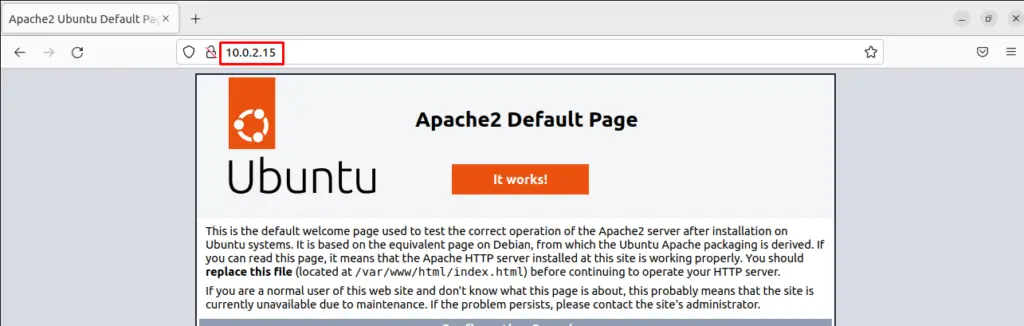
Now we will open the welcome page of Apache Web server on the internet browser, but for it, we have to find out the IP address of our machine which we can find out by using the command:
$ hostname -I
Use this IP address in the URL address bar of your system to navigate the “Welcome page of Apache”:
How to set up a virtual host using Apache Web Server
To set up the virtual host using the Apache web server, we should need some domain name, so we are for demonstration purposes considering our domain name is “itslinuxfoss.net”, so first step is to create a directory without domain name so that we can store the data in this directory:
$ sudo mkdir -p /var/www/itslinuxfoss.net/html
Change the ownership of the directory:
$ sudo chown -R $USER:$USER /var/www/itslinuxfoss.net/html
And then also change its access permissions using the command:
$ sudo chmod -R 755 /var/www/itslinuxfoss.net
Now we will create a sample welcome web page, for this we will first open the itslinuxfoss.net file using the nano text editor:
$ nano /var/www/itslinuxfoss.net/html/index.html
And then copy-paste the mentioned below script in it:
<html>
<head>
<title>Welcome to itslinuxfoss.net!</title>
</head>
<body>
<h1>You are running itslinuxfoss.net on Ubuntu 22.04!</h1>
</body>
</html>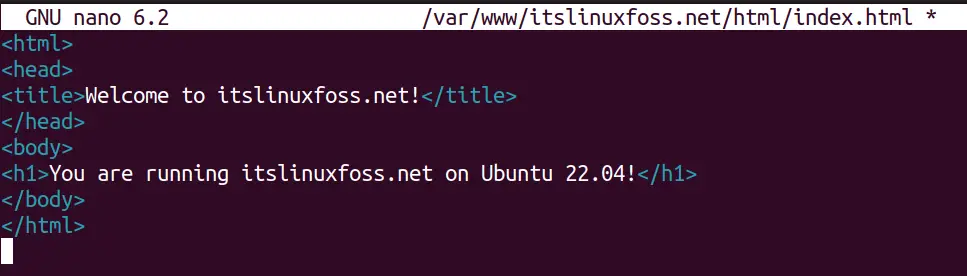
Exit the editor by saving the file and then open the configuration file of your domain by using the nano text editor:
$ sudo nano /etc/apache2/sites-available/itslinuxfoss.net.conf
And again copy-paste the script provided below:
<VirtualHost *:80>
ServerAdmin [email protected]
ServerName itslinuxfoss.net
ServerAlias itslinuxfoss.net
DocumentRoot /var/www/itslinuxfoss.net/html
ErrorLog ${APACHE_LOG_DIR}/error.log
CustomLog ${APACHE_LOG_DIR}/access.log combined
</VirtualHost>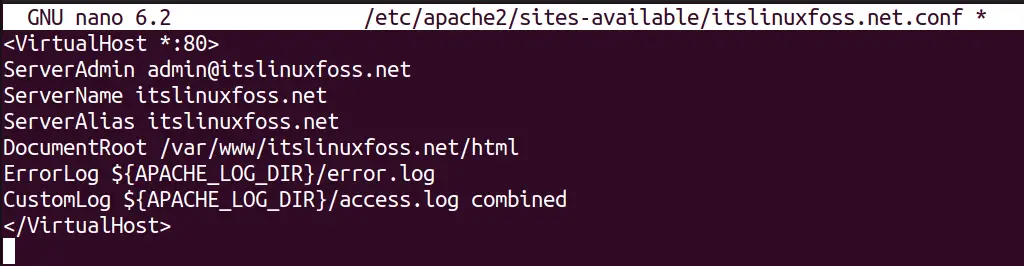
Next step is to activate the virtual host and restart the apache web server using the command:
$ sudo a2ensite itslinuxfoss.net.conf && sudo a2dissite 000-default.conf && sudo systemctl restart apache2
When it is done, we will once check the errors of the newly created domain by using the command:
$ sudo systemctl reload apache2 && sudo apache2ctl configtest
Conclusion
Apache is a web server whose function is to collect data in the form of HTTP requests from internet user and sending them back their required information in the form of web pages and files. In this guide, the Apache web server was not only installed on Ubuntu but also its basic configuration has been explained.

Saryia is a technology entrepreneur and digital publisher specializing in Linux, open-source technologies, and developer education.