
Virtual hosts mean to host different websites from a single machine using the one IP (internet protocol), where any web server can be used to host this but in this writeup, we will learn to set up the virtual host by using the Apache server on Debian 11.
Apache webserver is known so much especially in the world of Linux and a lot of websites are being hosted by Apache web server, moreover, it offers great flexibility and features that attract the developers towards the utilization of it for the purpose of web development.
How to set up Apache Virtual Hosts on Debian 11
Before proceeding towards anything it is recommended to update the repository of Debian 11 by using the command:
$ sudo apt update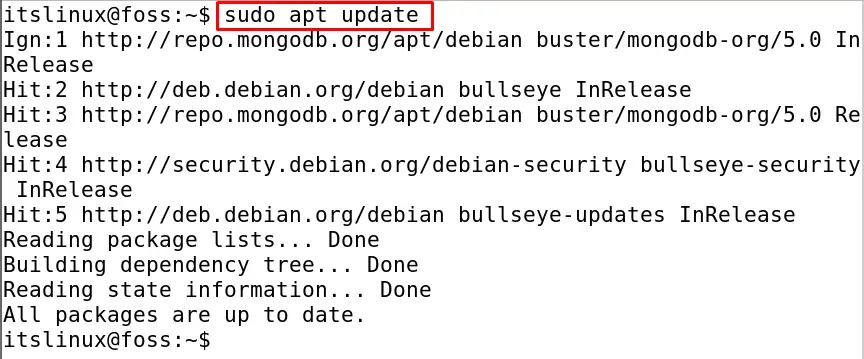
Once all the packages are up to date, install the apache server on Debian 11 using the command:
$ sudo apt install apache2 -y
To check the version of the installed Apache server, we will browse the hostname in the browser but know the hostname, execute the command:
$ hostname -I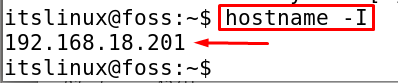
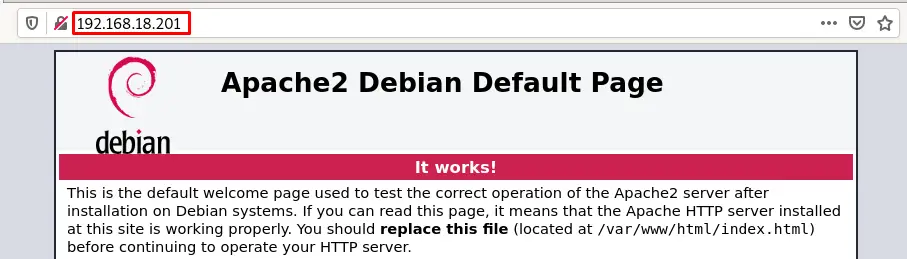
Now copy and paste the 192.168.18.201 in the browser of your machine, (this address can vary in your case)
Now, once it is confirmed that the Apache server has been successfully installed, we will check its status by using the systemctl command:
$ sudo systemctl status apache2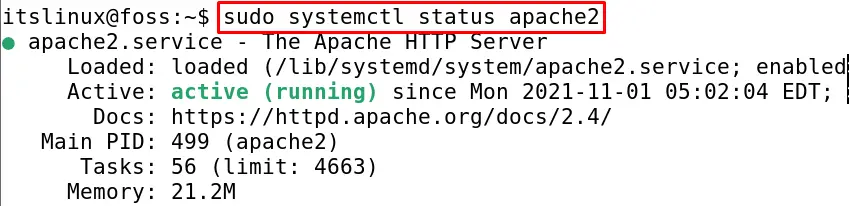
Though the service of the Apache server is already being running if it is not in running status, we can manage it by using the systemctl command to start, stop, and restart. As we discuss the Apache server has the ability to host different websites using a single machine so for more clarification of this, we will consider an example and will create a sample domain by the name of mydomain.com but you can choose your own name. To do so, we will first make a directory in the path of /var/www/mydomain.com
$ sudo mkdir -p /var/www/my_domain.com
Now we will change the access permissions of the directory so anyone can access it by executing the following command:
$ sudo chown -R www-data:www-data /var/www/my_domain.com
$ sudo chmod -R 755 /var/www/my_domain.com
Now we will open the HTML file using the nano editor and write some text in it to text the domain www.mydomain.com:
$ sudo nano /var/www/my_domain.com/index.html
Now once the file has been opened copy the text from below and pastes it there.
<html>
 <head>
   <title>Welcome to the page my_domain.com!</title>
 </head>
 <body>
   <h1>Congratulations! Your my_domain.com server succeeded!</h1>
 </body>
</html>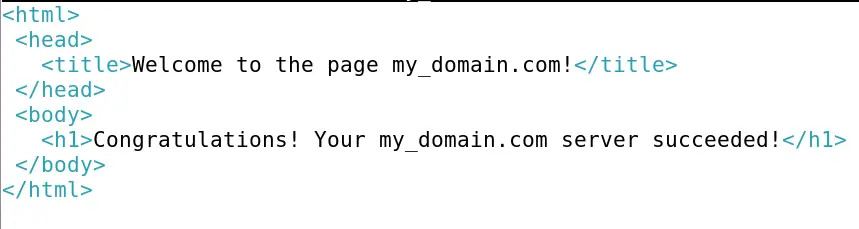
Save the file by pressing CTRL+S and then exit the editor by pressing CTRL+X. After this build a virtual host file that will serve the contents of the server, for this purpose open the file again using the nano editor:
$ sudo nano /etc/apache2/sites-available/my_domain.com.conf
Now copy the text from below and paste it into the file opened by the nano editor:
<VirtualHost *:80>
  ServerAdmin admin@my_domain.com
  ServerName my_domain.com
  ServerAlias www.my_domain.com
  DocumentRoot /var/www/my_domain.com
  ErrorLog ${APACHE_LOG_DIR}/error.log
  CustomLog ${APACHE_LOG_DIR}/access.log combined
</VirtualHost>
Exit the editor by saving the file, and reloading the new configuration by using the systemctl command:
$ sudo systemctl reload apache2
Now turn on the virtual host by using the command:
$ sudo a2ensite my_domain.com.conf
Disable the default configuration of the Apache server by running the command:
$ sudo a2dissite 000-default.conf
Now to save these settings, reload the apache2 by using the systemctl command:
$ sudo systemctl reload apache2
To check whether the Apache virtual host has been configured or not we will execute a test command:
$ sudo apachectl configtest
The OK will be displayed in the output which means the configuration has been done successfully.
Conclusion
Apache webserver supports the feature of the virtual host by hosting different websites from the same machine. In this writeup, we will learn how to install and set up the virtual host using the Apache web server in Debian 11.

Saryia is a technology entrepreneur and digital publisher specializing in Linux, open-source technologies, and developer education.