
If you want to manage the applications of your computer through the web interfaces then it is the right place where you are now. In this write-up, we will discuss the Webmin application’s installation on Ubuntu and the method to use it for managing different applications of Ubuntu.
Webmin is a web-based application that allows you to manage the computer applications from the web browser instead of opening the configuration files of respective applications and making changes to them. You can share files from the console or remotely as well as you can manage your Apache server as well as DNS configurations from any of your favorite web servers.
Let’s begin with the method of installing Webmin on Ubuntu and then managing different services or applications.
How to install Webmin on Ubuntu 22.04?
We will install the Webmin application by importing its GPG key from Webmin’s official website and adding its repositories. You have to just follow the steps that are going to be discussed next to install Webmin.
Step 1: Switch to the root user on Ubuntu
We will run the installation commands by switching to the root user on Ubuntu using the command:
$ sudo -s
Step 2: Add the repository of Webmin on Ubuntu
For adding the repository of Webmin in Ubuntu 22.04 system, open the /etc/apt/sources.list file in nano editor using the command:
# nano /etc/apt/sources.list
Add the following line at the bottom of the file as shown in the screenshot given below:
deb [signed-by=/usr/share/keyrings/jcameron-key.gpg] https://download.webmin.com/download/repository sarge contrib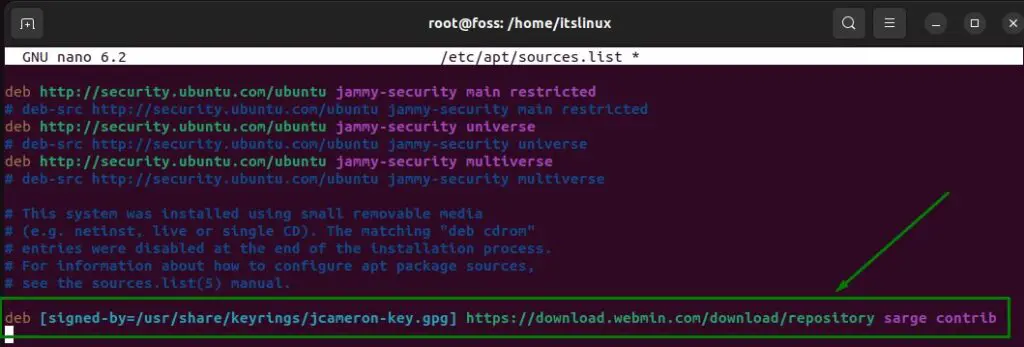
After adding the repository, use keyboard shortcut keys, CTRL+S and CTRL+X to save and exit from the nano editor.
Step 3: Import the GPG key
After adding the repository of Webmin, it’s time to import the GPG key by using the command:
# wget https://download.webmin.com/jcameron-key.asc
cat jcameron-key.asc | gpg --dearmor >/usr/share/keyrings/jcameron-key.gpg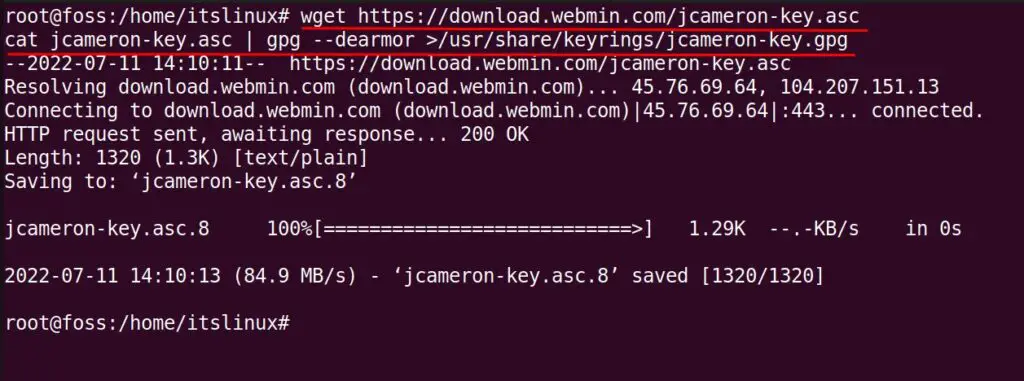
Step 4: Update the packages of the repository on Ubuntu
Now update all the packages of Ubuntu to make sure that the added repository is also updated by using the apt package manager:
# apt updateStep 5: Install the Webmin on Ubuntu
To install the Webmin on Ubuntu, we will again make use of the apt package manager with its option of “install”:

# apt install webmin -y
Step 6: Allow the port 10000 on Ubuntu
To use Webmin, we have to allow the web traffic on port 10000 which is by default used by the Webmin application and we can do so by using the UFW.
First, enable the UFW using the command:
# ufw enable
Now, allow the 10000 port on UFW using the command:
# ufw allow 10000
Step 7: Confirm installation of Webmin on Ubuntu
To confirm the Webmin installation, check the service status of Webmin using the systemctl command:
# systemctl status webmin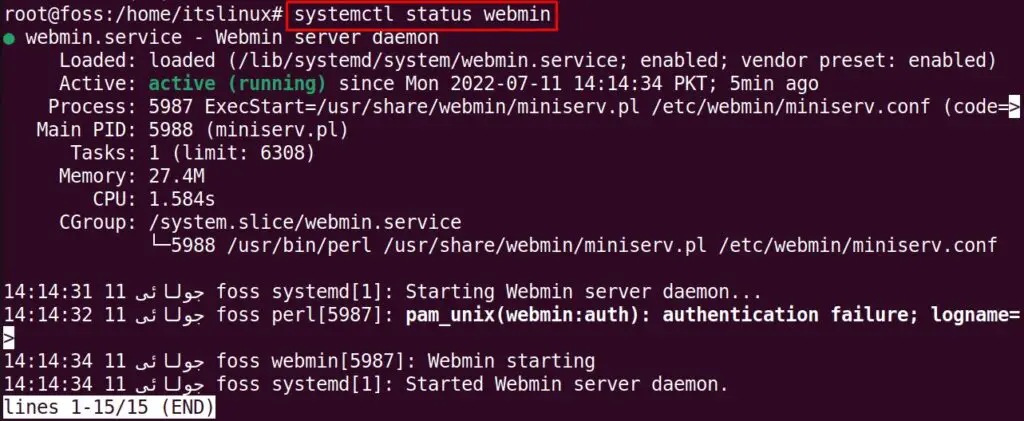
Step 8: Exit the root user
When the installation is complete, exit the root user by using the command:
# exit
How to use Webmin on Ubuntu 22.04?
To manage Webmin, we will follow the following steps.
Step 1: Open the browser on Ubuntu
We will open the web browser on Ubuntu and will type the localhost:10000 and go to that address:
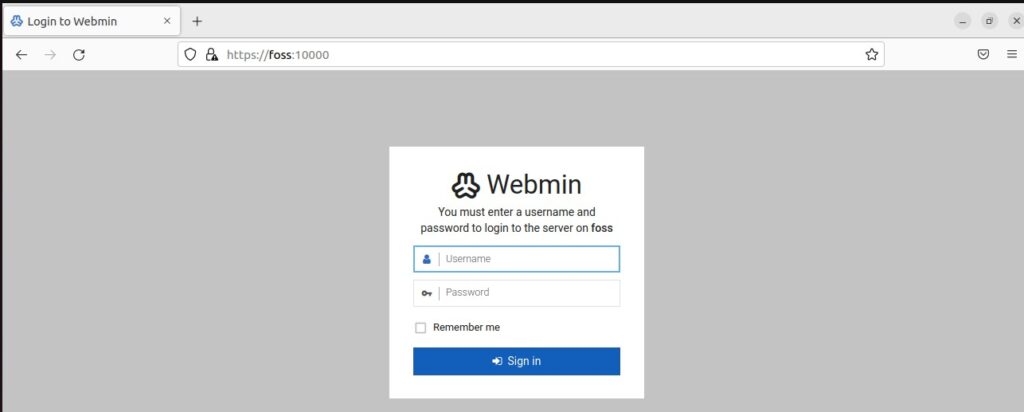
Enter the Username and its password to log in.
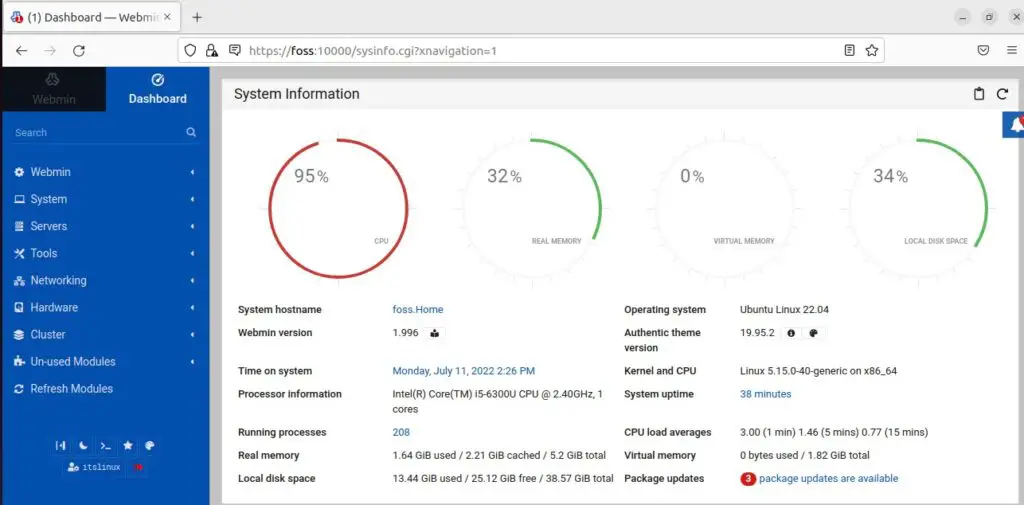
Step 2: Dashboard of the Webmin on Ubuntu
Once you are logged in to Webmin, a dashboard will appear on the screen as shown below:
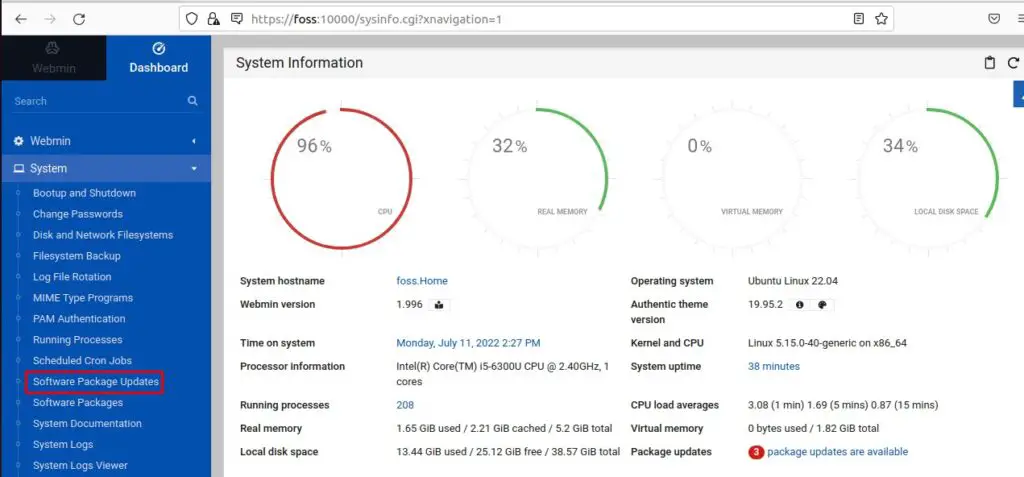
Step 3: Update packages from Webmin on Ubuntu
To update packages using Webmin, scroll down the Dashboard menu(on the left side) and click on the “Software Package Updates” and from there you can update the packages of Ubuntu using Webmin dashboard on-the-go:
Conclusion
The Webmin application is used to manage the services like Apache web server, Networking settings, and also to share a file using the web interface. In this write-up, a method to install Webmin on Ubuntu as well as to use it has been discussed in detail.

Saryia is a technology entrepreneur and digital publisher specializing in Linux, open-source technologies, and developer education.