
Wireshark is an analyzer that is used to analyze the network protocols at a microscopic level and helps you to determine what is happening in it. It is mostly used in the industries and especially in educational institutions as it helps the students to understand the information related to the network protocols.
In this write-up, we will explore the method of Wireshark installation with its configuration on Ubuntu, but before proceeding with it, we will first find out some of the latest features of Wireshark.
What are the features of Wireshark?
Some of the important features that make Wireshark, a popular network analyzer are:
- It contains deep inspection of hundreds of network modules with the ability of live capture as well as offline analysis
- It can be run on different operating systems including Windows, macOS, and Linux distributions
- It contains a Rich VoIP analysis
- It allows to export the output in the form of XML files, CSV, and plain text
- It provides different colors that can be applied on output to differentiate the packets’ information as well as quick analysis
How to install and configure Wireshark on Ubuntu 22.04?
The latest stable package of Wireshark in available in the latest release of Ubuntu(Jammy Jellyfish) and we can install it from the default repository by following the steps mentioned below.
Step 1: Find out the package of Wireshark in Ubuntu
You can find out the package availability of Wireshark in the default repository of Ubuntu using the following APT package manager command:
$ sudo apt show wireshark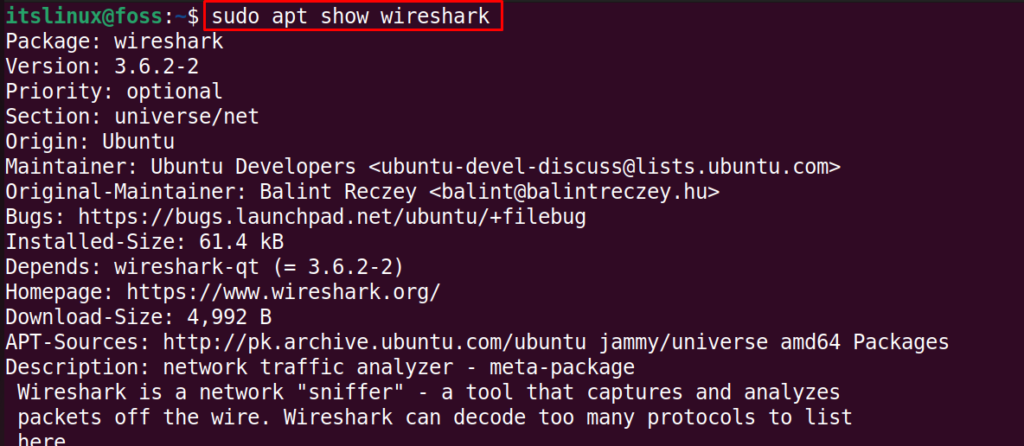
Step 2: Install Wireshark on Ubuntu
When it is confirmed that the package of Wireshark is available in the default repository of Ubuntu 22.04, we will install it by using the command:
$ sudo apt install wireshark -y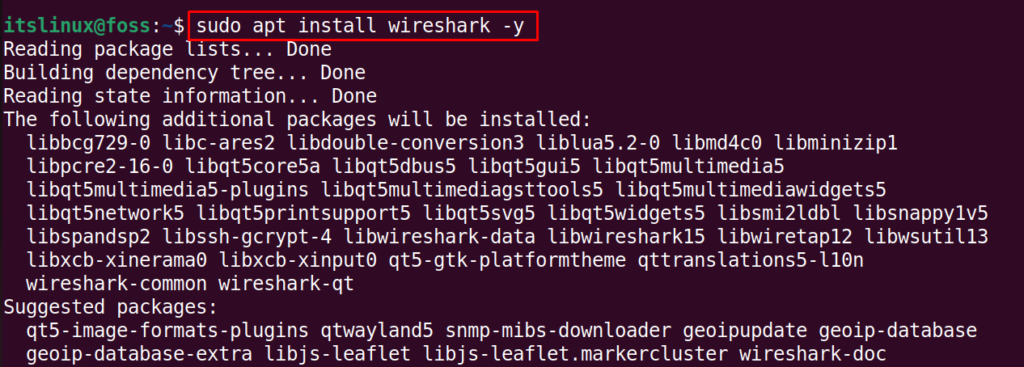
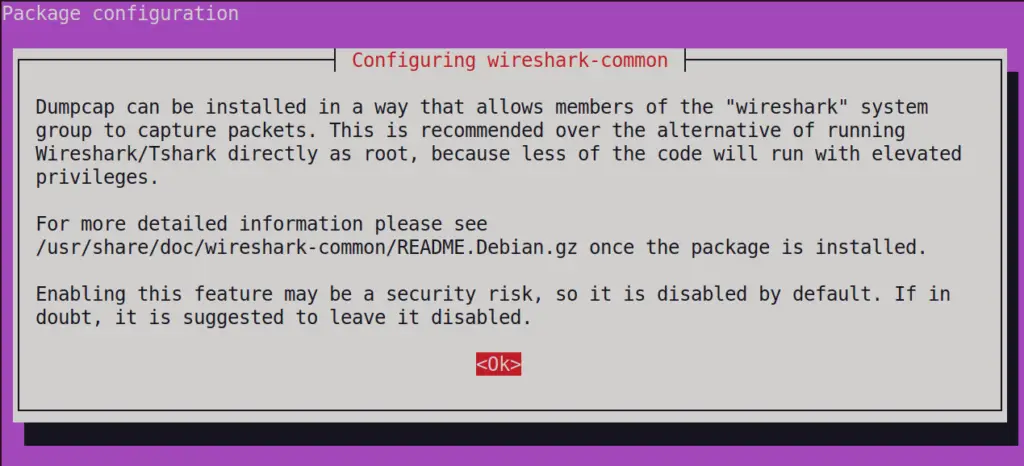
Step 3: Allows Wireshark to have root privileges on Ubuntu
While installing the Wireshark application, it will first ask for the configuration. For going with the default configuration, hover over the “Ok” using arrow keys of keyboard and hit “Enter”:
Later, it will ask to permit the access of non-root user for the packets capturing. Allow it by pressing “Enter” key on the “Yes” Option:
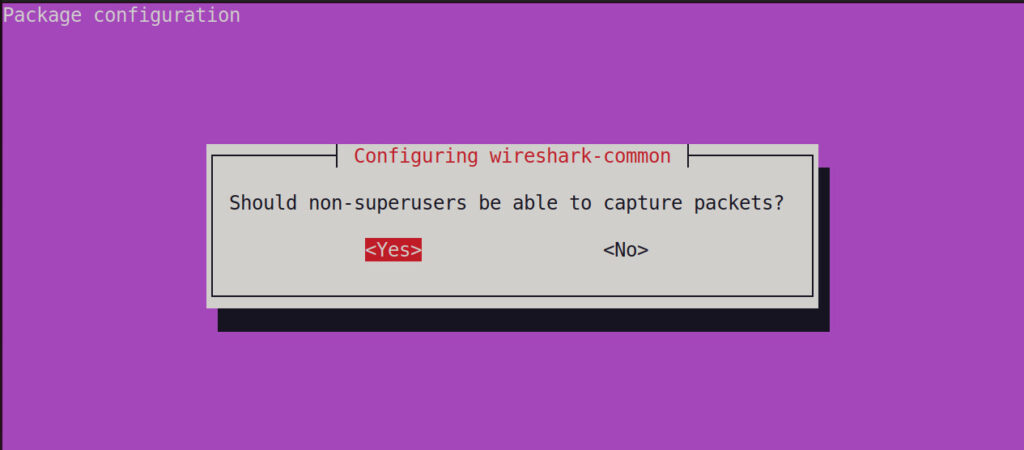
But if in any case, you click on the “No” then you can run the below-mentioned command to reconfigure the Wireshark settings::
$ sudo dpkg-reconfigure wireshark-common
Step 4: Add a user in Wireshark on Ubuntu
To add the user(itslinux) in the Wireshark group who can use the Wireshark, we will run the below-mentioned command:
$ sudo usermod -aG wireshark itslinux
You can change the “itslinux” with your own username.
Step 5: Launch the Wireshark application
When the user is added to Wireshark group and the installation is completed, launch Wireshark using the command:
$ wireshark
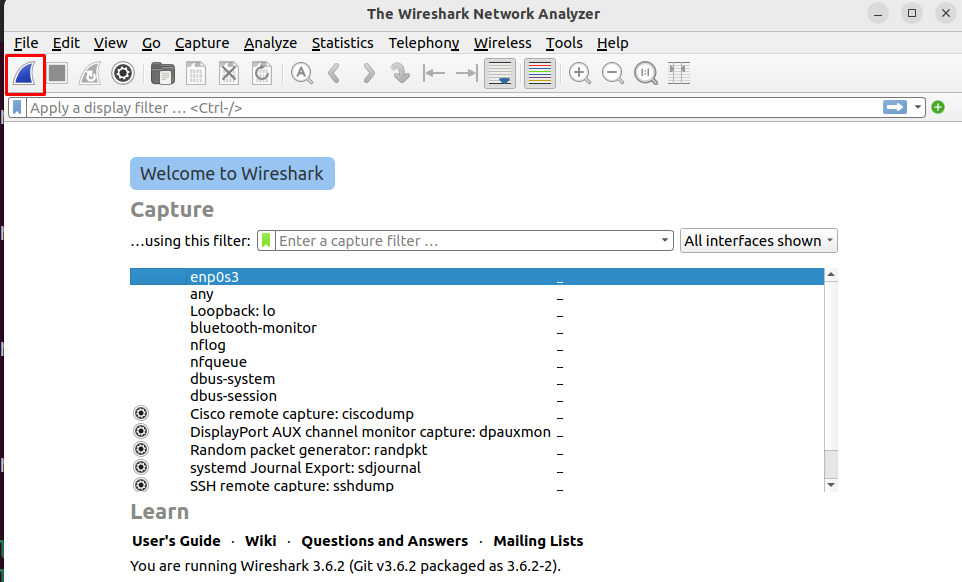
Once the Winshark is launched, it will provide different network interfaces, click on your desired interface and then click on the “shark tai” icon highlighted in the screenshot provided belowl to get its information:
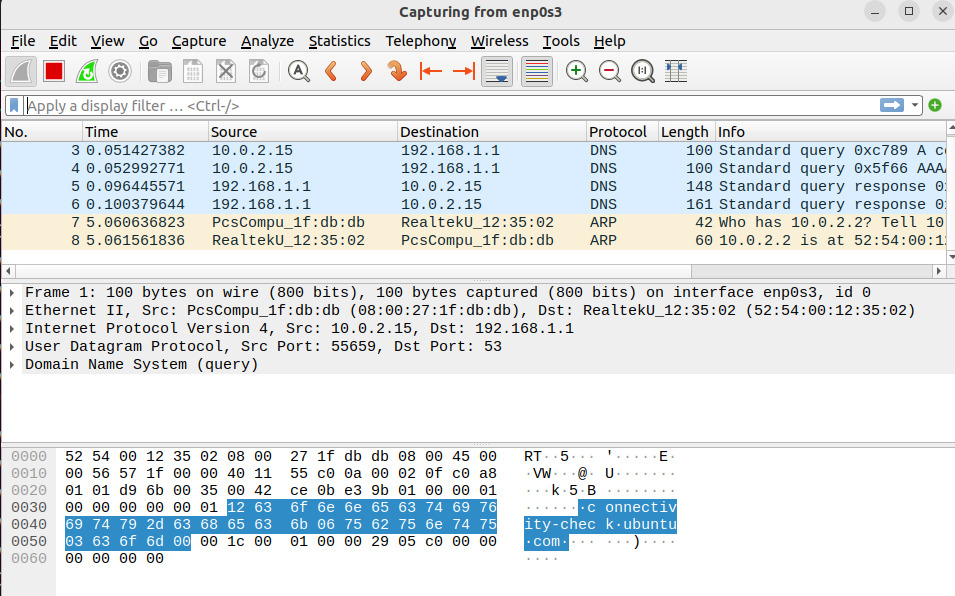
The information regarding that interface is started to be analysed:
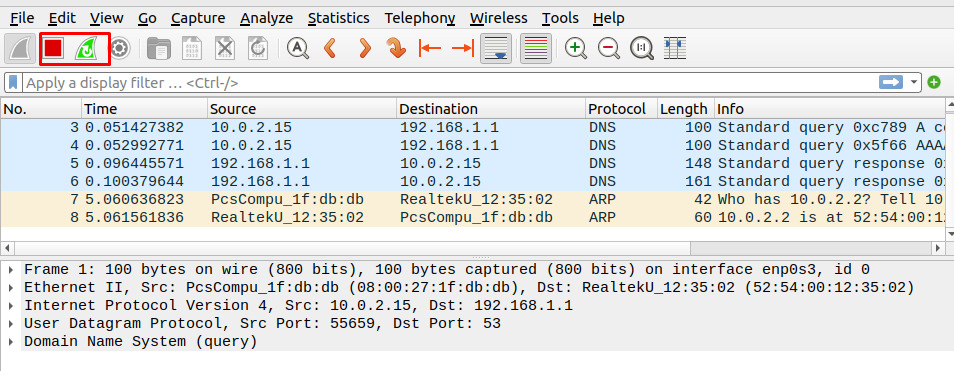
You can manage the analysis process by stopping and starting it from the buttons shown below:
How to uninstall Wireshark on Ubuntu 22.04?
To remove the Wireshark from Ubuntu with all its configuration files, the best way is to use the purge option of the apt package manager:
$ sudo apt purge wireshark -y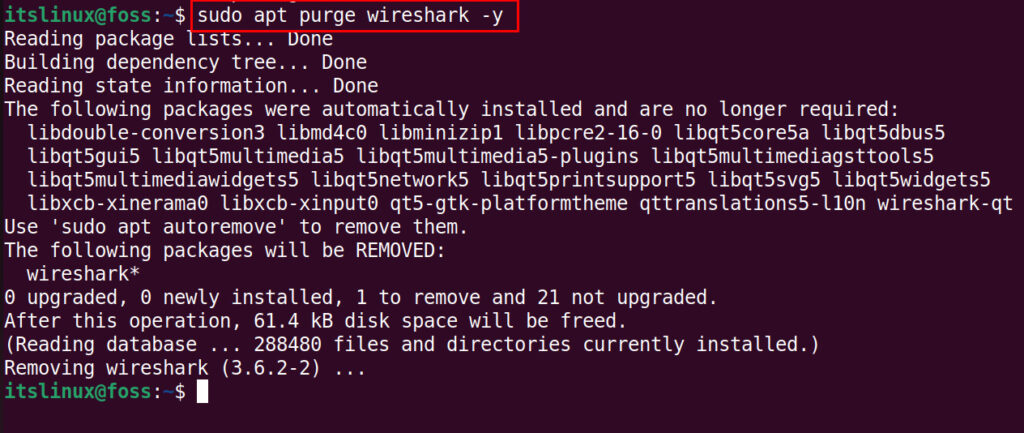
Wireshark is uninstalled successfully.
Conclusion
Wireshark is used to analyze the network interfaces on the microscopic level and is the popular and most widely used tool all across the World. In this write-up, Wireshark has been installed on Ubuntu as well we used it to find the information on the available network interface on Ubuntu 22.04.

Saryia is a technology entrepreneur and digital publisher specializing in Linux, open-source technologies, and developer education.