
Jenkins is popular for automation of tasks like build, test and deploy software. It is open-source software. The working of Jenkins is based on continuous integration which means that Jenkins tracks the change and integrates the changes in your software project continuously.
Jenkins supports a list of plugins to work on different DevOps stages. Furthermore, Git, Amazon, Maven and others can also be integrated with installing required plugins.
This post aims to provide a method to install Jenkins on Ubuntu 22.04.
How to install Jenkins on Ubuntu 22.04
Jenkins provides free facilities to continuously integrate your software. The following steps are performed to explain the process of installation of Jenkins on Ubuntu 22.04.
Step 1: Download Jenkins
Download the stable version of Jenkins for Debian users like Ubuntu. The Jenkins package can be downloaded from the Jenkins’ official link via curl command. The below command will transfer the package data to the local repository:
$ curl -fsSL https://pkg.jenkins.io/debian-stable/jenkins.io.key | sudo tee /usr/share/keyrings/jenkins-keyring.asc > /dev/null
Step 2: Add Jenkins Repository
Add the Jenkins repository to the local repository of Ubuntu 22.04 as follows:
$ echo deb [signed-by=/usr/share/keyrings/jenkins-keyring.asc] https://pkg.jenkins.io/debian-stable binary/ | sudo tee /etc/apt/sources.list.d/jenkins.list > /dev/null
Step 3: Update the System Packages
Run the below command and update the package repository:
$ sudo apt update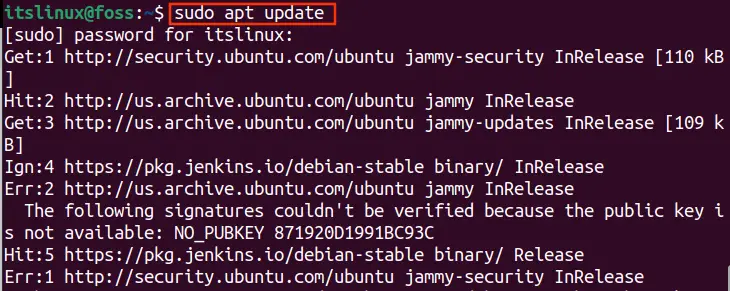
Step 4: Install Jenkins
The following command will be use to Install the Jenkins on Ubuntu 22.04:
$ sudo apt install jenkins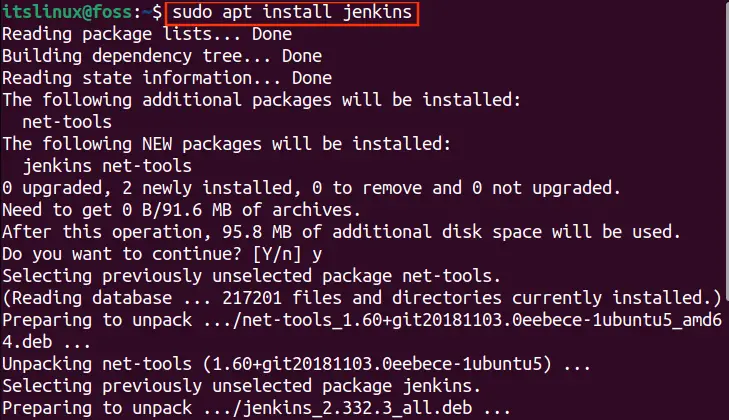
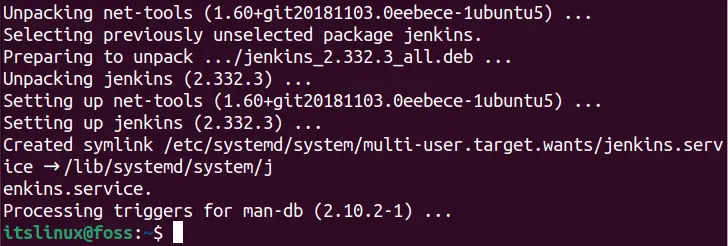
The Jenkins package is installed successfully.
Step 5: Start Jenkins service
Now it’s time to start Jenkins with systemctl command. Run the following command to start the Jenkins services:
$ sudo systemctl start jenkins
Step 6: Check the Status of Jenkins
Using the following command will return the status of Jenkins. It will show whether Jenkins is active or not.
$ sudo systemctl status jenkins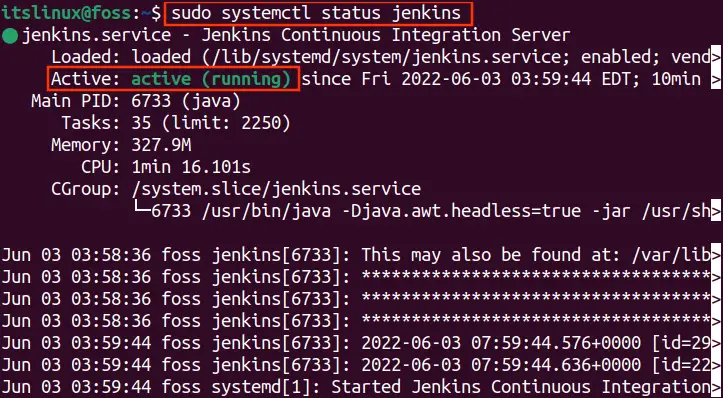
Step 7: Enable Firewall
So far so good, after activating Jenkins you need to enable the Firewall system in your Ubuntu operating system. The following command will enable the Firewall.
$ sudo ufw enable
Step 8: Allow Port 8080 on Firewall
To utilize the Jenkins services, you have to allow the port 8080. To do so, execute the following command:

Step 9: Firewall Status
Run the ufw status command from the terminal window to display the status of the Firewall:
$ sudo ufw status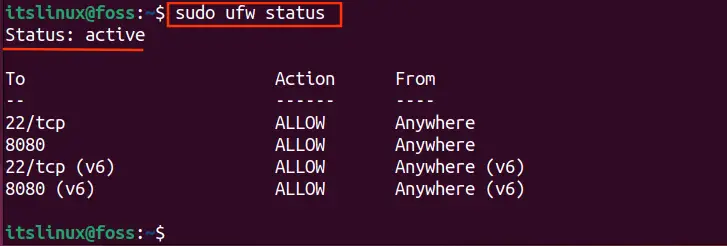
As per the above screenshot, the Firewall is active and the port 8080 is allowed for incoming requests.
Step 10: Check IP address of the localhost
If you have no idea about your system localhost IP, the following command will help you to list all the available hosts on your Ubuntu 22.04.
$ sudo nano /etc/hostsWhen the above command is executed, a nano editor will open with hosts details. Note down the address of localhost.
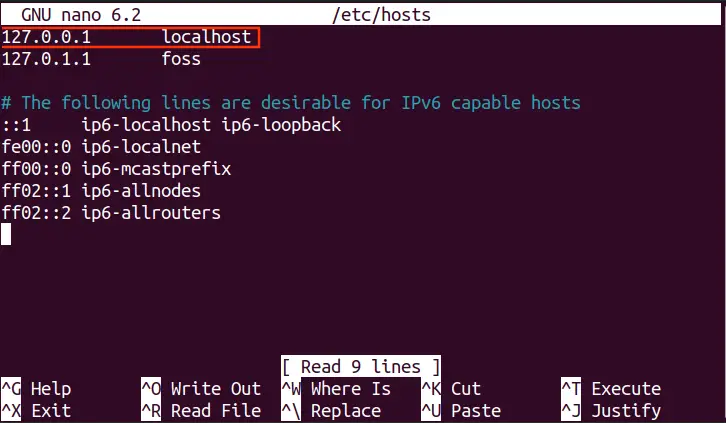
You can find the IP address assigned to your localhost.
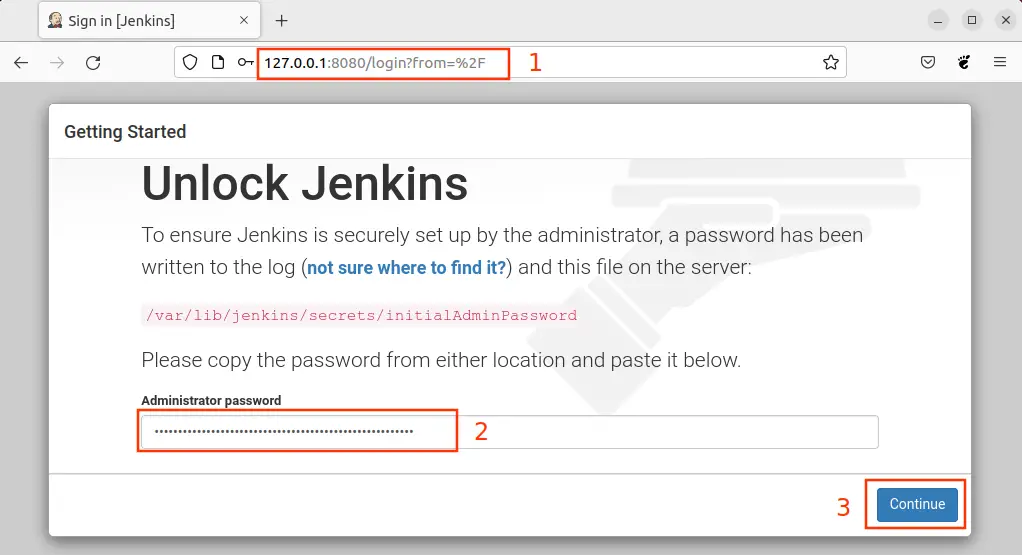
Step 11: Unlock Jenkins
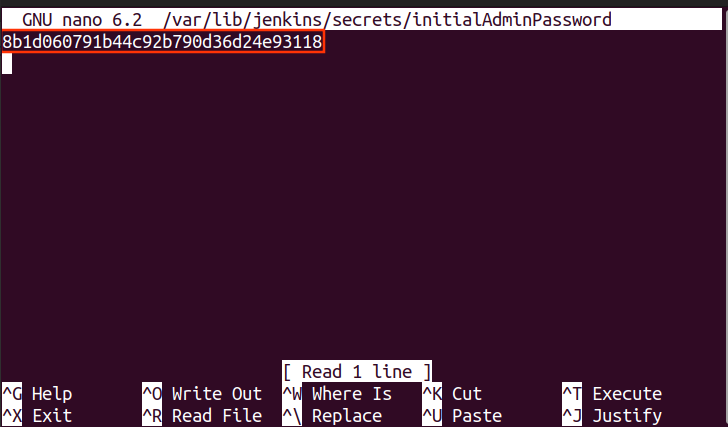
To login into Jenkins, you need to copy the password. But don’t worry, Jenkins saves your password in the secrets folder. Open the below-mentioned path with nano editor and you will find your Jenkin password.
$ sudo nano /var/lib/jenkins/secrets/initialAdminPassword
Navigate to the LocalHost, you will observe the following screen. You need to fetch the admin password located, “/var/lib/jenkins/secrets/InitialAdminPassword” and paste it into the password box as shown in the above screenshot.
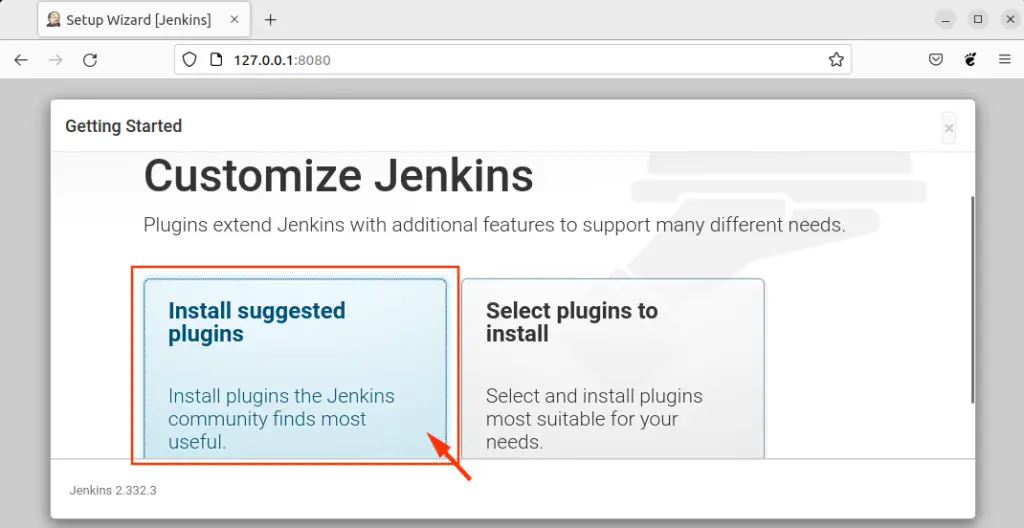
Step 12: Customize Jenkins
After Unlocking the Jenkins, a new window will be displayed with the two options. Select the first one “Install Suggested Plugins”. It will install the most useful plugins for you.
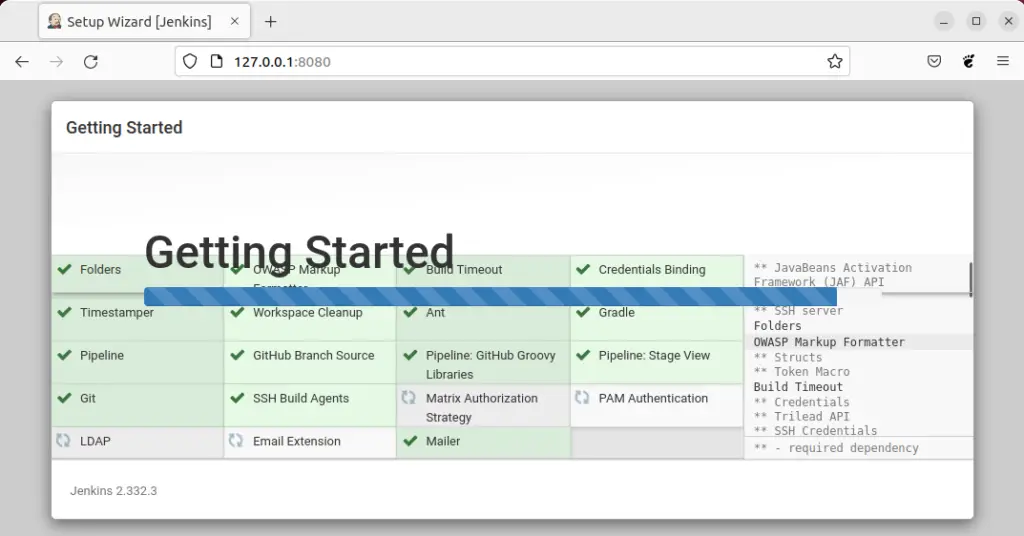
When you select the option “Install Suggested Plugins”, the process will start by installing the plugins in your Jenkins account.
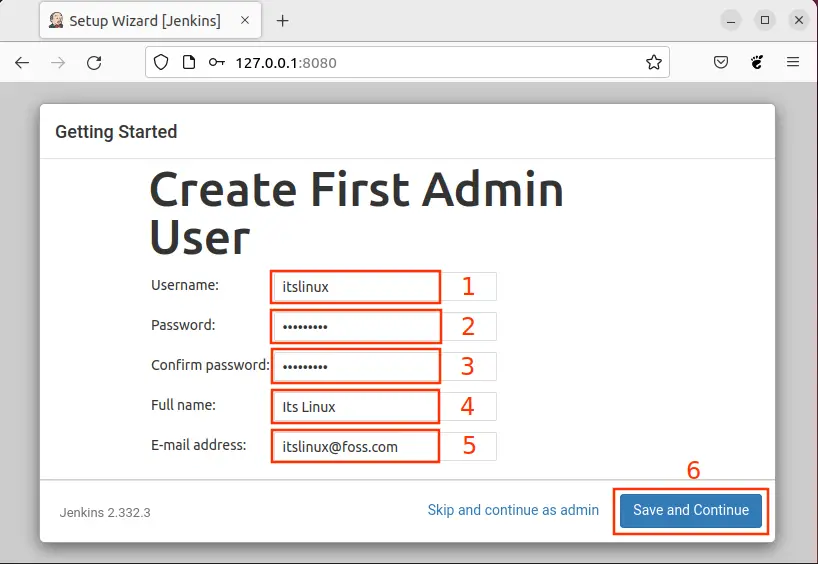
Step 13: Create Admin User
Once all the plugins are installed, the next step is to create a First Admin User. Write down your credential in the required field and click on the button “Save and Continue”.
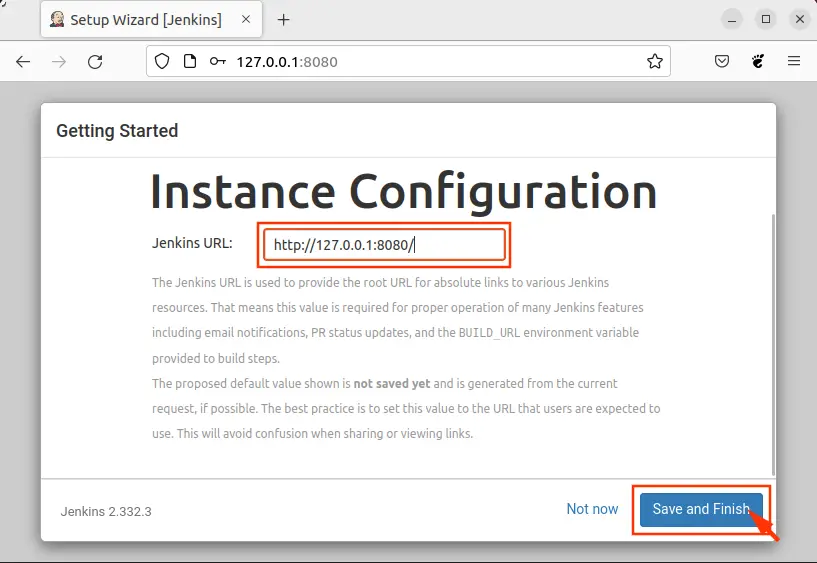
Step 14: Open Jenkins
Finally, your Jenkins instance is ready to use. Confirm your Jenkins url and click on “Save and Finish”.
Click on the button “Start using Jenkins” and the Jenkins dashboard will appear on your screen.
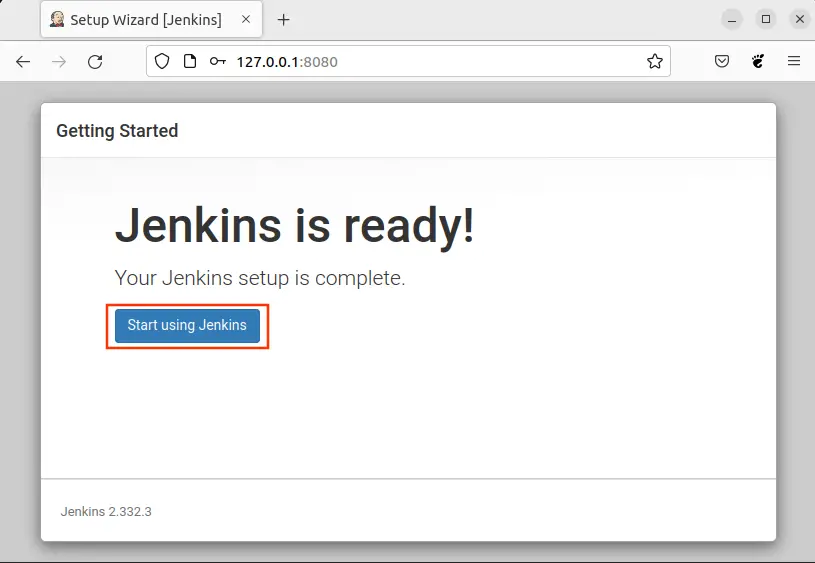
Your Jenkins is ready as shown below.
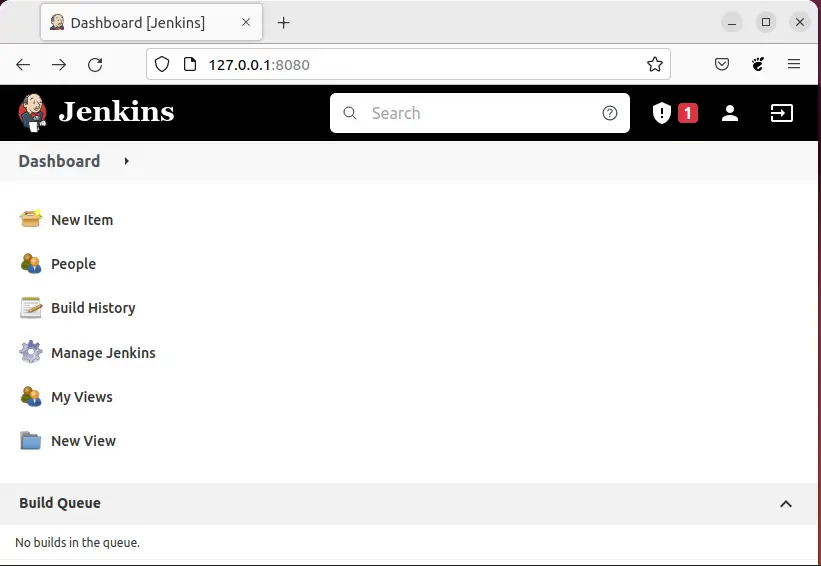
Congratulations! Create your projects with Jenkins and feel free about data loss.
How to remove the Jenkins from Ubuntu 22.04 using flatpak
To remove Jenkins from Ubuntu installed via APT repository, execute the following command:
$ sudo apt autoremove jenkins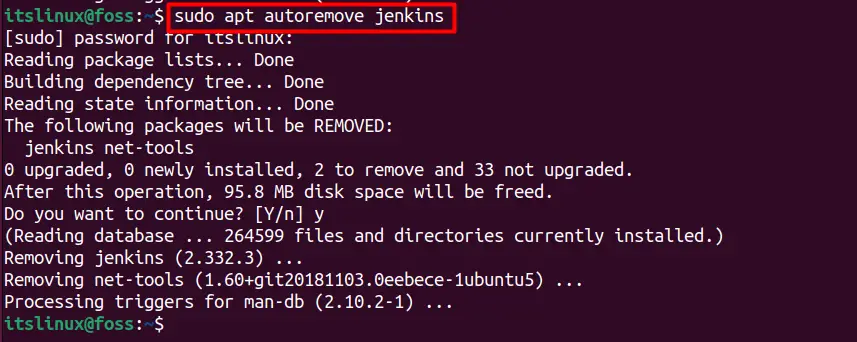
The Jenkins is removed successfully from Ubuntu 22.04.
Conclusion
Jenkins is available on the Ubuntu official repository and can be installed by using apt package manager. Jenkins is an open-source tool to continuously integrate your work. This post aims to demonstrate the installation of Jenkins on Ubuntu 22.04. You have also learned to configure and use Jenkins on Ubuntu 22.04.

Saryia is a technology entrepreneur and digital publisher specializing in Linux, open-source technologies, and developer education.