Memcached is a high-performance memory caching technology that is freely available for every computer user. It is utilized for caching the page rendering chunks, API calls, or the database data in RAM to improve an application’s speed. Memcached assists to reduce the number of requests to the database system through caching data in memory. This improves web server performance by permitting successive requests for the same data to be served quickly.
In this write-up, we will demonstrate you how you can install Memcached on Debian 11. Moreover, we will also show you a PHP test script execution with Memcached. So, let’s start!
How to Install Memcached on Debian 11 Linux
To follow the procedure of installing Memcached, press “CTRL+ALT+T” for opening your system terminal and then update the Debian 11 packages:
$ sudo apt-get update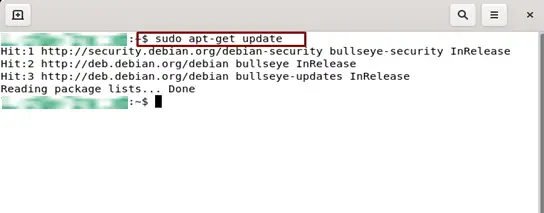
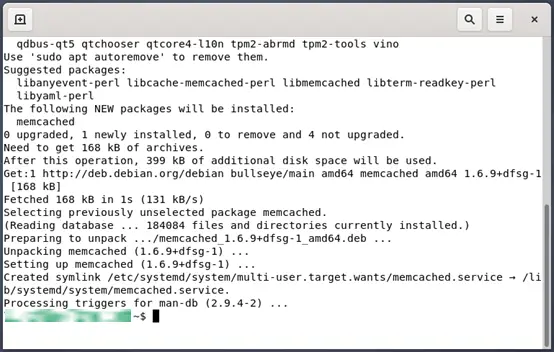
Now, utilize the below-given command for installing Memcached on your system:
$ sudo apt install memcached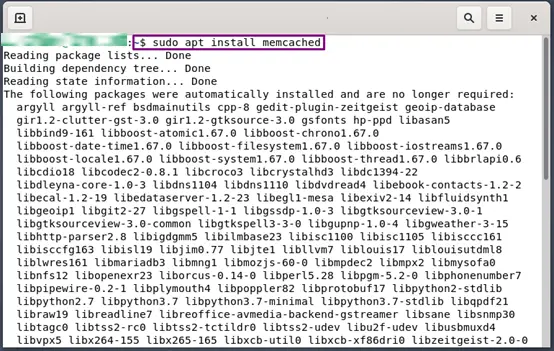
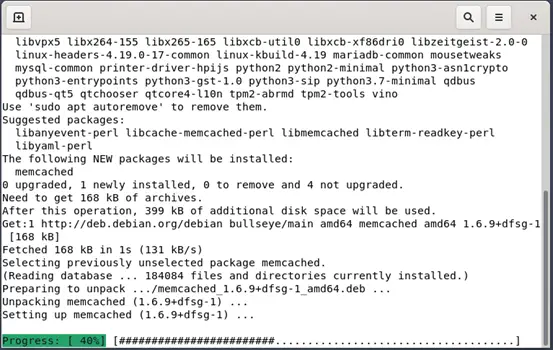
Wait for few minutes, as the Memcached will take some time to install on your system:
After installing Memcached, check out its status by executing the provided “systemctl” command:
$ sudo systemctl status memcached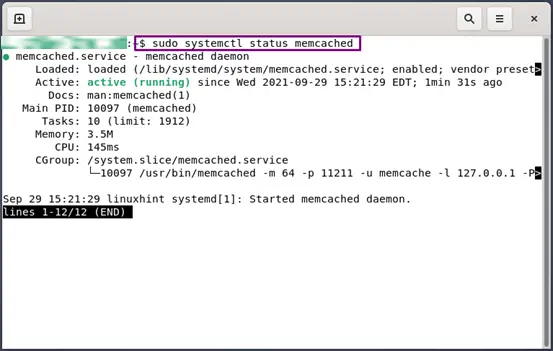
How to configure Memcached on Debian 11
You can change the default settings of the Memcached by using its configuration file. To do so, open up the Memcached configuration file in your nano editor:
$ sudo nano /etc/memcached.conf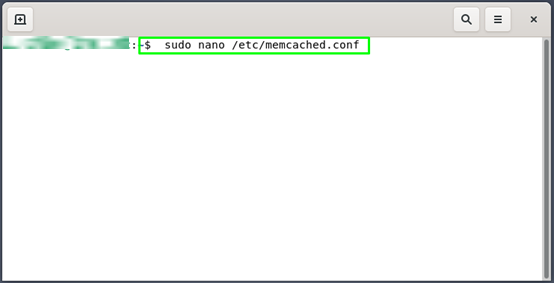
Your Memcached configuration file will somehow look like this:
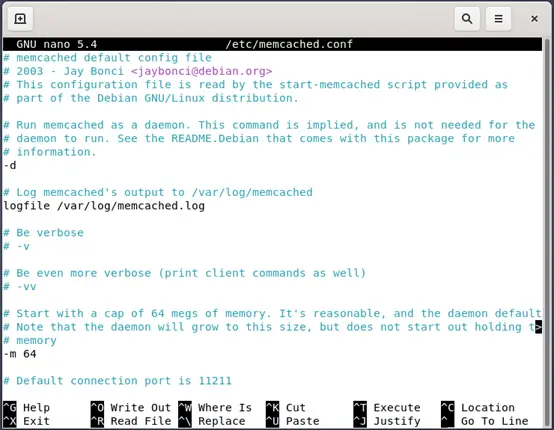
The Memcached configuration file “/etc/memcached.conf” provides you various options to configure. However, we will discuss some critical configuration options here:
The default listening port for the Memcached is “11211”. If you want to change the port number, then set the new port number with the “-p” option:
-p 11211
The “-m” option is used for setting the maximum memory value. By default, Memcached set “64” GBs as object storage:
-m 64
To set the listening address for Memcached, utilize the “-l” option in the Memcached configuration file. For instance, we have added “127.0.0.1” as our Memcached listening address:
-l 127.0.0.1
You can also set the Memcached service for operating as a specific user, using the “-u” option:
-u memcache
After making changes in the Memcached configuration file, restart its service on your system:
$ sudo systemctl restart memcached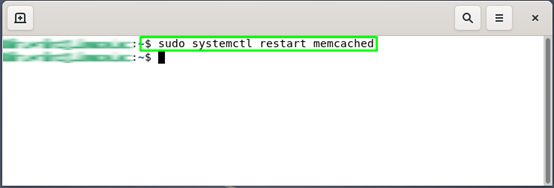
Now, we will configure our system firewall for allowing the traffic from “127.0.0.1” to the port “11211”:
$ sudo ufw allow from 127.0.0.1/24 to any port 11211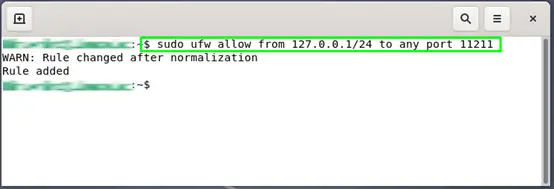
After adding the rule, reload the Firewall settings of your system:
$ sudo ufw reload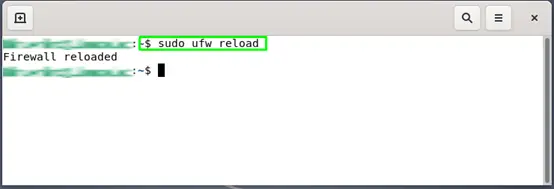
How to install additional tools for Memcached on Debian 11
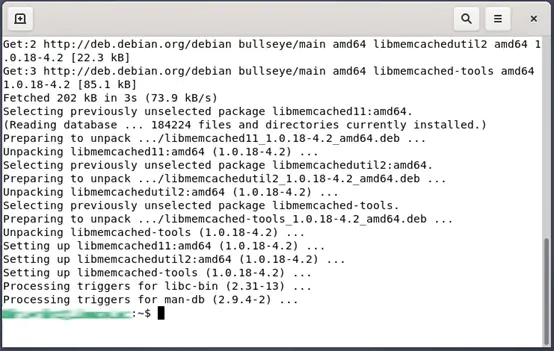
Utilize the below-given in your Debian terminal for installing the additional Memcached tools:
$ sudo apt install libmemcached-tools
Till this point, we have successfully installed and configured Memcached on our Debian system. Now, move forward toward the testing of Memcached.
How to test Memcached on Debian 11
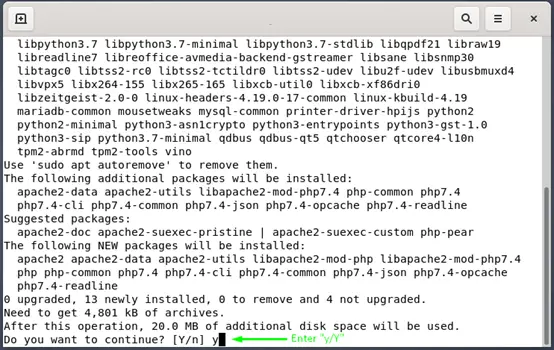
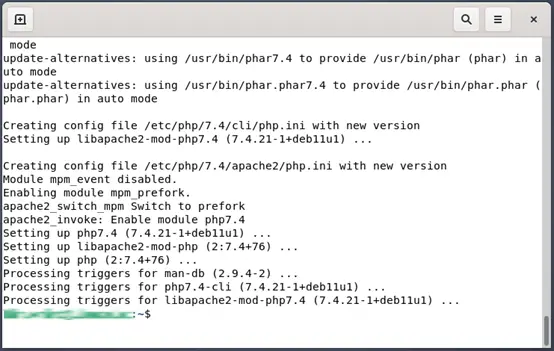
In this section, we will demonstrate how you can test the working of Memcached with a simple PHP script running on an Apache webserver. Before moving ahead, install Apache and PHP on your system if you do not have them already:
$ sudo apt install apache2 php libapache2-mod-php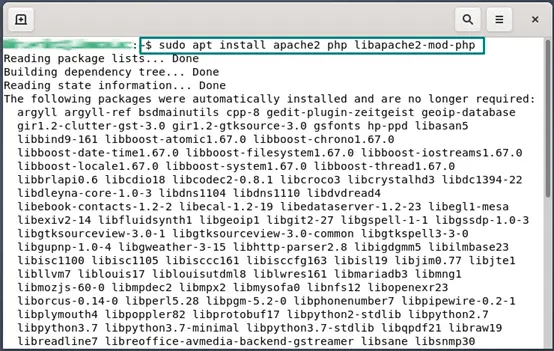
The next package we are going to install is the PHP extension for Memcached:
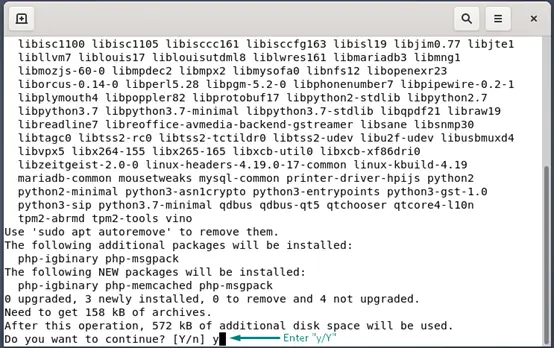
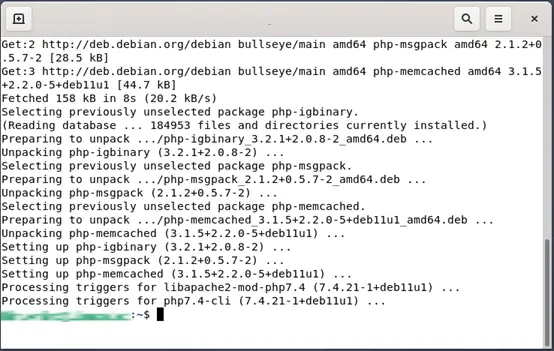
$ sudo apt install php-memcached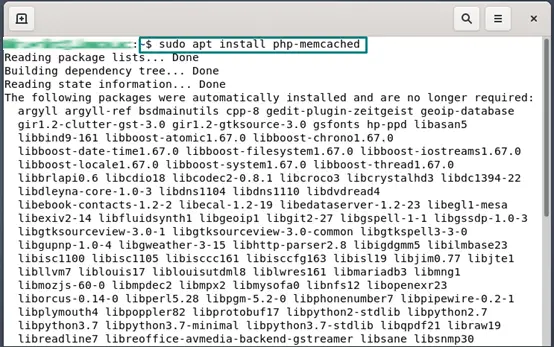
Memcached integrates with the “phpinfo.php” file when it is installed. This operation assists in verifying if the webserver recognizes Memcached or not. To confirm this, firstly, we will create a “phpinfo.php” file in the “/var/www/html” directory:
$ sudo nano /var/www/html/phpinfo.php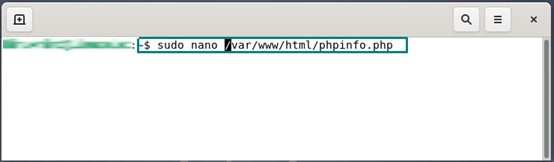
<?php
// Show all information, defaults to INFO_ALL
phpinfo();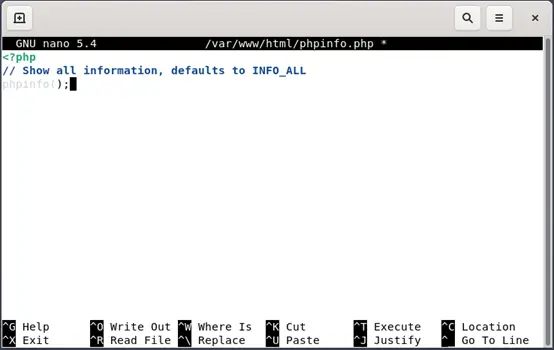
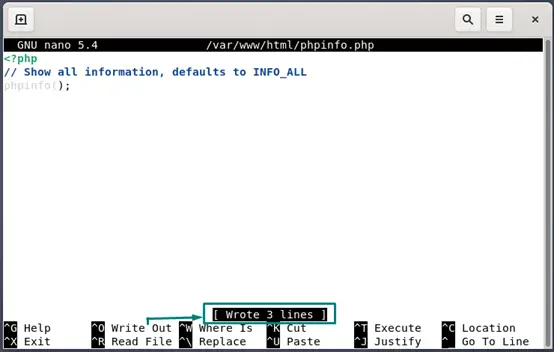
Now, press “CTRL+O” for writing out the added code in the opened “phpinfo.php” file:
In the next step, we will load the “phpinfo.php” file in our browser with the IP address “127.0.0.1”:
HTTP://127.0.0.1/phpinfo.phpHere, you can change the “127.0.0.1” to the IP address you have added in the Memcached configuration file:

When you scroll down through the “php.info” page, you will see the following information related to Memcached:

To understand the process of how Memcached is utilized in caching pages and data, we will create a PHP test file in the “/var/www/html” directory:
$ sudo nano /var/www/html/test.php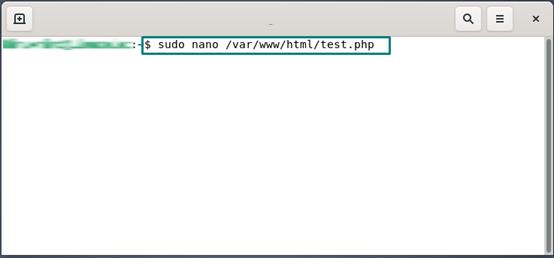
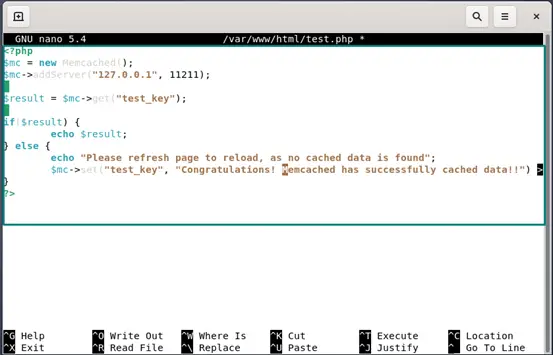
Now, add the following lines of code in the “/var/www/html/test.php”. Another thing, you have to specify your IP address configured for Memcached in place of “127.0.0.1”:
<?php
$mc = new Memcached();
$mc->addServer("127.0.0.1", 11211);
$result = $mc->get("test_key");
if($result) {
        echo $result;
} else {
        echo "Please refresh page to reload, as no cached data is found";
        $mc->set("test_key", "Congratulations! Memcached has successfully cached data!!") >
}
?>
Press “CTRL+O” to write out the added code in the “test.php” file:

In your Debian 11 system, restart the Memcached and Apache service so that it can take effect from the changes we have made:
$ sudo systemctl restart memcached
$ sudo systemctl restart apache2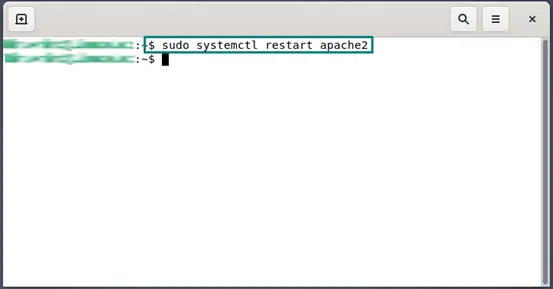
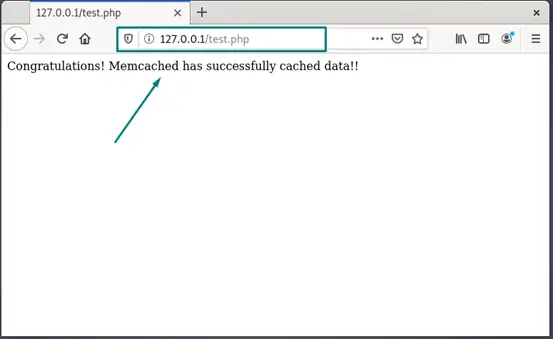
Finally, it is time to test the Memcached working on our browser. Here, you have replaced the “127.0.0.1” with your specified IP address for Memcached:
HTTP://127.0.0.1/test.phpOn browsing the above-given link, you will see the following message:
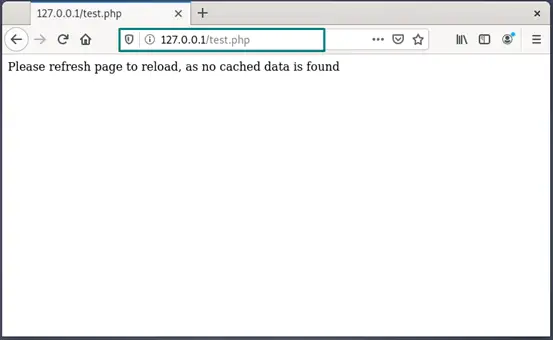
When you load the “test.php” script for the first time, Memcached will not cache the page. You have to refresh the web page so that Memcached can perform its functionality:
Conclusion
Memcached is a memory caching system that can be utilized for a variety of purposes. It is frequently used for improving the performance of dynamic database-driven websites by caching their objects and data in RAM to handle the subsequent requests. In today’s post, we showed you how to install Memcached on Debian 11 system. We have also provided you the information related to the configuration of Memcached and how you can test a simple PHP script with Memcached on the Debian 11 system.

Saryia is a technology entrepreneur and digital publisher specializing in Linux, open-source technologies, and developer education.