The shutter is a versatile tool used for taking screenshots in Linux-based operating systems. You can capture a screenshot of a particular location, your entire screen, website, apply various effects, draw on it to bring out points, and then upload it to any website for hosting images all in just one window.
The shutter is open-source, free and GPL v3 licensed.
Now let’s check some of its tremendous features.
Capture:
Shutter helps you to take screenshots of almost everything on your computer without losing control. Here’s a summary of what Shutter can do:
- Capturing a Selected Area
This helps you to pick any part of your screen and capture exactly what you need. The screen can be resized or shifted, and the screen can be zoomed.
- Website Capturing
Shutter avail gnome-web-photo for taking a screenshot of any website without opening the window of the browser.
- Desktop Capturing
Shutter not only captures the entire desktop or workspace, but it also supports multi-monitor configurations, such as capturing the active monitor.
- Capturing a Tooltip or a window
The shutter makes capturing tooltips a breeze. You can pick one of the choices and a customized countdown begins. You can utilize this time to open the desired menu or show a particular tooltip. It will be recognized by Shutter, and it will be captured.
- Window Capturing
Utilize the mouse for capturing any window that comes under your selection. The shutter can draw your attention to the currently selected window in a pleasing and useful manner. It is also attainable to select any window from a given list and then grab and capture it instantly.
Edit:
Taking screenshots for writing manuals or tutorials, it is a basic necessity to edit the picture, such as highlighting a portion of it. Shutter also supports the functionality of a built-in graphic editor that’s the reason you will not require other editors such as GIMP.
- Add Text, Arrows, Rectangles, Ellipses…
You can use the built-in editor to add primitives such as rectangles, lines, arrows, and text to your screenshot. Change the color, fonts, and/or line width of any shape to make it your own.
- Auto-Increment feature in Shaping
People mostly add incremental characters in screenshots when they write a guide commonly using text. It also has a special shape for auto-increment which is utilized in screenshots. It doesn’t get any better!
- Pixelize to mask Private Data
Don’t want to show confidential information such as IP or e-mail addresses? Shutter provides two easy but effective tools for masking this information.
- Crop
Cropping the screenshot is also possible with the built-in editor. Type the desired dimensions into the input fields or use your mouse to pick up a region.
Share:
We all spend a lot of time on wikis, forums, and chat rooms. We also require users to take screenshots and post them from time to time so that we can share them with others.
- Share easily
The shutter has a built-in feature that allows users to upload a screenshot with nice link formatting so you attach and post the created link directly to a forum, wiki, or another website.
That’s all about Shutter. Now, let’s start its installation guide on Ubuntu 20.04. Firstly, ensure that you are using the terminal as a ‘superuser’.
Installing and Using Shutter Screenshot tool on Ubuntu 20.04
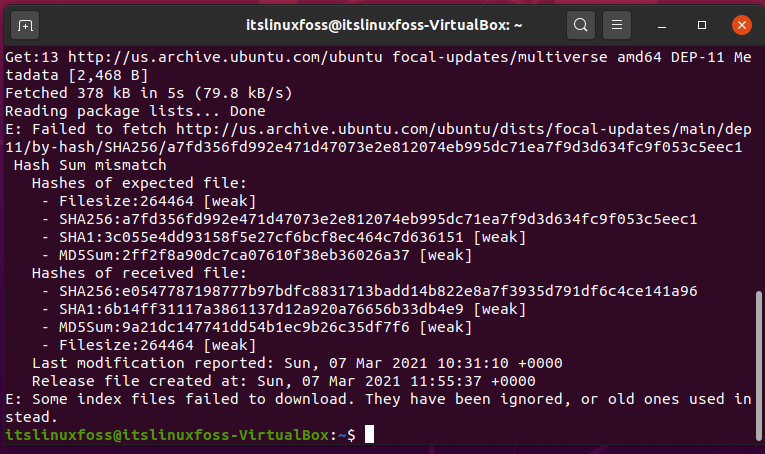
Step 1: Open the terminal by pressing ‘CTRL+ALT+T’ or search it manually in the activities and update the packages list.
$ sudo apt update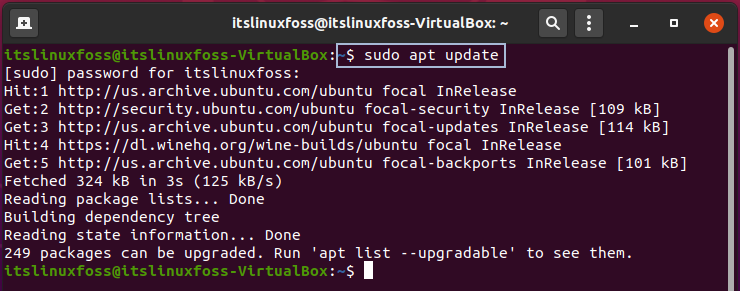
Step 2: Write-out the below-given command for adding the repository required for shutter installation.
$ sudo add-apt-repository -y ppa:linuxuprising/shutter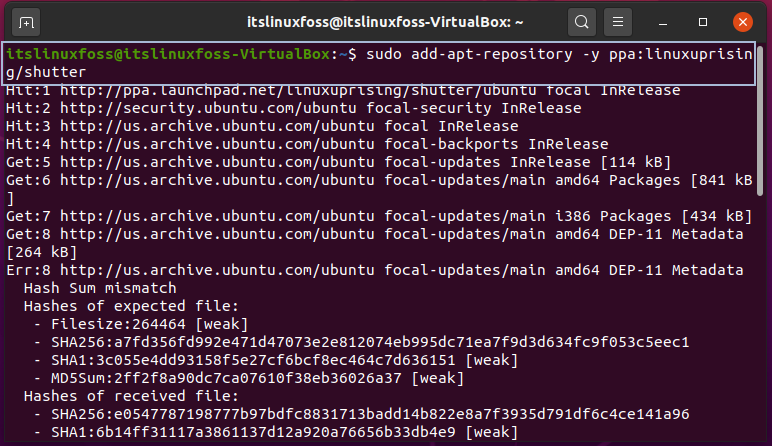
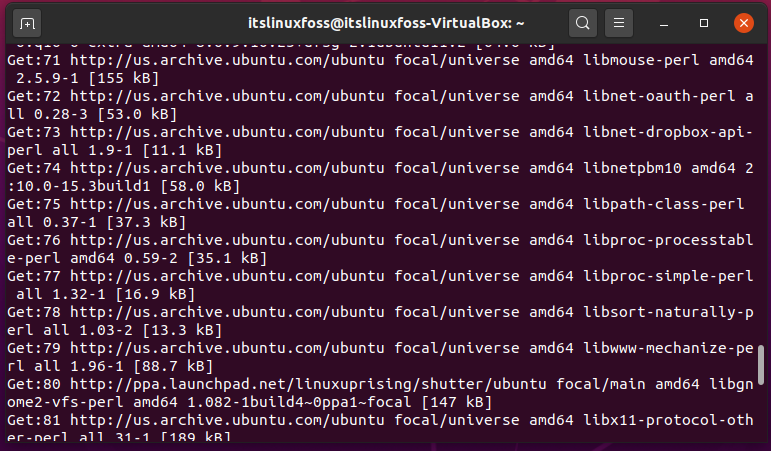
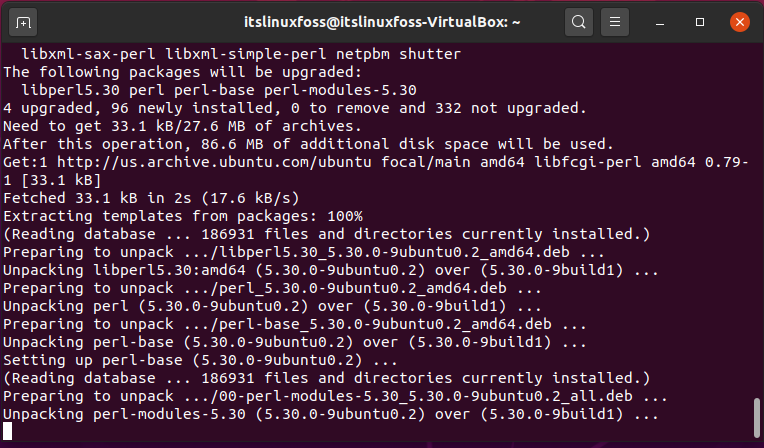
Step 3: Utilize the following command to install the Shutter tool on your Ubuntu 20.04.
$ sudo apt-get install -y shutter
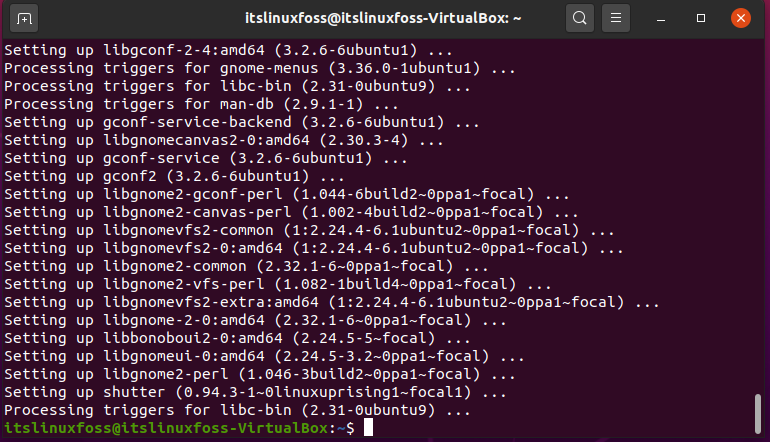
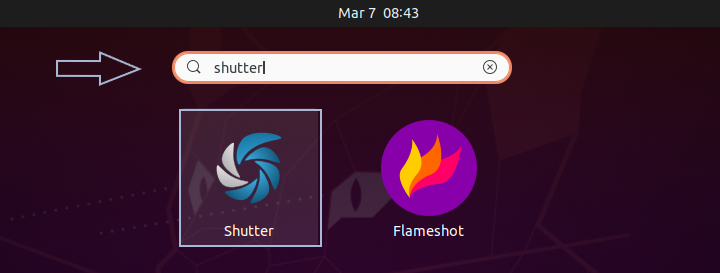
The output declares that now shutter exists on your system. Type ‘shutter’ in the search bar of activities, and then open the application.
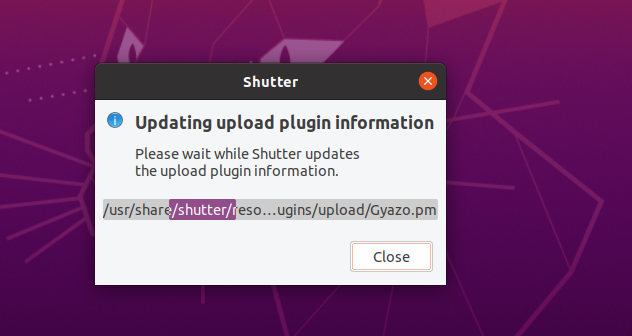
Wait for a while, as the first time shutter will update the plugin information.
Here is the main interface of the Shutter tool. You can select an area by using a mouse, or a window or desktop region, and can capture it easily using Shutter.

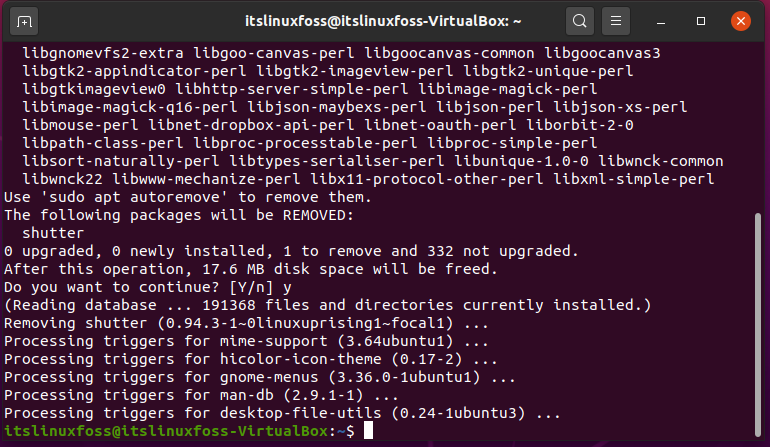
Removing Shutter from Ubuntu 20.04:
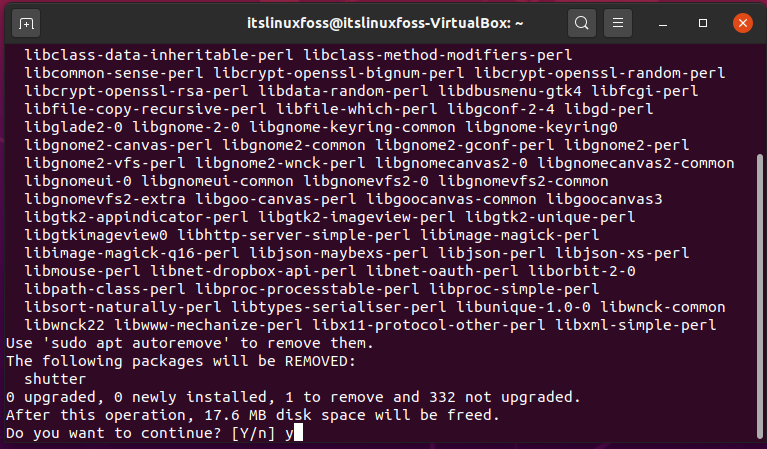
Write-out the following command to uninstall Shutter and its repository from your system.
$ sudo apt-get remove shutter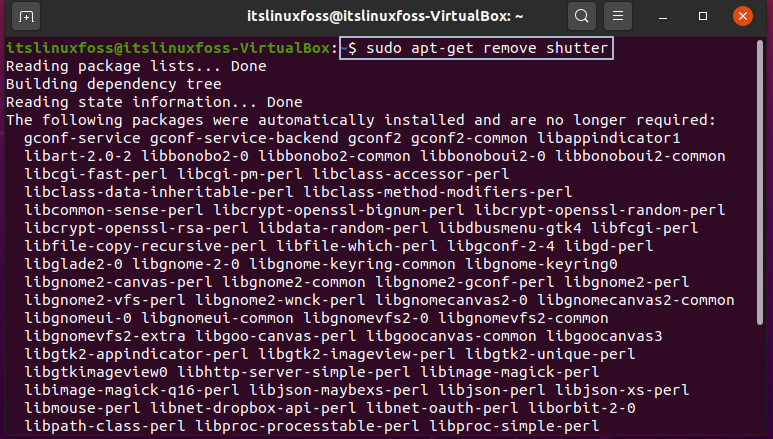
$ sudo add-apt-repository --remove ppa:linuxuprising/shutter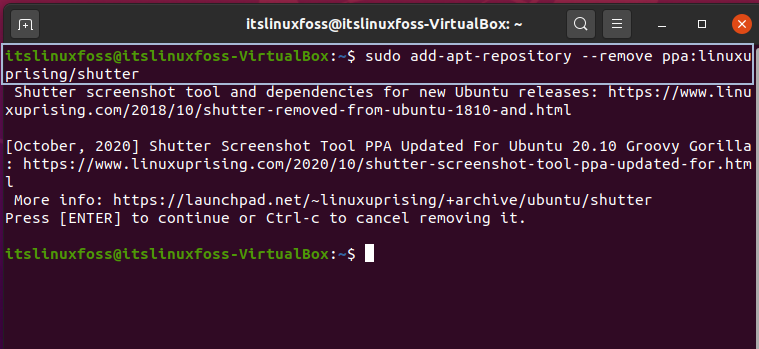
Conclusion:
We have talked about the Shutter tool. A step-by-step procedure of its installation on Ubuntu 20.04 is also given in the article.

Saryia is a technology entrepreneur and digital publisher specializing in Linux, open-source technologies, and developer education.