
Apache software is considered one of the most popular server software. It provides a free and open-source cross-platform through which a reliable system can be built for individuals and institutions. The best thing about Apache server is that it is secure, reliable, fast, and highly customized server software. Moreover, Apache can be used to set up virtual hosts on Ubuntu 22.04.
The article aims to achieve the following outcomes:
- How to Install Apache Server on Ubuntu 22.04
- How to Setup Virtual Hosts on Ubuntu 22.04
How to Install Apache Server on Ubuntu 22.04
Apache Server is fast and highly customizable software available for everyone across the world. Furthermore, Apache has a number of built-in modules for security, password authentication, administrative functionalities, etc. The below steps can be performed to install Apache Server on Ubuntu 22.04.
Step 1: Update Systems packages
The update command will keep the system’s repository up to date.
$ sudo apt update
Step 2: Install Apache Server
Install the Apache Server from the Ubuntu official repository with the below one-liner command. Here, “-y” indicates prior permission to install the package completely.
$ sudo apt install apache2 -y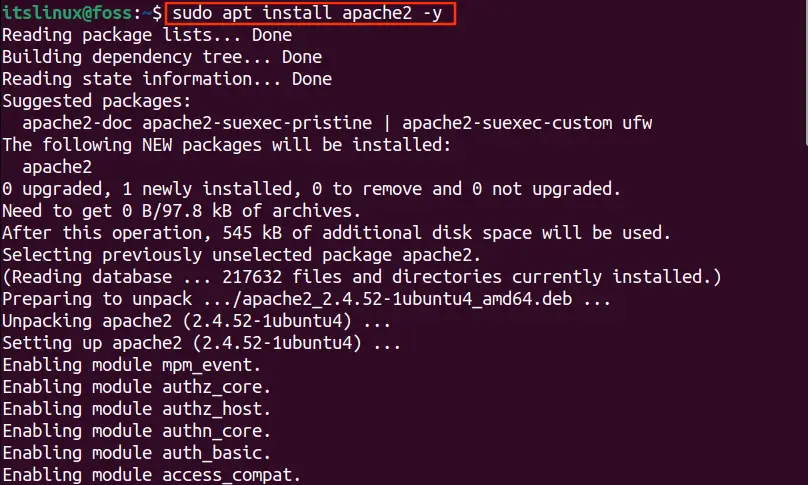
Once the Apache package is installed, the below message will be displayed on your screen.
Step 3: Apache Status
The following command will show the status of the Apache Server. If the status is “Active” (mentioned in green) it means that the Apache services are running actively on your Ubuntu 22.04:
$ systemctl status apache2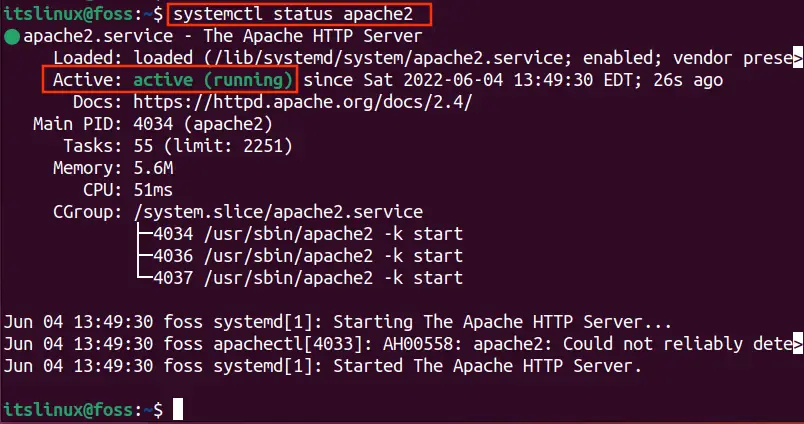
Step 4: Install Firewall
Before moving to the next step, you will need a few settings in your Firewall to allow access to outsider requests. For the Firewall package, run the command as follows.
$ sudo apt install ufw -y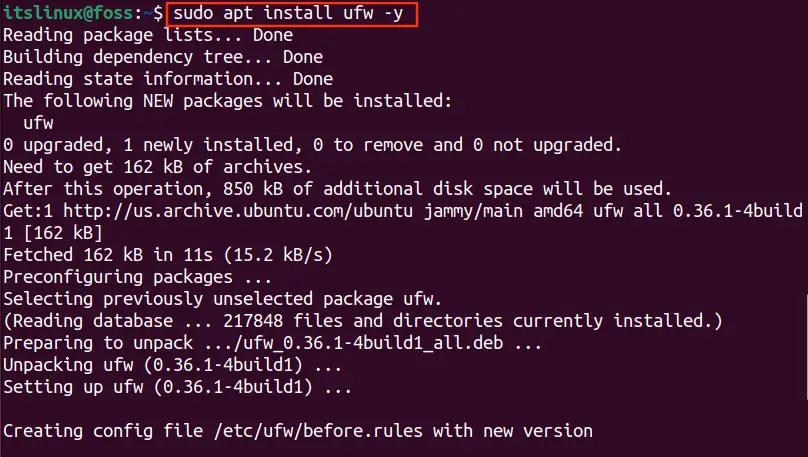
As you can see, the Firewall package, along with dependencies and libraries, have been installed successfully.

Step 5: Enable Firewall
Enable the Firewall by using the following command.
$ sudo ufw enable
Step 6: Allow Apache on Firewall
The below command will return the list of the available Firewall applications.
$ sudo ufw app list
As per the above output, we have three different options for Apache, but here we will use the “Apache Full”. It will allow both normal (80) and secure (443) ports.
$ sudo ufw allow 'Apache Full'
Step 7: Check the Status
To verify the status of ufw, run the command given below.
$ sudo ufw status
Step 8: Navigate to Localhost
Open your browser and search the local host with the command.
http://localhost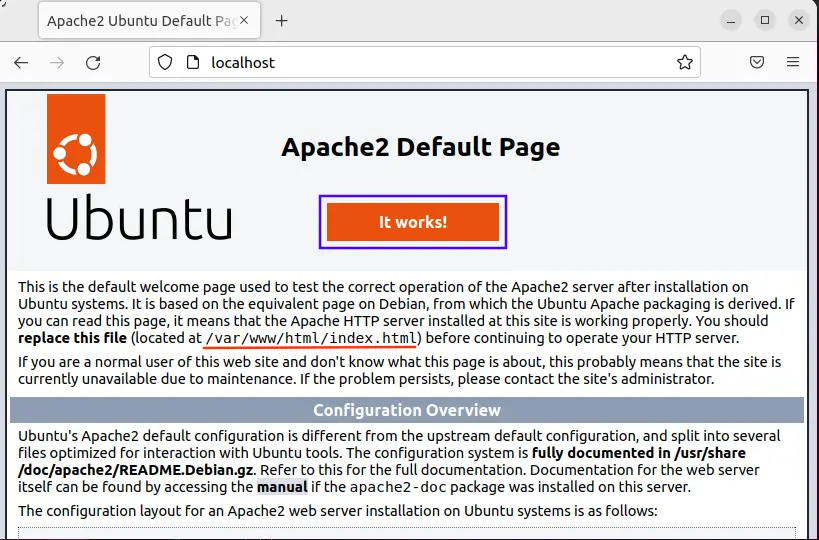
The above page will be displayed with the message “It Works!”. This page confirms that your Apache server is operational and in working order.
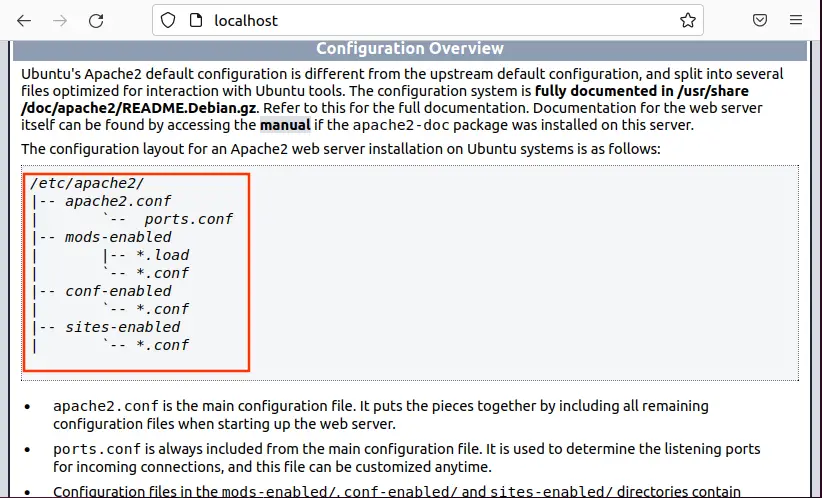
The Apache configuration overview can be seen in the below snippet along with the location of the important files.
You have accomplished the installation process of the Apache server.
How to Setup Virtual Hosts on Ubuntu 22.04
In this section, we will elaborate on the required steps to set up Virtual Hosts on Ubuntu 22.04. Let’s do it together.
Step 1: Change your Directory
Apache already allocated a specific directory (/www) for your project. Change your directory to /www with the command given below.
$ cd /var/www/
Step 2: Create a New Directory
Create a directory in /var/www/ for your domain like example.com.
$ sudo mkdir -p /var/www/example.com
Your personal domain name can also be used.
Step 3: Assign Ownership
Assign ownership of that directory (example.com) to users with the environment variable ($USER).
$ sudo chown -R $USER:$USER /var/www/example.com
Step 4: Create an HTML Page
Open the nano editor and create your index.html inside the /www/example.com/ directory. Type your HTML script (see in the below screenshot) and save it with Ctrl+O.
$ sudo nano /var/www/example.com/index.html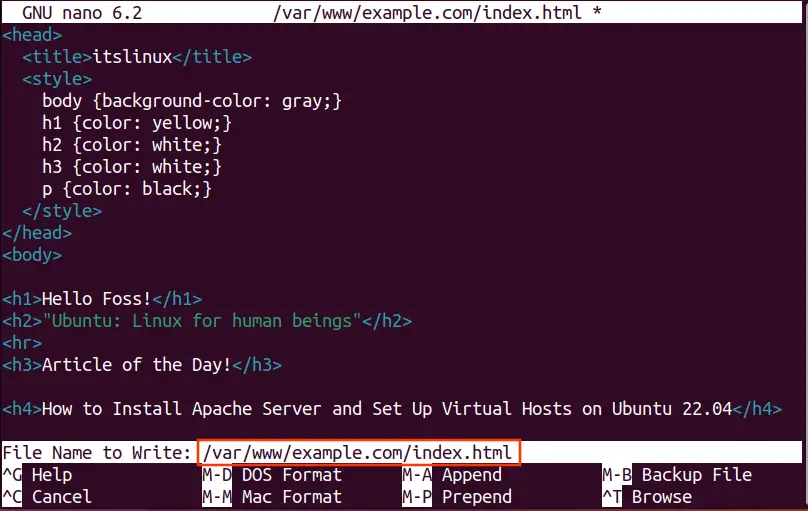
Step 5: Virtual Host Configuration
Apache stores Virtual Host configuration files in /etc/apache2/sites-available/example.com.conf. Open the configuration file (i.e., example.com.conf) with nano editor as follows:
$ sudo nano /etc/apache2/sites-available/example.com.conf

Note: we have used the following content in the above file (example.com.conf)
<VirtualHost *:80>
    ServerAdmin admin@localhost
    ServerName example.com
    ServerAlias www.example.com
    DocumentRoot /var/www/example.com
    ErrorLog ${APACHE_LOG_DIR}/error.log
    CustomLog ${APACHE_LOG_DIR}/access.log combined
</VirtualHost>
Step 6: Enable the Configuration File
A2ensite is a script which is used to enable the configuration file. The following command will enable the example.com.conf file:
$ sudo a2ensite example.com.conf
By default the configuration file is enabled therefore, you have to disable that file via the command written below.
$ sudo a2dissite 000-default.conf
Step 7: Test the Configuration File
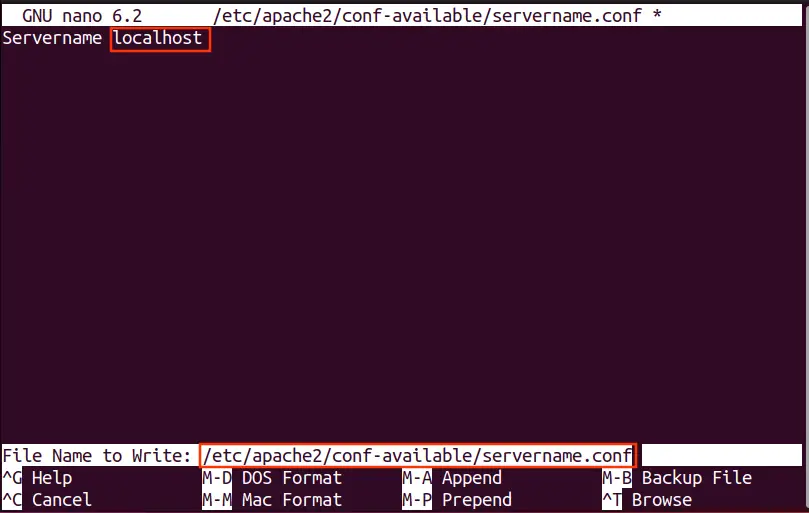
The configuration file is now ready to be tested. Use this command to display the results. If you receive the AH00558 error, you need to edit the servername.conf file located in /etc/apache2/conf-available/.
$ sudo apache2ctl configtest
As you can see in the above message, an error “AH00558” occurred during the test.
Step 8: Fixing AH00558 error
In nano editor, open the servername.conf file. Save the file after editing the Servername.
$ sudo nano /etc/apache2/conf-available/servername.conf
The following command will be run to enable the edit configuration file.
$ sudo a2enconf servername
Reload the Apache server to update the changes.
$ sudo systemctl restart apache2
Repeat the command to test whether the error is fixed or not.
$ sudo apache2ctl configtest
Now you can see the above screenshot, the configuration is fixed with the error.
As we have set our domain on localhost, the web page will be open on localhost. Your domain name can be different from the localhost.
http://localhost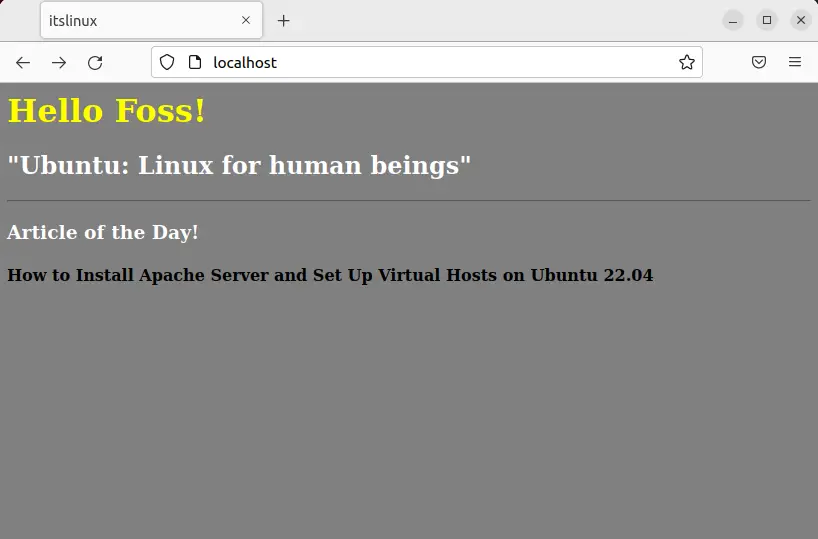
Here you go! Apache is installed, and the virtual host is set up on Ubuntu 22.04.
How to Remove Apache Server from Ubuntu 22.04
The following command will remove the Apache packages and configuration files.
$ sudo apt autoremove apache2 --purge -y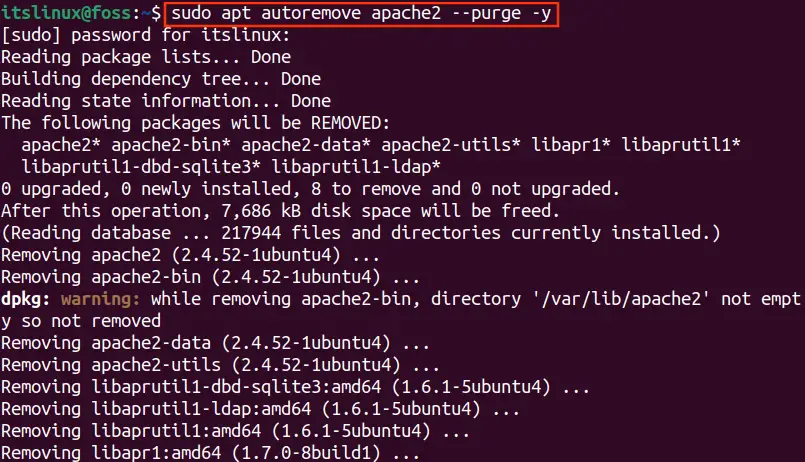
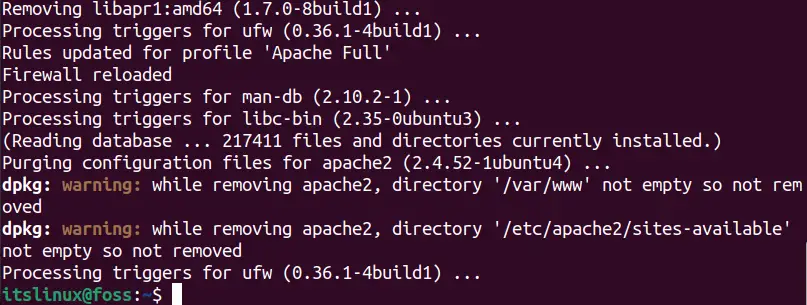
As mentioned above, the Apache package and libraries have been removed from the system directory.
The Apache directory can be removed with the command given below.
$ sudo rm -R /etc/apache2/
The successful execution of the command shows that the Apache directory is removed without any error.
Conclusion
Apache Server can be installed on Ubuntu 22.04 using the “sudo apt install apache2”. This learning material provides a detailed demonstration of the installation process of Apache Server as well as Setup the Virtual Hosts on Ubuntu 22.04. A number of built-in Apache modules, including customization, caching, password authentications, etc., are available for every individual in Linux distributions. Ubuntu 22.04 provides built-in tools to set up a Virtual Host.

Saryia is a technology entrepreneur and digital publisher specializing in Linux, open-source technologies, and developer education.