
Every Server in the world is at risk if it is accessible or connected to the internet. Suppose, you are using an application which is connected to a public network, hackers or attackers will use brute force to attempt to hack your application. They can easily access your app.
To solve this problem, Fail2ban comes into action. It is an open source, free tool which is the best out there in helping you protect from brute force attacks or DDOs attacks. It achieves its task by monitoring the service logs for any kind of malicious activity. To scan log files, regular expressions are used by Fail2ban.
Fail2ban scans and then if any pattern that matches is counted. When this count reaches a certain threshold which is predefined, it bans the IP of the offending machine. It performs this action by using the system’s own firewall. The ban is for some time and not forever. When this time expires, its IP Address automatically gets unbanned.
Now that you know about this awesome Fail2ban tool, let’s explore how to install and configure this bad boy on Debian 11.
Fail2ban Installation on Debian 11
The installation process of Fail2ban is very easy as it is already in the default repositories of debian 11. Let’s explore the steps in installing Fail2ban one by one.
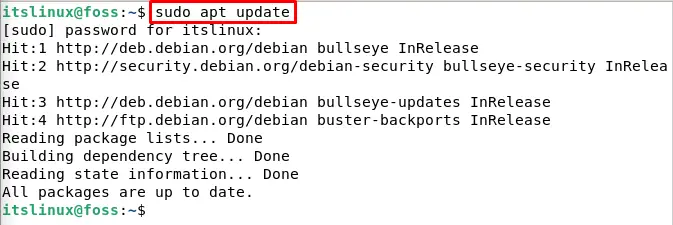
Step1: To install Fail2ban, run the following command in the Debian 11 terminal:
$ sudo apt updateThis will update all the packages.
After this, run the following command which is for the installation of the Fail2ban tool.
$ sudo apt install fail2banThis will install Fail2ban tool and you will be able to see the following after running the command:

Step 2: Fail2ban installation verification
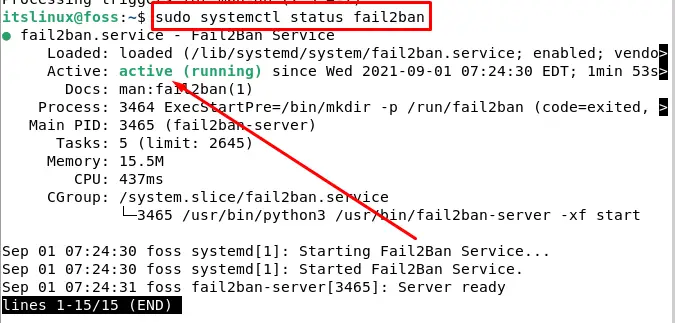
Now that we have installed Fail2ban let’s verify it by the following command:
$ sudo systemctl status fail2banIf you see the active status then congrats! You have installed Fail2ban successfully in Debian 11.
Press CTRL+C to exit.
Configuration of Fail2ban
We have installed Fail2ban successfully. Now we have to configure it like we promised in the introductory part.
When we install Fail2ban some default configuration files come with it. These two are /etc/fail2ban/jail.d/defaults-debian.conf and /etc/fail2ban/jail.conf . It should be kept in mind that directly we won’t modify or edit these files. The reason behind this is that when we update the package, the edited part might be edited.
For this purpose, we will make another copy. Jail.conf copy is required. Jail.conf isfor the configuration. The copy file will be called jail.local. We will only make changes to the copy file which is the jail.local file. It should be noted that the jail.local file will override all the settings from the .conf file.
Let’s make a copy of the file jail.conf. AS mentioned earlier we will save it as a jail.local file. Use the following command for copying the file:
$ sudo cp /etc/fail2ban/jail.{conf,local}
Since we have copied it, we have to now open it using the nano editor and make some configuration changes to the file. For this purpose type the following command in your terminal:
$ sudo nano /etc/fail2ban/jail.localThis will open the jail.local file. You will see something like this on your Debian screen.
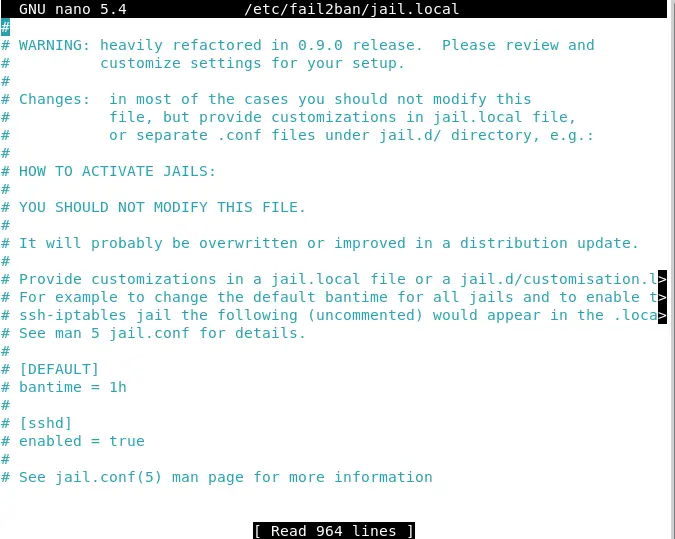
As we can see that the file has some comments for the purpose of explaining each and almost every configuration option. We have to change some basic settings or configuration in this file.
IP Address Whitelisting in Debian 11
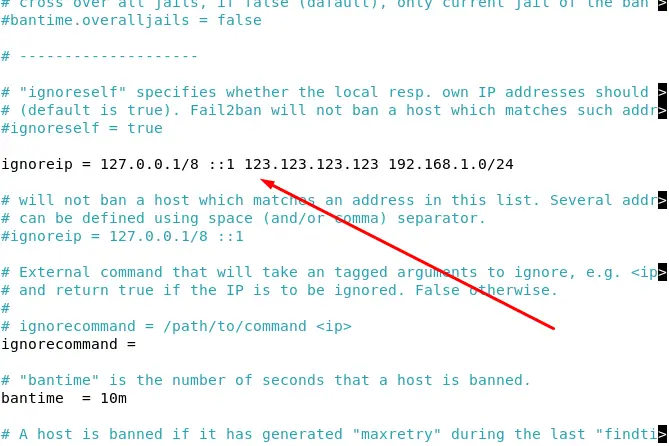
Suppose there are some ip addresses which you don’t want to ban. The ignoreip directive gives us this avantage. We can add any IP Address here and it will never be banned.
For this purpose one adds Local machine IP Address. Also other IP Addresses that they don’t want to ban. If you want to add an IP Address you have to uncomment the ignoreip directive first and then add the IP Address you don’t want to be banned.
Ban Settings
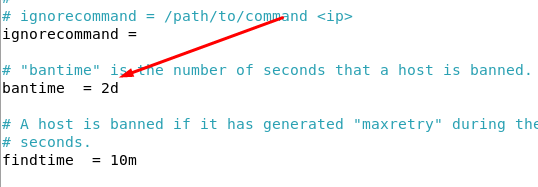
You probably will be able to see the bantime, maxretry and the findtime options in this file. Bantime as its name suggests is the time duration for which an IP Address is banned. It’s default value is 10 minutes. We will change the ban time value for demonstration purposes.
Let’s add the bantime for 2 days. For this purpose add the following to your fike:
bantime = 2d
Suppose you want an IP Address to be banned forever or permanently. For this purpose we use a negative value.
The Option maxretry serves the purpose of banning an IP Address after a certain number of failures. It’s default value is set to 5.

The Option of findtime serves the purpose of setting a ban after some time or duration where the number of failures have exceeded.

By looking at the comments, we can get an idea of all the changes we can do to this file. After making all the changes press CTRL+S to save the file and CTRL+X to exit the file.
Conclusion
Now that you have installed Fail2ban you are safer than ever before. You don’t have to think about hackers accessing your app or network or the brute force attacks. This tool also makes you worry free from the DDos automated attacks.
In this article, we have explained every little detail about how to install and configure Fail2ban on Debian 11. We hope that you have followed the steps correctly and

Saryia is a technology entrepreneur and digital publisher specializing in Linux, open-source technologies, and developer education.