
Memcached is used to speed up the web apps and websites by reducing their database load. It is a free and open-source distributed memory caching system that implements multi-core threads by utilizing multiple core architecture.
Memcached is basically a Database Management system and provides cross-platform support. It is used for faster page loads and more scalability. Memcached is very fast as it serves an item in less than a second and when it stores data then that stored data will be served faster in future requests.
This article is the guide toward the installation of Memcached on Ubuntu 22.04.
How to install Memcached on Ubuntu 22.04
Memcached is a caching system used to cache the data and loads faster when you visit the same website or web application again. Following are the steps which will take you towards the complete installation.
Step 1: Update system packages
First of all, update the system repositories to the latest versions.
$ sudo apt update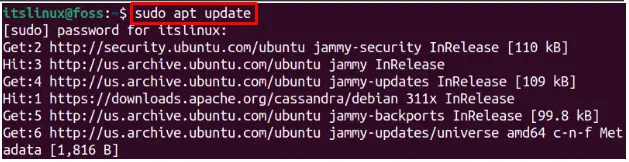
Step 2: Install Memcached
Now install the Memcached using the official repositories package which is apt package installer.
$ sudo apt install memcached -y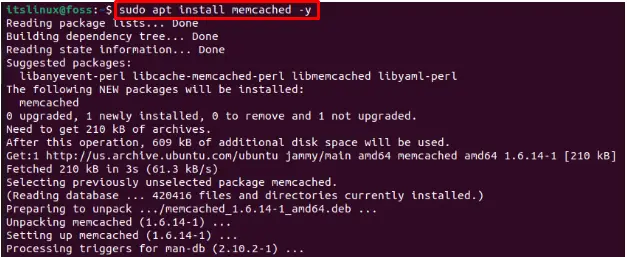
Step 3: Install tools
After the installation of Memcached, install the Memcached tools to make it functional
$ sudo apt install libmemcached-tools -y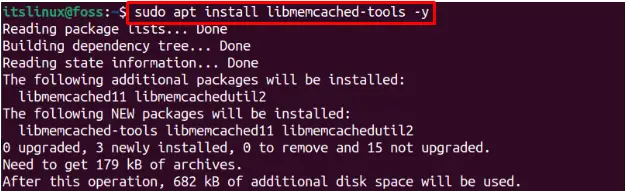
Step 4: Check services status
Once the Memcached and its required tools are installed, you can check the status of the Memcached service as follows:
$ sudo systemctl status memcached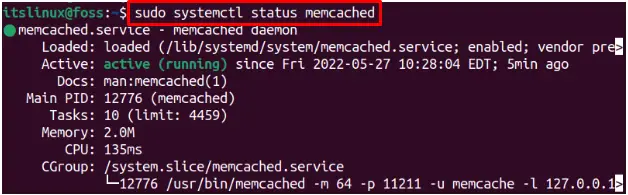
As you can see the active and running status which means Memcached is active and running.
How to configure the Memcached on Ubuntu 22.04
The configuration is done to make full use of the Memcached on Ubuntu 22.04. The necessary configuration of Memcached is provided in the upcoming steps.
Step 1: Open Memcached configuration file
First of all, we need to edit the configuration file. The following command will open up the configuration file in the nano editor:
$ sudo nano /etc/memcached.conf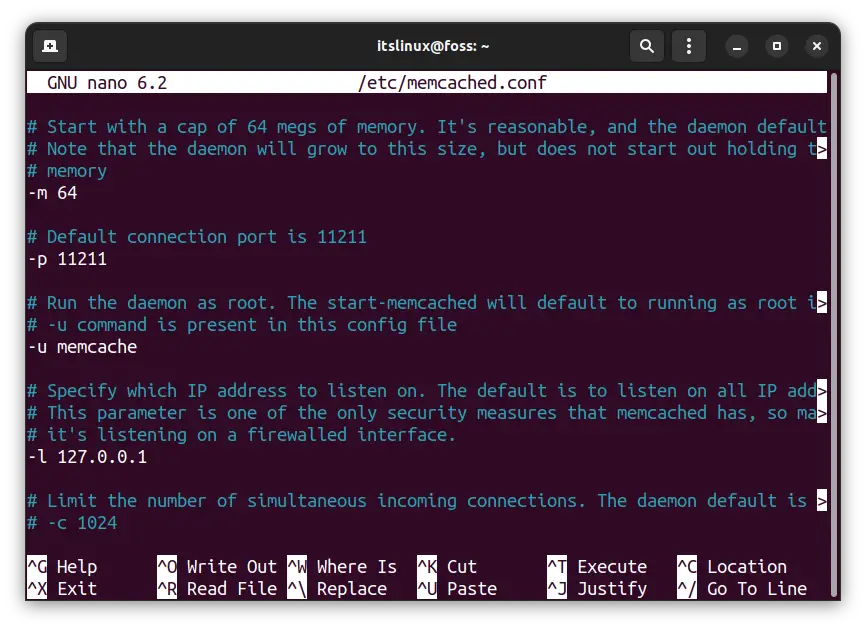
In this Memcached configuration file, as it can be seen, the default port is set to 11211. Change settings according to your preferences like changing the connection port, specifying which IP address to listen on, etc.
Once all the configuration is done, save the file and exit from the nano editor using the keyboard shortcut keys “CTRL+S” and “CTRL+X” respectively.
Step 2: Restart Memcached
If you perform any changes in the configuration files, you need to restart the Memcached service as follows:
$ sudo systemctl restart memcached
Step 3: Enable Firewall
After the Memcached is restarted, enable the firewall by using the following command:
$ sudo ufw enable
By default, the port 11211 is dedicated to Memcached:
$ sudo ufw allow 11211/tcp
Step 4: Reload the Firewall
After performing the changes, reload the firewall to append the changes:
$ sudo ufw reload
Here, you go!
You have learned to install and set up Memcached on Ubuntu 22.04.
How to uninstall the Memcached from Ubuntu 22.04
The removal process is performed using the official repository method. To do so run the remove command:
$ sudo remove memcached -y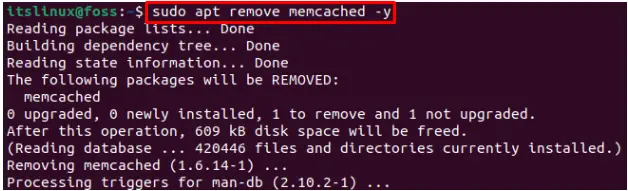
It is observed from the output that the Memcached has been removed from the system.
Congratulations! You have learned to install as well as remove Memcached on Ubuntu 22.04.
Conclusion
You can install the Memcached service from the official repository of Ubuntu 22.04. Memcached distributes the load to have a better response of the websites. This article will give you insights into the installation of Memcached. Additionally, you have learned to remove and perform the necessary configurations of the Memcached on Ubuntu 22.04.

Saryia is a technology entrepreneur and digital publisher specializing in Linux, open-source technologies, and developer education.