NordVPN is a VPN service introduced by Nord Security that mostly releases cybercrime software. NordVPN offers users a simple VPN service and provides the feature of P2P sharing and double encryption.
NordVPN is available for operating systems, including Windows, Linux, and macOS.
This post will provide a detailed installation of NordVPN on Ubuntu 22.04. The post’s content is as follows:
Let’s get into the installation.
How to Install NordVPN on Ubuntu 22.04?
To install NordVPN on Ubuntu Jammy Jellyfish, first, open the terminal using the shortcut key of ALT+CTRL+T and then follow the steps mentioned below.
Step 1: Download the .deb File of NordVPN Repository
After opening the terminal, download the application of NordVPN by executing the command below:
$ wget -c https://repo.nordvpn.com/deb/nordvpn/debian/pool/main/nordvpn-release_1.0.0_all.deb
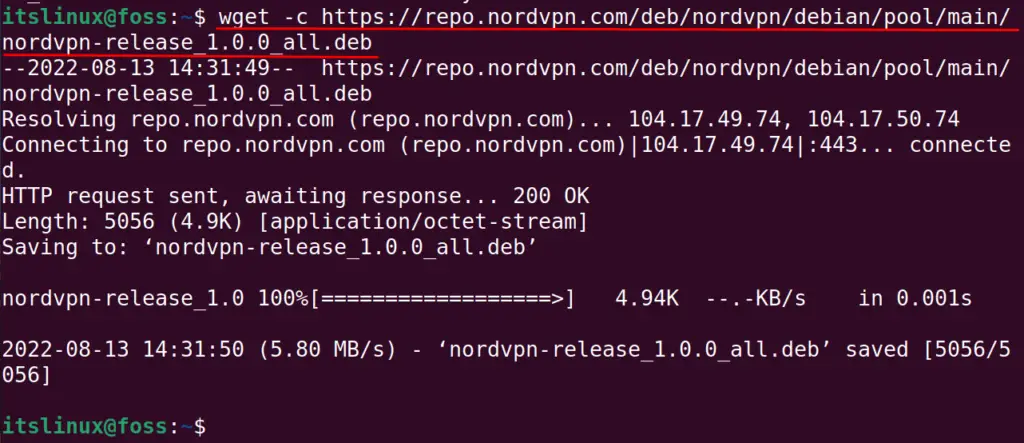
This will take a few seconds to be downloaded, and then list down the contents of a directory to confirm that the file has been downloaded by using the command:
$ ls

It means the Debian file of NordVPN has been downloaded successfully.
Step 2: Add the Repository Files
When it is making sure that NordVPN has been downloaded, then either uses the apt package manager or the dpkg manager to install the Debian package of NordVPN on Ubuntu.
$ sudo dpkg -i nordvpn-release_1.0.0_all.deb

The application of NordVPN has not been installed, instead that the repository of NordVPN has been added to the default repository
Step 3: Install NordVPN
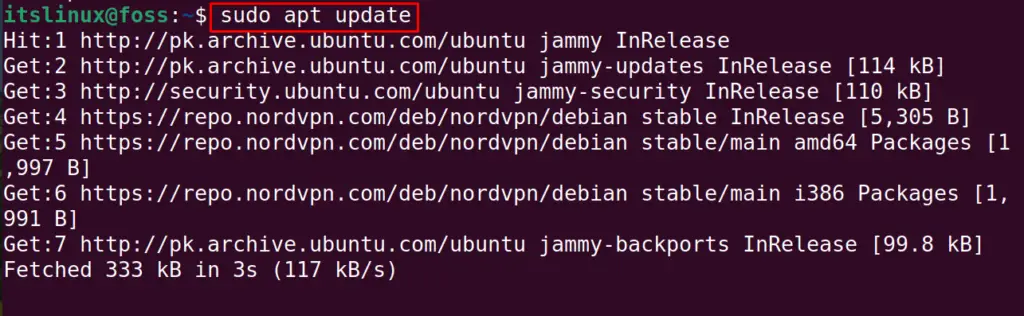
Before installation, update the system packages via the command.
$ sudo apt update
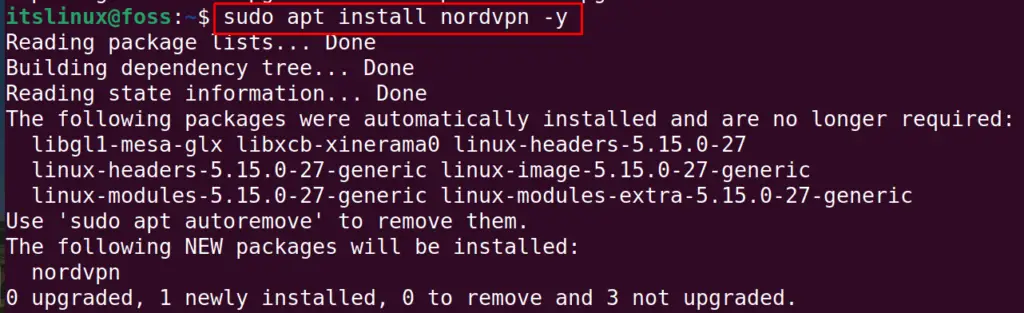
To install the package of NordVPN, use the apt package with the command:
$ sudo apt install nordvpn -y
When the installation of NordVPN has been installed, check the version of NordVPN by running the command:
$ sudo nordvpn --version

3.14.2 version of NordVPN has been installed on Ubuntu.
How to Connect to a NordVPN on Ubuntu 22.04?
When the Nord VPN is downloaded as well as successfully installed on Ubuntu 22.04, then it’s time to connect with the nordVPN using the command:
$ nordvpn login

A link has been displayed, copy the link and open in the web browser:
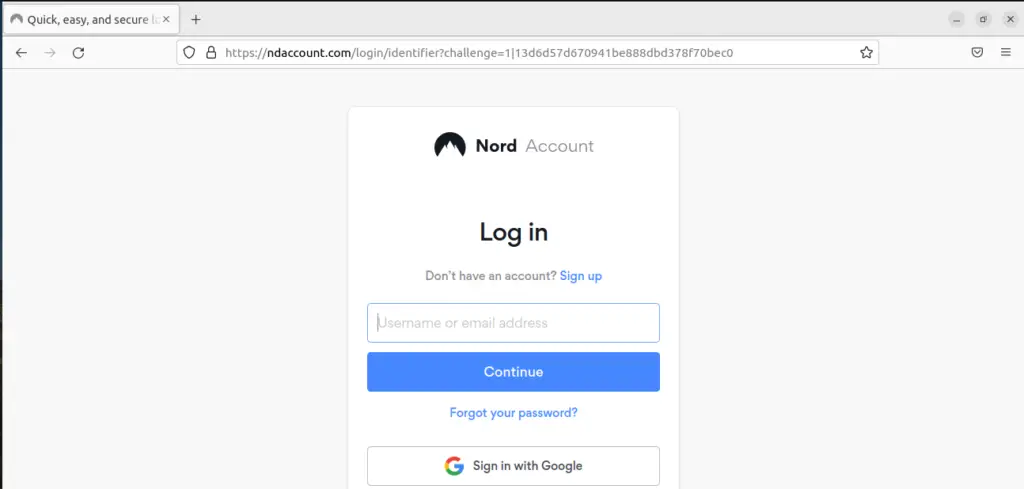
Enter the username and password for the NordVPN and enjoy using it. After this, to connect the NordVPN from the terminal, use the command:
$ nordvpn c

Similarly, to disconnect the NordVPN, use the command:
$ nordvpn d

How to Remove the NordVPN on Ubuntu 22.04?
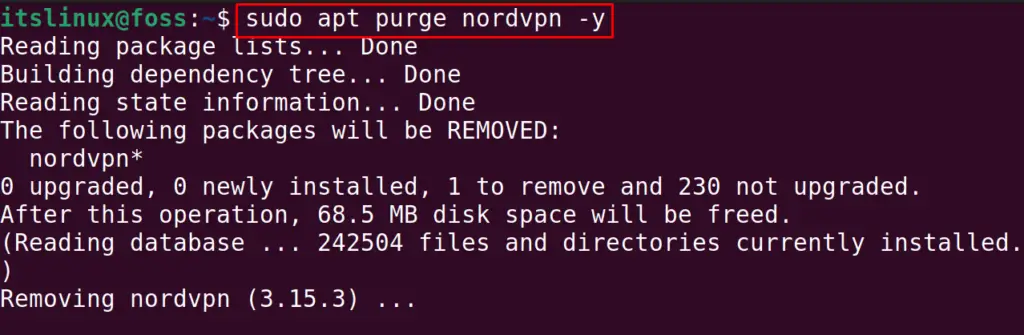
We can remove the NordVPNon Ubuntu with all its configuration files with the purge option of the apt command:
$ sudo apt purge nordvpn -y
That’s how we can install NordVPN and connect to NordVPN on Ubuntu.
Conclusion
NordVPN can be installed by getting its repository files and adding them to Ubuntu. After that, update the system packages and install them using the apt. This post has briefly explained the installation of NordVPN on Ubuntu and also elaborated on the connection of Ubuntu with NordVPN.
