Pip is a tool that helps Python developers easily add and organize extra tools for their programming projects. It’s like a helper that makes sure you have all the parts you need for your project to work properly, making the job of building software much smoother.
With the release of Ubuntu 24.04, installing Pip3 is straightforward, ensuring that developers can quickly set up their Python environment and get to work on their projects.
This article will teach the different ways of installing Pip3 on Ubuntu 24.04.
Let’s start the installation.
How to Install Pip3 on Ubuntu 24.04
With the release of Ubuntu 24.04, installing Pip3 can be done in several ways, ensuring compatibility and ease of use for Python 3 projects.
- Method 1: Using Ubuntu’s Default Package Installer
- Method 2: Using Pipx Package Installer
- Method 3: Using Virtual Environments
- Method 4: Using a Python Script
Method 1: Install Pip3 Using Ubuntu’s Default Package Installer
The most straightforward method to install Pip3 on Ubuntu 24.04 is by using the default package installer.
To install pip3 on Ubuntu, first, update the system repository, then, install pip3 by running the “sudo apt install python3-pip” command.
Let’s carry forward to complete the installation.
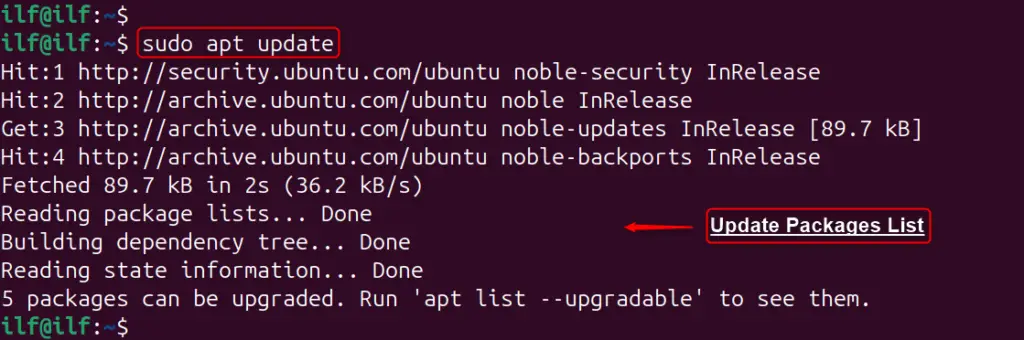
Step 1: Update the Packages List
Before installing Pip3, it’s essential to update the package list to make sure that all subsequent installations are the most recent versions:
sudo apt update
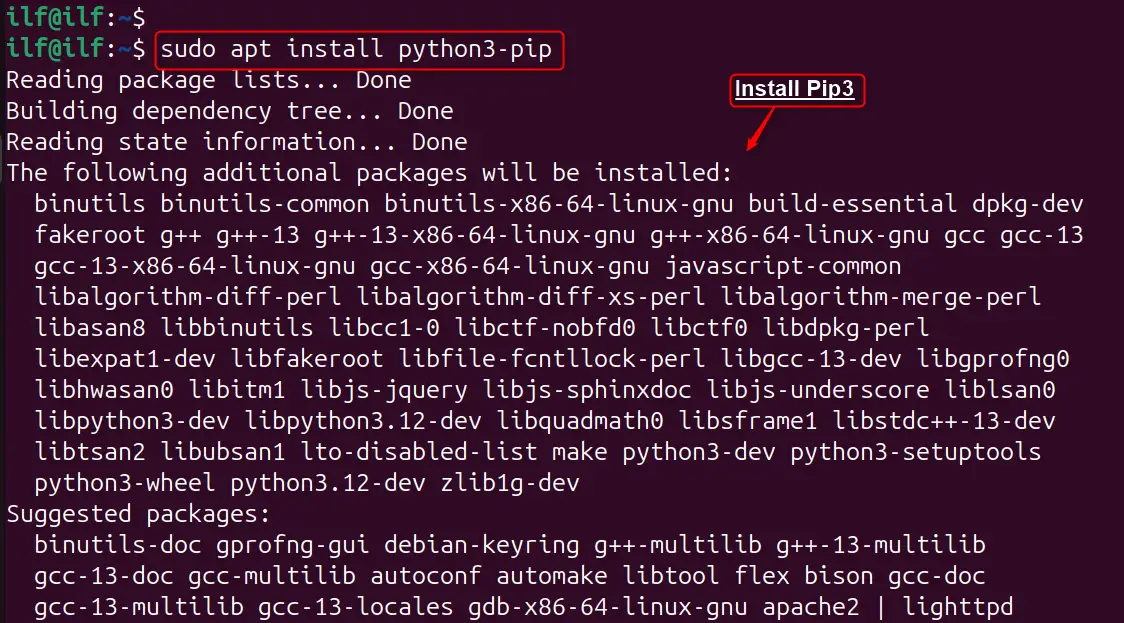
Step 2: Install Pip3
With the package list updated, users can now install Pip3 via the below command. It installs Pip3 along with any dependent packages that may be required:
sudo apt install python3-pip
Step 3: Verify the Installation
After the installation process is complete, authenticate whether Pip3 is installed or not:
pip3 --version

The terminal displays the version number of Pip3 which is 24.0, confirming that the installation is successful.
Note: It’s important to note that Python2 and its associated Pip version are no longer supported on Ubuntu 24.04, so it’s best to work with Python3 and Pip3.
Method 2: Install Pip3 Using Pipx Package Installer
Pipx is a package installer for Python applications in isolated environments. It allows you to install and run Python-based applications in a way that doesn’t interfere with other system packages. To install Pip3 using Pipx:
Step 1: Install Pipx
First, install Pipx through the apt package manager as in the below command:
sudo apt install pipx
Step 2: Install Pip3
Once Pipx is installed, users can use it to install Pip3. In addition, it installs the pip, pip3, and pip3.12 versions as seen below terminal:
pipx install pip
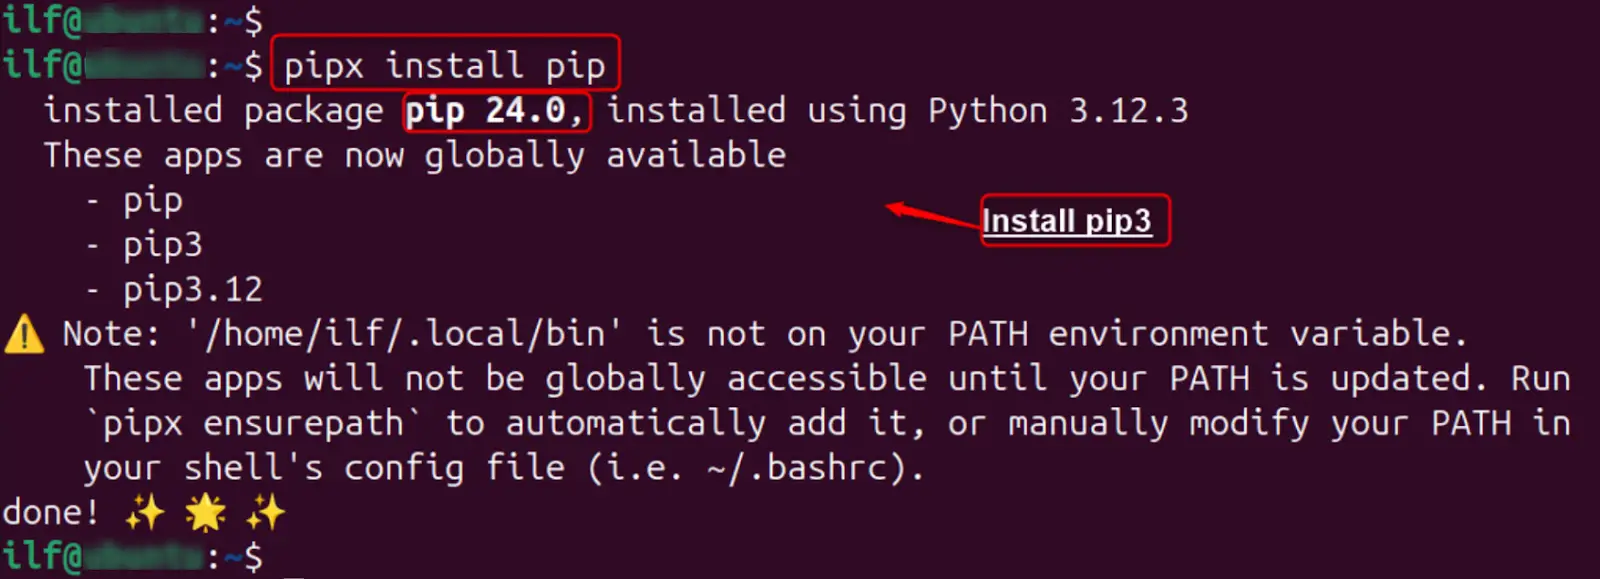
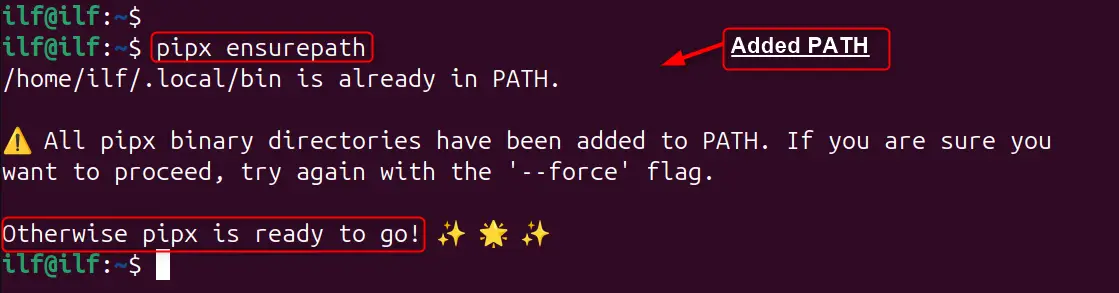
For updating PATH to access globally access, execute the “pipx” command with the “esurepath” utility:
pipx ensurepath
Step 3: Verify Installed Pip3
After installing Pip3 is done, check the installation and check the version installed:
pip3 --version

The output indicates the version 24.0 of Pip3 installed on Ubuntu 24.04.
Method 3: Install Pip3 Using Virtual Environments
To install Pip3 through the virtual environments, follow the below instructions:
Step 1: Install Python3 Virtual Environment
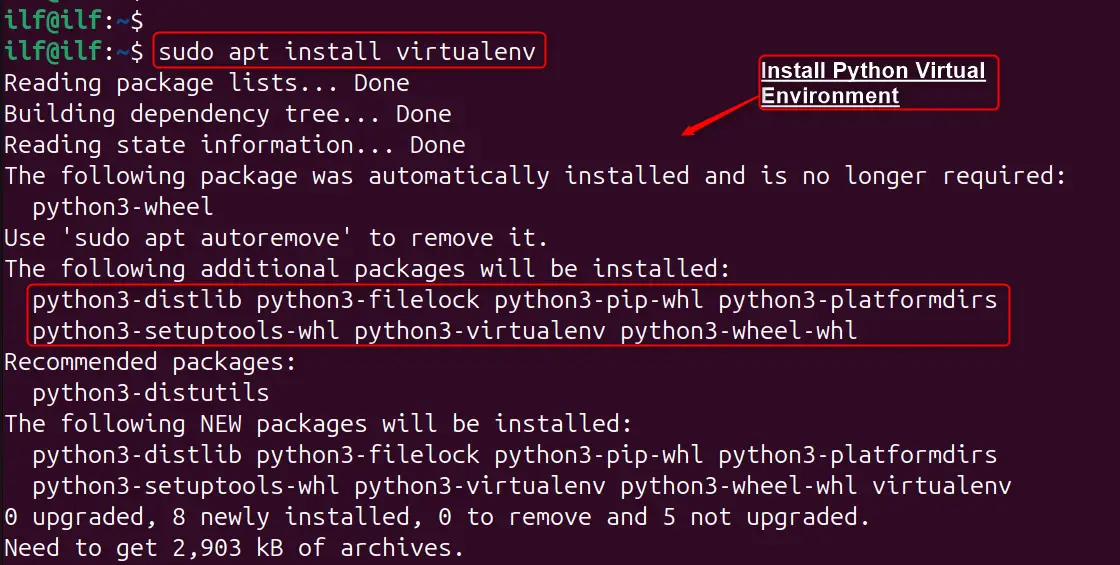
To create a virtual environment, use the “virtualenv” tool, which can be installed with the below command:
sudo apt install virtualenv
Step 2: Create a Python3 Virtual Environment
Once installed, create a new environment named “py_proj_env” with the “virtualenv” command:
virtualenv py_proj_env
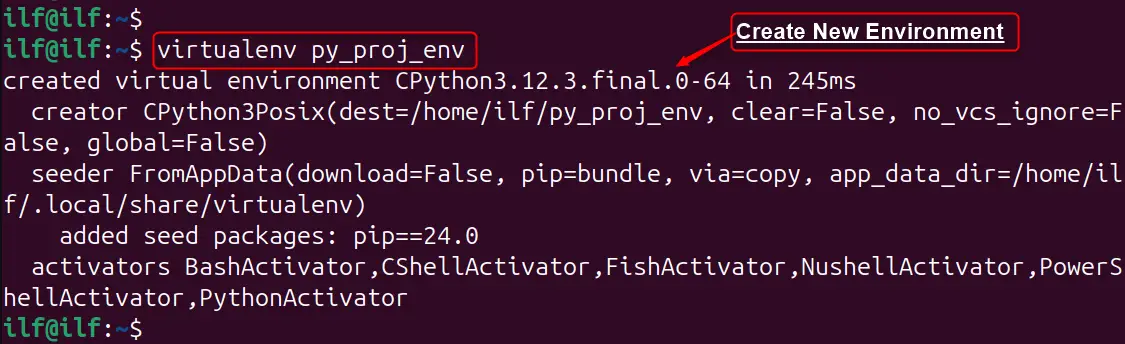
Note: Remember to replace “py_proj_env” with your desired environment name.
Step 3: Activate Python3 Virtual Environment
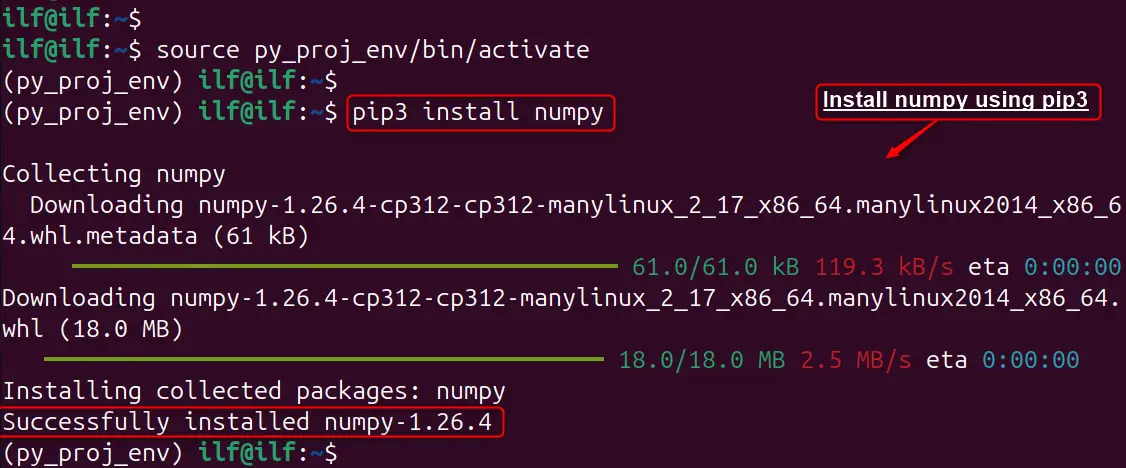
After creating the environment, activate it via the “source” command:
source py_proj_env/bin/activate

Step 4: Verify Installed Pip3
Now, any Python packages you install with Pip3 will be contained within this environment. Let’s install numpy module using the pip3 as below:
pip3 install numpy
Method 4: Using a Python Script
For Ubuntu users, installing pip3, the version of pip for Python 3, can be done through a simple Python script.
Here’s a step-by-step guide to installing pip3 on Ubuntu using a Python script:
Another way to install Pip3 is by using the “get-pip.py” script, which can be downloaded from the official Pip website. Let’s do it:
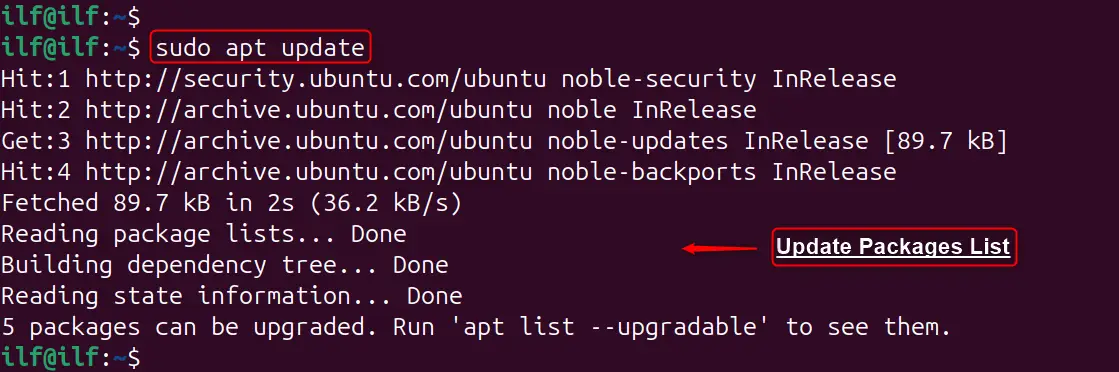
Step 1: Update Package list
First, update the package list to ensure users have the most recent version of the repository information:
sudo apt update
Step 2: Download the get-pip.py Script
You can download the “get-pip.py” script using “curl”. It is provided by the PPA and will install pip3 along with the required dependencies:
sudo apt install curl # Install curlcurl https://bootstrap.pypa.io/get-pip.py -o get-pip.py

Step 3: Run the get-pip.py Script
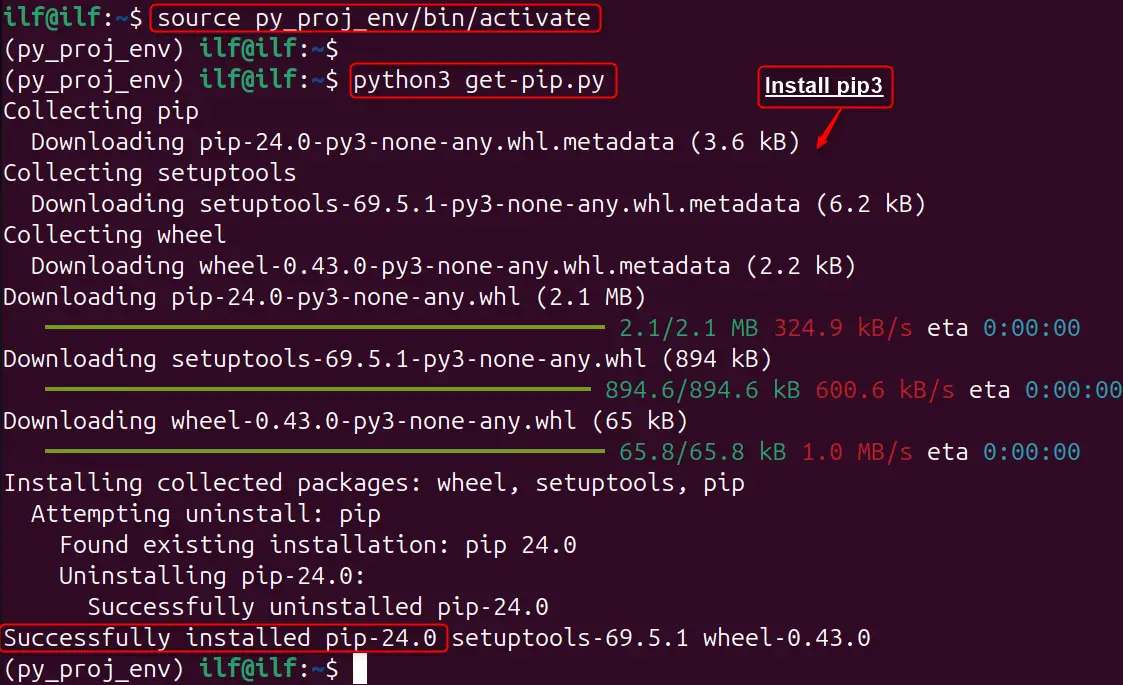
After downloading the script, users can install pip3 in Python3 Virtual Environment by running the script with Python 3. If not install and create the environment, by following the above method:
source py_proj_env/bin/activatepython3 get-pip.py
Step 4: Verify the Installation
Once the installation is complete, authenticate that pip3 is installed correctly:
pip3 --version
By following these steps, you should have pip3 installed on your Ubuntu system, allowing you to manage Python packages easily.
How to Remove/Uninstall Pip3 on Ubuntu 24.04
However, when you need to remove it from the system. Here’s a step-by-step guide to removing Pip3:
Uninstall Pip3 Using APT
The easiest way to remove Pip3 is through the APT package manager:
sudo apt remove python3-pip

This command will remove the Pip3 package installed via APT.
Remove Pip3 from the User Directory
If you’ve installed Pip3 locally (in your user directory), you’ll need to remove it manually with the “rm” command:
rm -r ~/.local/bin/pip3

Be cautious with this command, as it will recursively remove the specified directory and its contents.
Clean Up the Pip Cache
After uninstalling Pip3, you might want to clean up the cache to free up space. Use the following commands to remove the Pip cache:
sudo rm -rf /root/.cache/pip
rm -rf ~/.cache/pip

These commands will remove the cache directories for Pip.
Check for Residual Files
Even after uninstalling Pip3, remove several unnecessary files left on the system. You can check for any remaining Pip-related files with the below command:
whereis pip3

If this command returns any paths, you can manually remove the files or directories listed.
Remember to only remove Pip3 if you’re certain it’s necessary, as many Python-based applications and tools rely on it.
Conclusion
Installing Pip3 on Ubuntu 24.04 is a simple process. Begin by updating the package list with “sudo apt update” to make sure you have the most recent versions of the software. Then, install Pip3 using “sudo apt install python3-pip”. After the installation, verify the Pip version with “pip3 –version”.
Whether you prefer using the default package manager, a Python script, or the Pipx package installer, each method provides a reliable way to get Pip3 up and running on your system.
Remember to always keep your system updated and to use virtual environments for project-specific package management.

Check our LinkedIn company page