
Using the boot manager, we can install Ubuntu alongside Windows in the dual boot. Boot manager is the software in Windows which tells the computer kernel to load the operating system. It defines the behavior and other properties of booting the operating system.
We can install Ubuntu on a computer which is already has installed Windows operating system.
This blog will elaborate on the installation method of Ubuntu alongside Windows 10. The blog’s content is:
- Prerequisites: System Requirements
- Make a Bootable USB With Ubuntu ISO
- Install Ubuntu on the Computer
- Boot the Ubuntu on a computer
Let’s start this tutorial.
Prerequisites: System Requirements
Before proceeding with this guide, you have to ensure that the system is equipped with at least the minimum requirements written in the table.
| Processor | 2 GHz dual-core processor or better |
| RAM | 4 GB system memory |
| Hard Disk | 20 GB Minimum |
| Internet | Internet access either with ethernet or WiFi |
| USB Port | To plug the bootable USB for installation of Ubuntu |
Let’s start with the guide!
Make a Bootable USB With Ubuntu ISO
A bootable USB is used to boot up the operating system when it is plugged in to install it on the computer. For the installation of Ubuntu, we will first make the USB bootable with the ISOfile of Ubuntu.
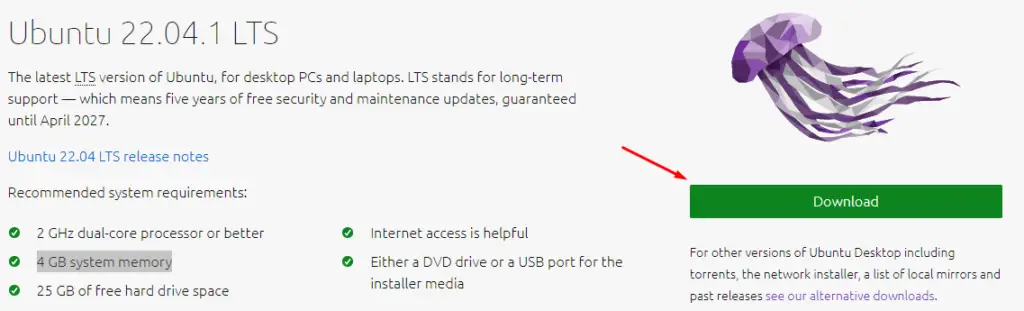
Step 1: Download the iso File of Ubuntu
Visit the official website and download the ISO file of Ubuntu. Click on the “Download” button to start downloading the ISO file of Ubuntu:
The download will start automatically, but if it is not started, then you can start it manually by clicking on the “download now”:
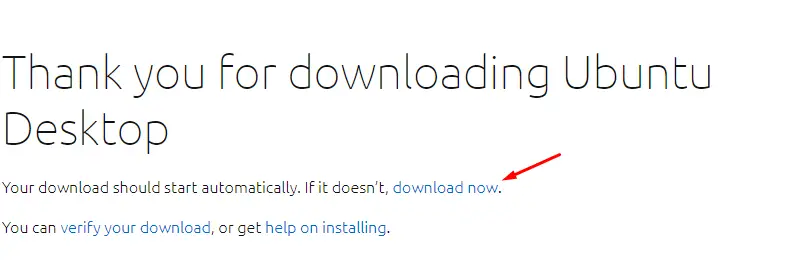
The file will be downloaded in the “Downloads” folder, or it may be downloaded in any other folder if you specified the location.
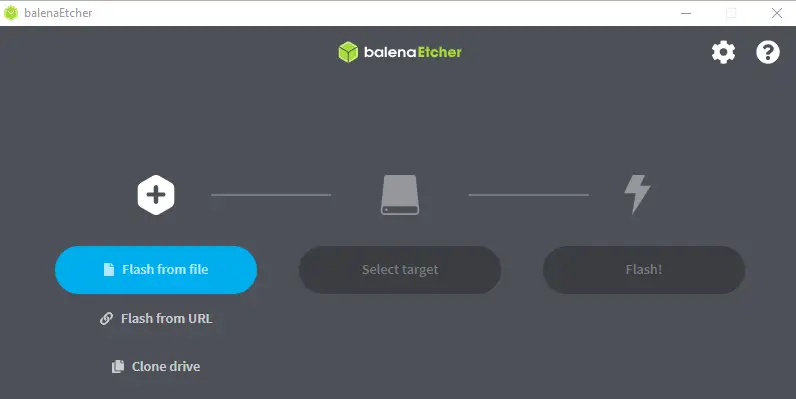
Step 2: Launch the Balena Etcher
To write the downloaded iso file on the USB to make it bootable, we will launch the “Balena Etcher,” which can be downloaded from its website easily.
Launch the Balena Etcher:
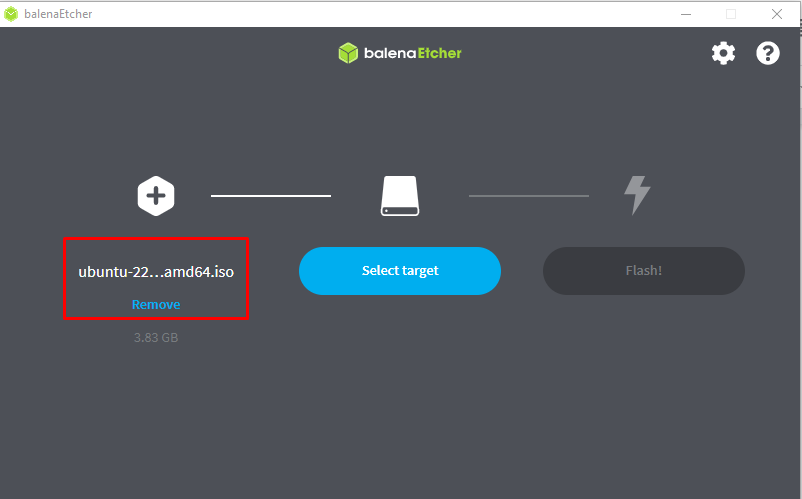
Now, choose the “iso file” after clicking on the “Flash from File”:
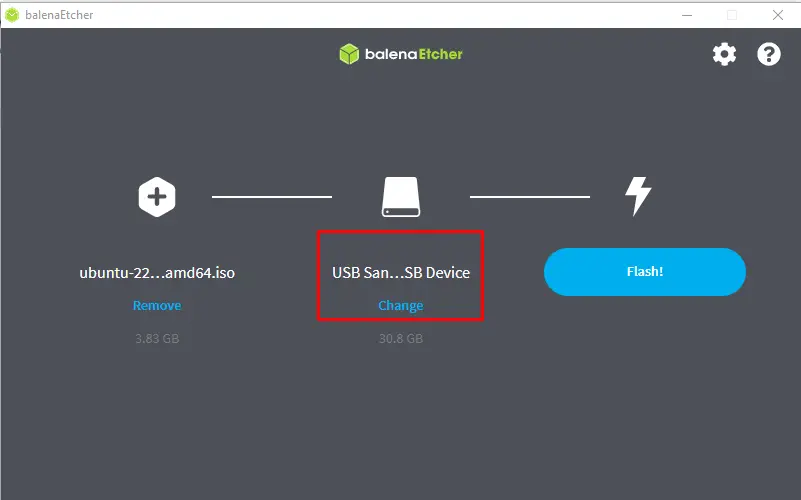
Now, choose the USB by clicking on the “Select target”:
The USB will be loaded with the name as can be seen below:
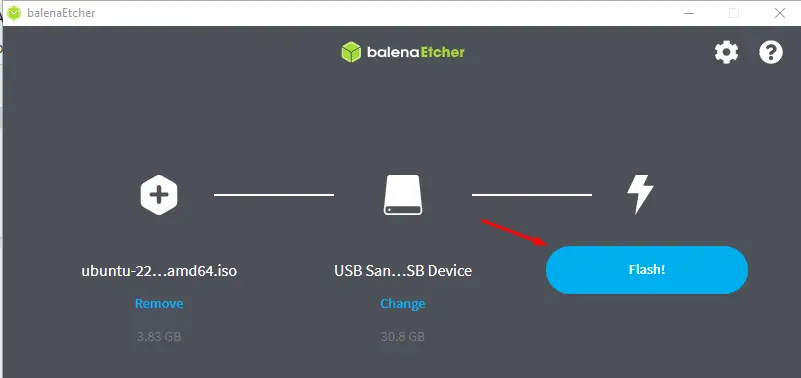
Finally, click on the “Flash!” button to start the process of flashing the iso file of Ubuntu on the USB:
When the USB is booted with the iso file of the Ubuntu, then a message will pop up on the screen “Flash Complete!”:

Remove the USB from the computer.
Install Ubuntu on the Computer
Plug in the bootable USB with the computer, restart the PC and then follow the steps provided below.
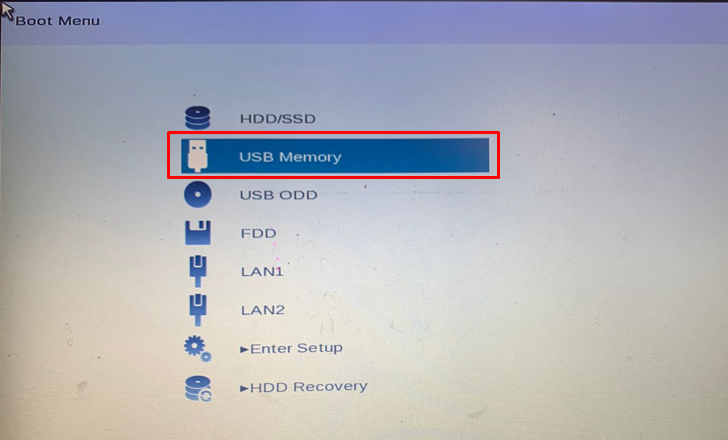
Step 1: Boot from USB
Open the boot menu with the help of the boot key and select the USB from which you want to boot:
It will boot Ubuntu from the “Bootable USB” and will launch Ubuntu installation:

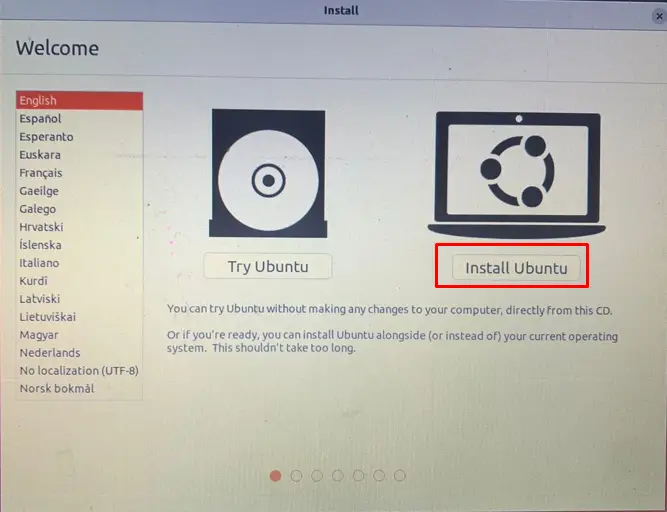
Step 2: Start the Installation
When the Ubuntu is booted form the USB, it will display two options:
- Try Ubuntu: when you only want to see the interface and working of Ubuntu on a test basis
- Install Ubuntu: will run Ubuntu after installing it on the computer.
We will click on “Install Ubuntu” because we want to install it on the computer:
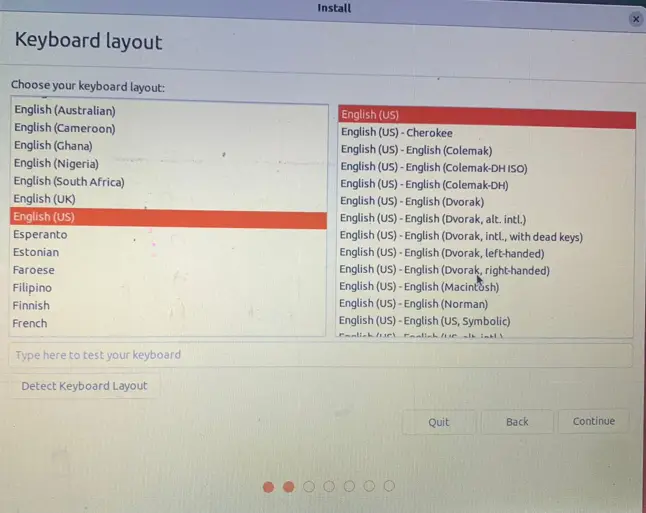
Step 3: Choose the Keyboard Layout
Choose the Keyboard layout and click on “Continue”.
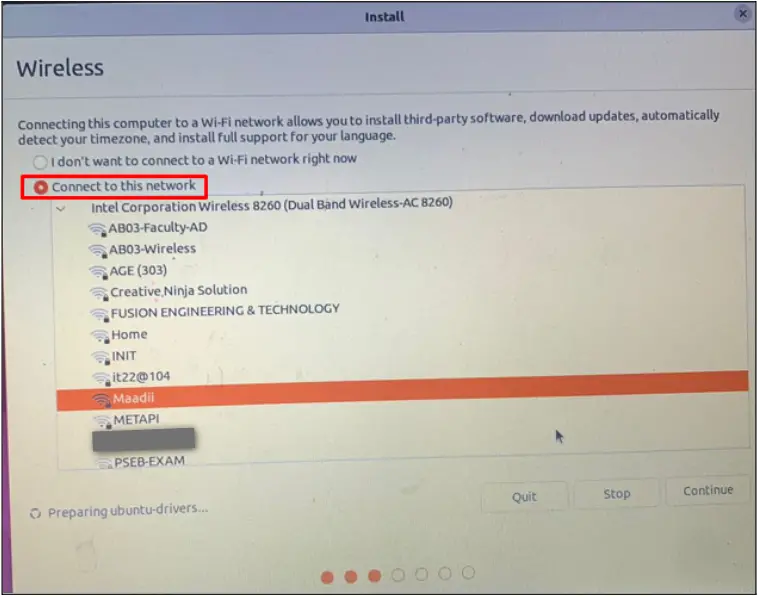
Step 4: Connect to Wifi (Optional)
The next step will ask you to connect to WIFI, it is recommended to perform this as it will assist in getting updates while installing:
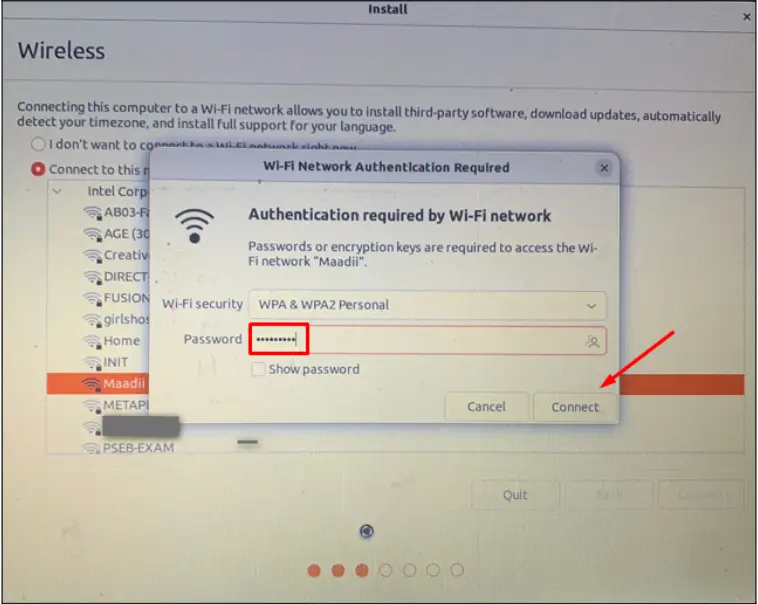
It will ask for the password of the network for the authentication purpose, after entering the password click on “Connect”:
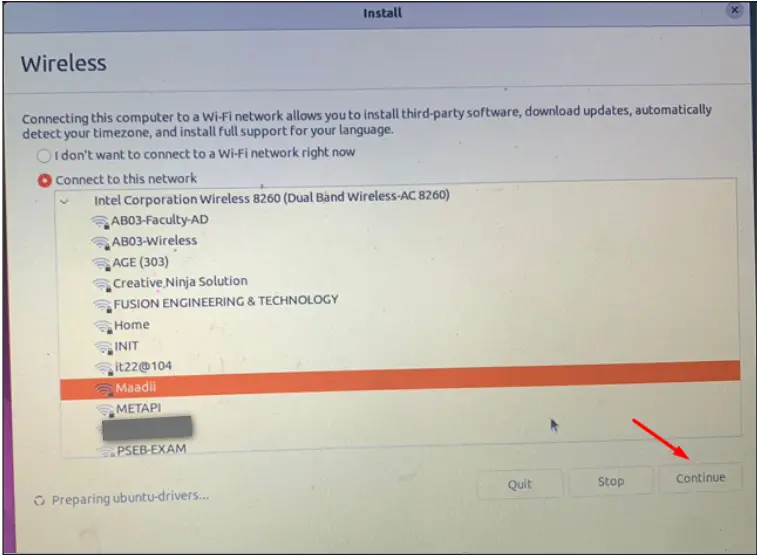
Then, click on the “Continue” button to proceed to the next step:
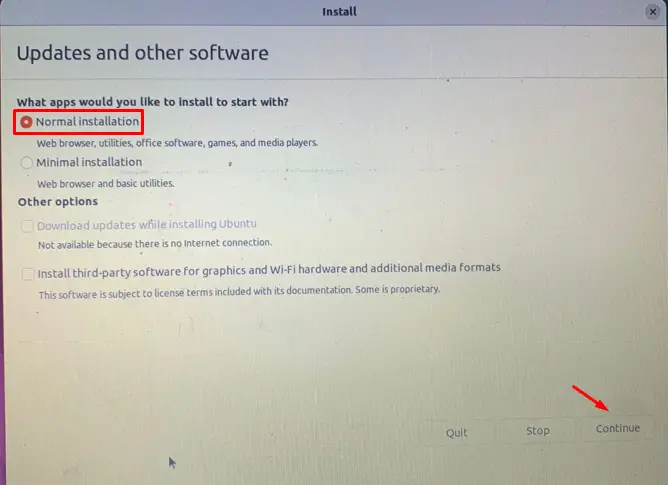
Step 5: Choose the Variant of Installation
You can install the full Ubuntu, or if you have memory issues, then you can install the “Minimal installation” of Ubuntu as well. In the “Minimal installation”, Ubuntu will contain only a web browser and basic need utility packages. We will choose the “Normal installation” and then will click on the “Continue” button:
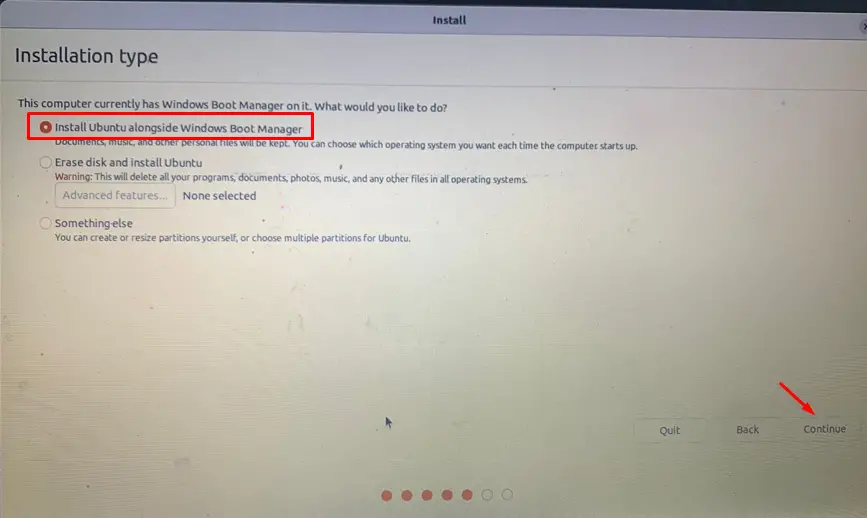
Step 6: Select the Installation Type
Now, it will ask you the “Installation type” by providing you with three different options:
- In “Install Ubuntu alongside Windows Boot Manager”, it will not delete the data from the computer and make install Ubuntu in the assigned memory space.
- The other option is to “Erase disk and install Ubuntu”, which will delete all the data from the computer.
- The last option is “Something else”, in which you can create your own partition and can install Ubuntu in it.
We want to run Ubuntu with the already installed Windows, so we have to choose “Install Ubuntu alongside Windows Boot Manager”.
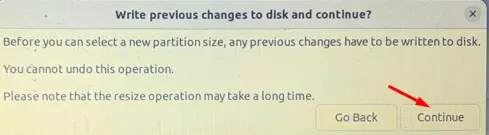
When you choose “Install Ubuntu alongside Windows Boot Manager”, it will ask you to manage the memory by assigning “Ubuntu” and installing “Windows‘:
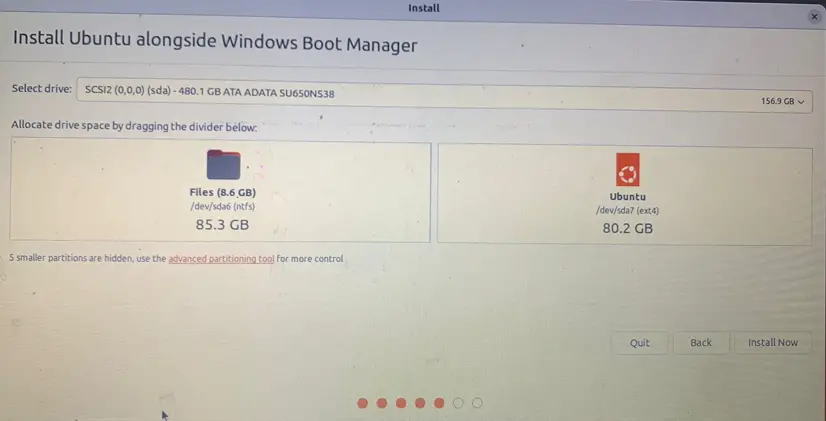
You can set the memory by “dragging” the “divider” to either the left or right of the screen and then click on the “Continue” button to proceed the installation method:
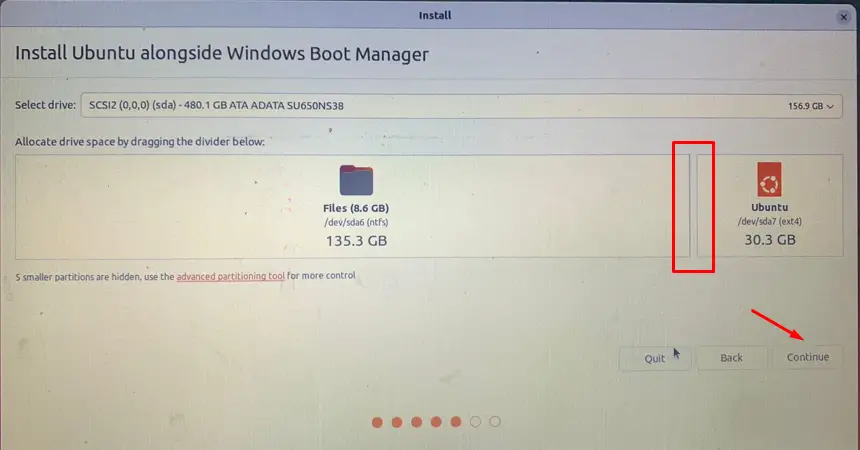
Click on the “Continue” button:
Step 7: Select the Location
Then it will ask you to set the geographical location where you are using the computer:

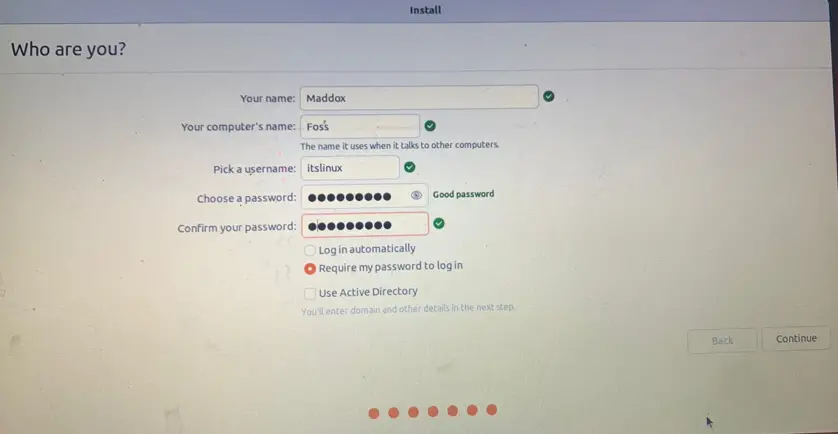
Step 8: Set the Information of Computer and User
Provide your information, including the computer name and create a new user with a strong password:
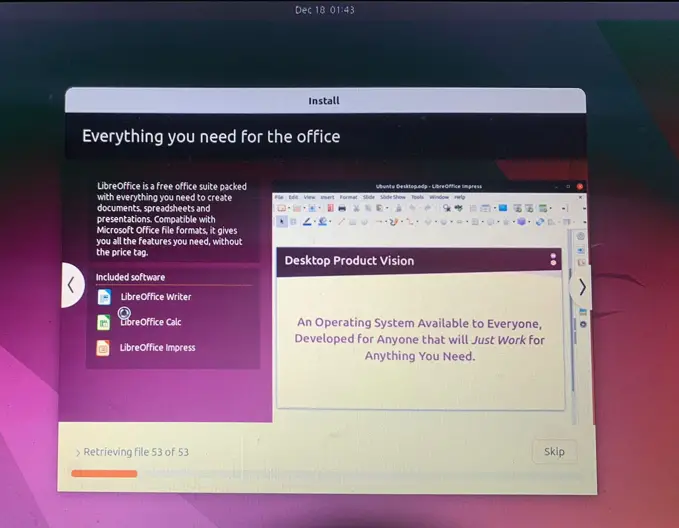
The installation will start and be complete in few minutes:
Step 9: Restart the Computer
When the installation is completed, a message will be displayed on the screen which will say you to “Restart Now”:
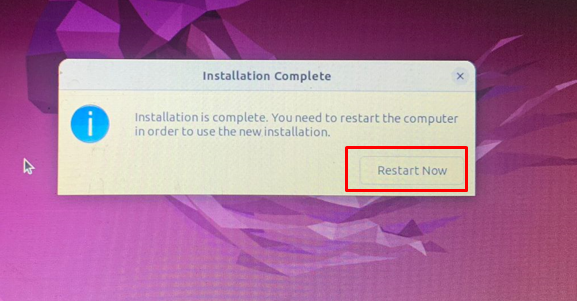
The computer will be restarted as the installation of Ubuntu is completed.
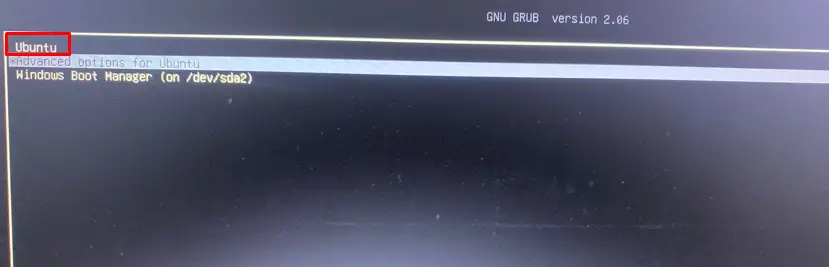
Boot the Ubuntu on a computer
After installing Ubuntu and restarting the computer, choose “Ubuntu” from the boot menu:
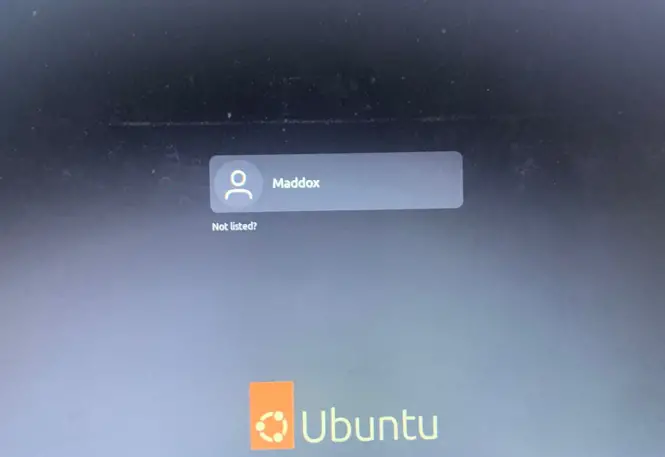
Ubuntu will start booting:

Log in to the computer by providing the password of the user “Maddox”:
Ubuntu has been started:
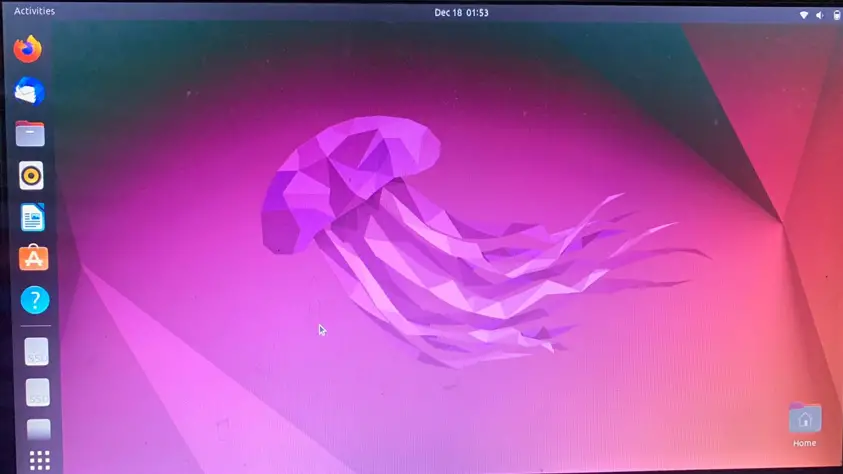
This is the way you can install Ubuntu with the already installed Windows on the computer.
Conclusion
To install Ubuntu alongside Windows Boot Manager, click the installation type concerning it during installation and install it by assigning it some space. In this blog, we have explained in detail the method of installing Ubuntu with the already installed Windows on the computer.
