
The pyenv is a tool used to manage the different versions of Python. Python language is used to develop web and mobile applications for different purposes. To test these python codes in different versions of Python, instead of installing different versions of python, we use pyenv.
The pyenv can be installed on different distributions of Linux. In this write-up, we are focussed on the installation of pyenv on Ubuntu. The outcomes are demonstrated as:
Let’s start!
How to Install Pyenv on Ubuntu 22.04?
For the installation of Pyenv in the latest release of Ubuntu, known as the Jammy Jellyfish or the Ubuntu 22.04, we will follow the below-mentioned steps:
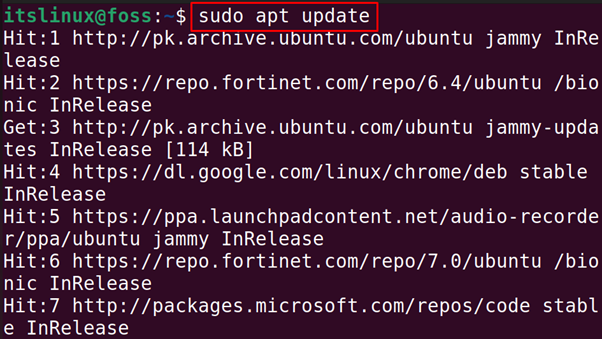
Step 1: Update the Ubuntu Repository
We will first update the packages of Ubuntu via the core libraries using the command:
$ sudo apt update
Step 2: Download the Script of Pyenv in Ubuntu
Next step is to download the script of Pyenv and also execute the downloaded script using the command:
$ curl https://pyenv.run | bash

At the end of the script, the further installation guidelines are mentioned:
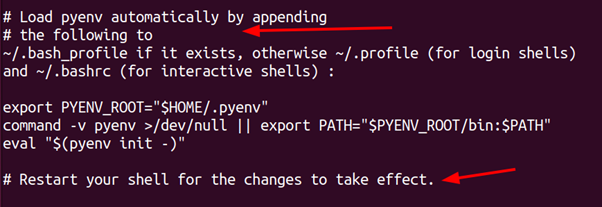
Let’s proceed with further steps as directed above.
Note: Dependency Errors While Installing Pyenv
If any dependencies error occurs, such as curl or git, then you can use the following commands to get rid of them:
$ sudo apt install curl -y
$ sudo apt install git -y
After the successful execution of the above command, the issue of the curl command is not found will be resolved.
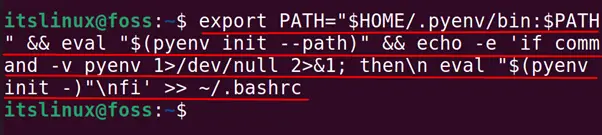
Step 3: Add the Environment Variables Into bashrc File
After downloading and executing the bash script of the pyenv, we will add some environment variables using the command:
$ export PATH="$HOME/.pyenv/bin:$PATH" && eval "$(pyenv init --path)" && echo -e 'if command -v pyenv 1>/dev/null 2>&1; then\n eval "$(pyenv init -)"\nfi' >> ~/.bashrc
Step 4: Restart the Shell in Ubuntu
Next step is to restart the shell in Ubuntu with the execution of the command:
$ exec $SHELL

Step 5: Display the Installed Version of the Pyenv in Ubuntu
Final step is to display the version of the installed Pyenv to confirm its installation by running the command:
$ pyenv --version

2.3.6 version of the pyenv has been installed in Ubuntu.
How to Use Pyenv on Ubuntu?
Pyenv is used to install and switch different versions of Python versions. Different basic commands of the Pyenv are practiced below.
Command 1: To Display All the Available Versions of Pyenv
To list down all versions of Python available in the Pyenv which can be installed on Ubuntu are:
$ pyenv install --list

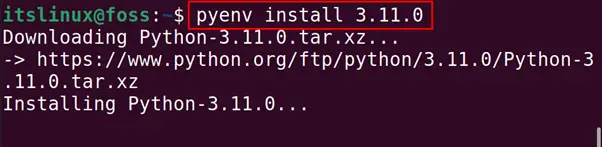
Command 2: Install Any Specific Version of Python
Choose the version from the above list, and use the command “$ pyenv install [version-no]” and for instance, the command provided below will install the 3.11.0 version of Python:
$ pyenv install 3.11.0
Command 3: Display All the Installed Versions of Python
To display all the installed versions of Python on the computer using the pyenv, run the command:
$ pyenv versions

Command 4: To Set a Specific Version as the Global in Ubuntu
To set any specific python version as the system-wide, mark it as the global version. For example, we set the python version of 3.10.0 as the global with the command:
$ pyenv global 3.11.0

It means the system uses the 3.11.0 version of Python by default.
Command 5: Uninstall Any Specific Python Version From Ubuntu
To uninstall any installed version of Python using Pyenv, use the “uninstall” option. For instance, the following command will uninstall the 3.11.0 version of Python:
$ pyenv uninstall 3.11.0
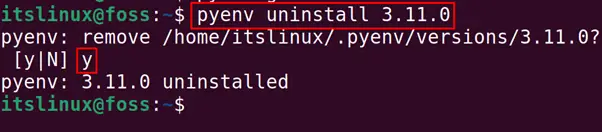
The output shows that version 3.11.0 of Python has been removed.
How to Uninstall Pyenv on Ubuntu?
To uninstall the pyenv on Ubuntu, we will remove the folder of the pyenv by using the rm command:
$ rm -fr ~/.pyenv

The pyenv has been removed.
That’s all from this post!
Conclusion
To install the pyenv on Ubuntu, we should download its bash script using“curl https://pyenv.run | bash” and add the environment variables path into the “bashrc” file.
In this write-up, the step-by-step installation of Pyenv is explained on Ubuntu. Additionally, its manifold usages are demonstrated with practical implementation.
