
Boost is the collection of libraries in the C++ programming language that has extended features as compared to the Standard Library of C++. It supports different structures, including regular expression, image processing, linear algebra, and multithreading. This guide will explain all possible methods for installing the boost library in Ubuntu. The following content is addressed in the post:
- How to Install Boost Library in Ubuntu?
- How to Use Boost Library in Ubuntu?
- How to Uninstall Boost Library in Ubuntu?
Note: The installation steps are carried out in Ubuntu 22.04 LTS.
Let’s start with the guide.
How to Install Boost Library in Ubuntu?
In Ubuntu, the installation of the boost library is performed through the system repository. This repository allows users to download the available package or library. To achieve this, step-by-step instructions are provided below:
Step 1: Update System Packages
Open the terminal using the shortcut key “CTRL+ALT+T” and update the core libraries of Ubuntu by following the below command:
$ sudo apt update
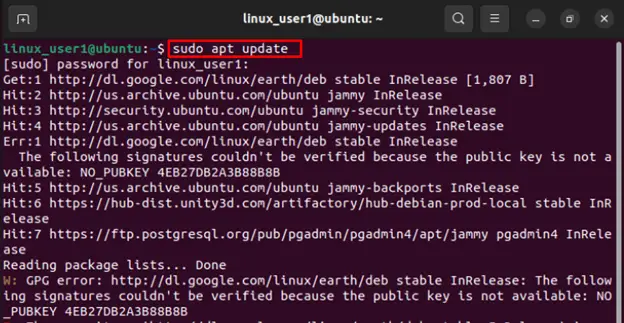
The above command updates the system package list by downloading from the configured sources.
Step 2: Install Boost Library
After updating the operating system, install the boost library with all its dependencies using the below script in the terminal:
$ sudo apt install libboost-all-dev
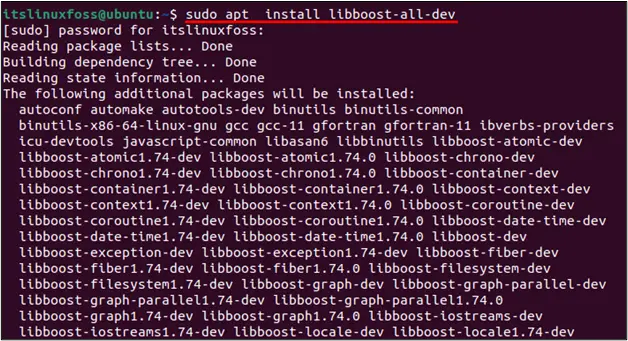
Note: Two alternative commands can also be utilized with “apt-get” and “aptitude” instead of “apt” to install the boost library packages.
After executing the above script, it requires permission for further proceeding. Press “y” to continue the process as below:
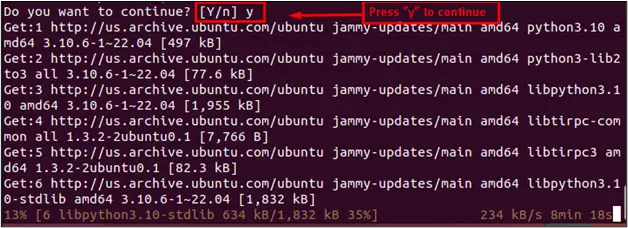
Doing so, the “Boost” library will be installed successfully.
Let’s explore the usage of the boost library in the Ubuntu operating system.
How to Use Boost Library in Ubuntu?
For the practical implementation of the boost library in Ubuntu, the C++ code file is compiled in the Ubuntu terminal. The step-by-step guidelines are as follows:
Step 1: Create a C++ File
After opening the terminal, execute the below command to create and access a C++ file. We are creating and accessing the “main.cpp” file:
$ nano main.cpp

After executing the above command, it navigates to the editor tool by creating a file “main.cpp”. The sample code is explained below:
- First, add header library files <iostream> and <boost/array.hpp>.
- After that, initialize an array of length 3 in the main() function and store 25, 23, and 54 values.
- Furthermore, display the output “itslinuxfoss” with the second element of an array using the boost library.
#include <iostream>
#include <boost/array.hpp>
using namespace emp;
int main(){
  boost::array<int, 3> arr = {{25,23,54}} ;
  cout << "itslinuxfoss" arr[2]<<;
  return 0;
}

After writing the code, use the shortcut key “CTRL+S” and “CTRL+X” to save and exit the editor.
Step 2: Compile C++ File
For compiling the “main.cpp” file in Ubuntu operating system, the G++ compiler is used in the following manner:
$ g++ -o s main.cpp
The “-o” specifies the output file having the name “s”, which is the executable file that can be seen below screenshot:
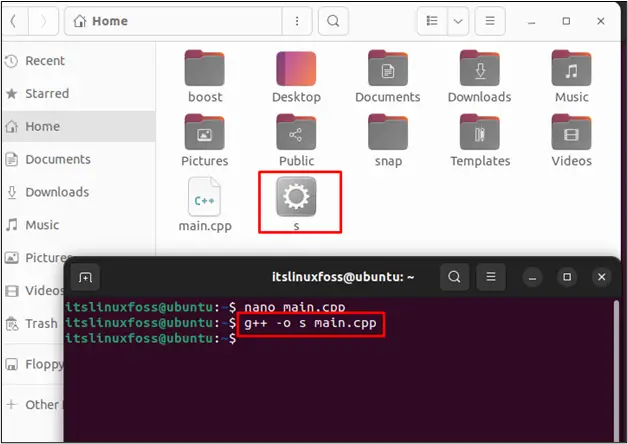
After executing the above script, an executable file is generated whose name is specified as “s” which can be highlighted in the above figure.
How to Uninstall Boost library in Ubuntu?
It is an additional step to uninstall the boost library in Ubuntu. It is possible by removing the “libboost-all-dev” package from Ubuntu. To do so, the following script is below that deletes the dependencies of the installed boost library:
$ sudo apt remove libboost-all-dev
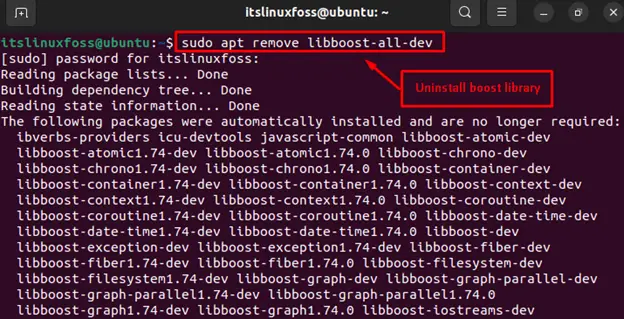

It can be confirmed that the boost library has been uninstalled from Ubuntu.
That is all from this guide.
Conclusion
In Ubuntu, the command “sudo apt install libboost-all-dev” is utilized to install the Boost library. The Boost library has a key role in compiling the C++ code and thus has significance in unit testing, multi-threading, linear algebra, and other mathematical operations. This guide has demonstrated a step-by-step procedure to install the boost library in Ubuntu. Additionally, the usage and uninstallation of the boost library are also explained.
