
Telnet is the client-server protocol allowing users to access other Linux machines from your Linux machine. The telnet is similar to SSH and uses port 23 to connect two machines. However, Telnet is less secure than SSH connections.
In this write-up, telnet will be installed on Ubuntu, and its usage method has been explored for the latest version of Ubuntu, Jammy Jellyfish.
How to Install and Use Telnet on Ubuntu 22.04
This section comprises various steps that lead to the installation of Telnet on Ubuntu 22.04. Let’s head over to them one by one:
Step 1: Check the Availability of Telnet
First, confirm the availability of the telnet package in the default repository of Ubuntu by executing the below-mentioned command:
$ apt show telnetd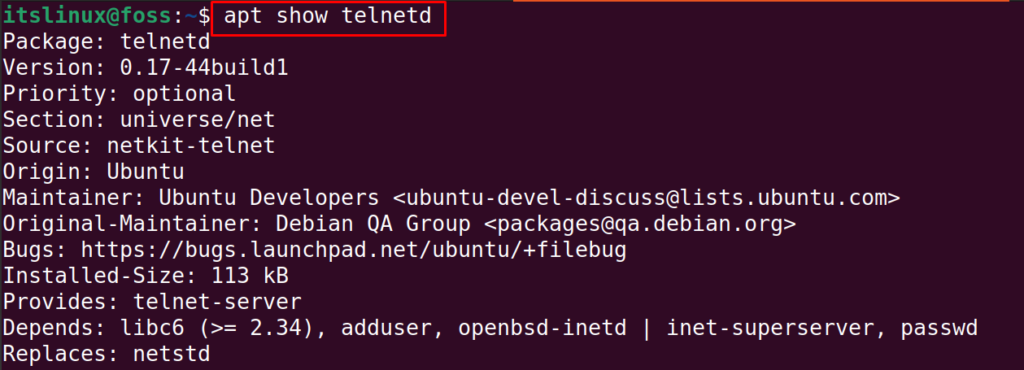
It can be seen that “0.17” version of telnet is available in the repository of Ubuntu.
Step 2: Install Telnet
To install Telnet on Ubuntu 22.04, run the command:
$ sudo apt install telnetd -y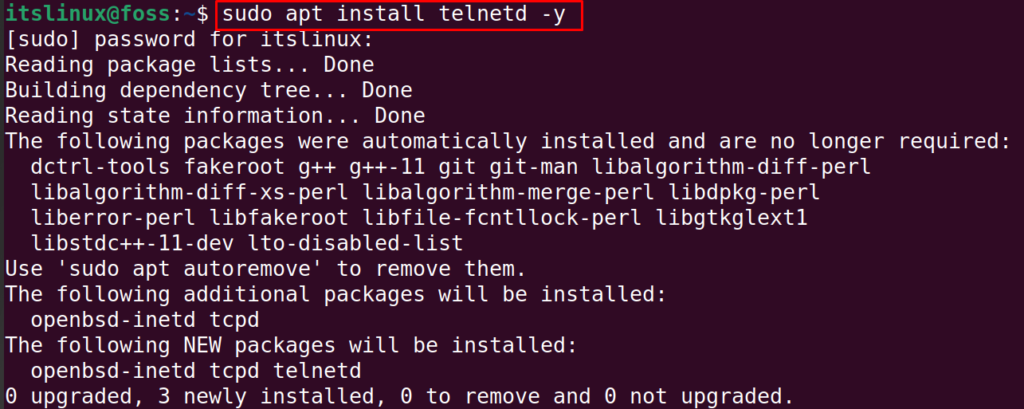
Step 3: Check the Telnet’s Status
When the package of telnet is installed successfully, check the status of the service of “inetd” using the command:
$ sudo systemctl status inetd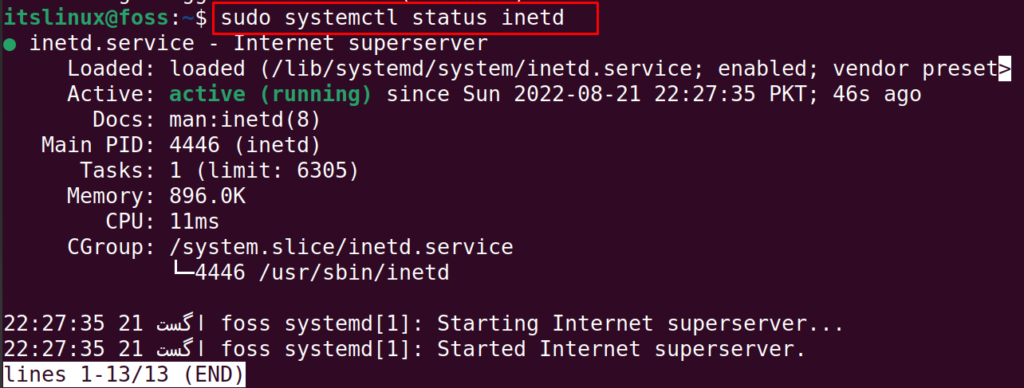
The running status shows the service is active.
Step 4: Configure Firewall for Telnet
To configure the Firewall for Telnet, enable the firewall using the ufw utility as follows:
$ sudo ufw enable
As the communication of the machines in telnet is done through port 23, so allow the connections on this port using the command:
$ sudo ufw allow 23
Step 5: Test Telnet Server
Find out the IP address of the other machine which is supposed to be accessed using telnet and then run the telnet command with that IP address:
$ telnet 192.168.1.25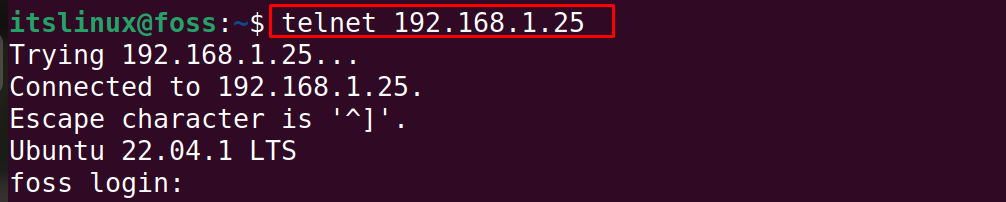
It will ask for the login credentials, once provided, it will successfully access the other Linux machine:

You may come out of the Telnet’s session using the command:
$ exit
The user is logged out from the other machine.
Remove Telnet From Ubuntu 22.04
To uninstall “Telnet” from Ubuntu 22.04, run the purge option of an apt package manager as follows:
$ sudo apt purge telnetd -y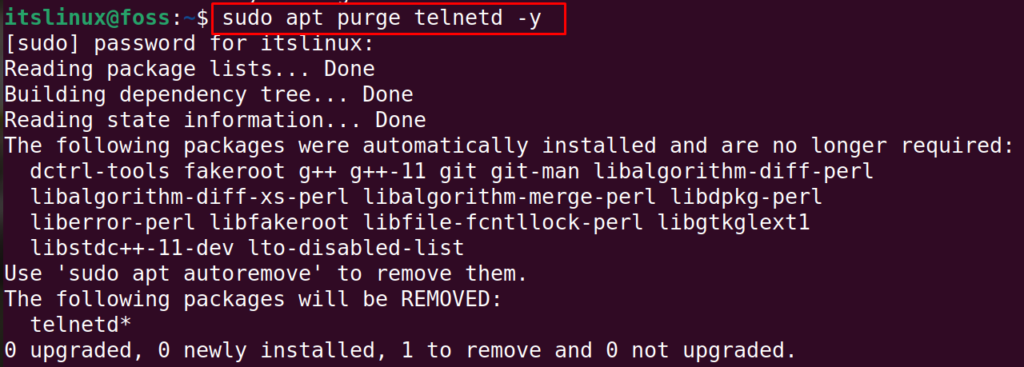
The package has been removed. That’s it from this Telnet guide!
Conclusion
To install the “Telnet” in Ubuntu 22.04, run the command “sudo apt install telnet -y”. After installation, you need to configure the firewall to allow connections over Telnet. First, the firewall is configured. Then, the user can utilize the command “telnet [ip address]” to use telnet. In this write-up, installation and usage of the “Telnet” in Ubuntu have been demonstrated with the easiest approach.

Saryia is a technology entrepreneur and digital publisher specializing in Linux, open-source technologies, and developer education.