
XFCE is the popular desktop environment that is originally the abbreviation of the “XForms Common Environment”. It is popular in Linux distributions because of its lightweight architecture and high level of customization.
XFCE provides its users with a graphical desktop interface including different tools which enhance the user-friendly working environment. It also allows the addition of different plugins which improve the XFCE capabilities like the weather update plugin.
XFCE is mostly used in UNIX-based operating systems. Moreover, it comes by default in Linux Mint, Xubuntu, and Manjaro Linux distributions.
One can install the XFCE during the installation of Debian 12. If it is not installed during the installation, then no need to worry as this blog will walk you through different installation methods of XFCE after Debian’s 12 installations.
What are the Installation Methods on Debian 12 for XFCE?
XFCE can be installed by two different methods on Debian 12:
Method 1: Install XFCE Using the apt Repository
The most convenient approach for installing the packages on Debian 12 is using the default repository with the apt package manager.
By following the next steps, XFCE can be installed on Debian 12 using its default repository.
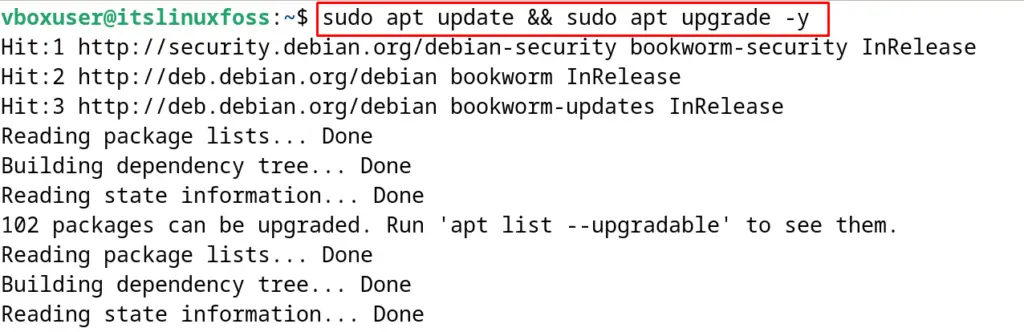
Step 1: Update the Packages
To ensure the installation of the updated XFCE version, update all the packages:
$ sudo apt update && sudo apt upgrade -y
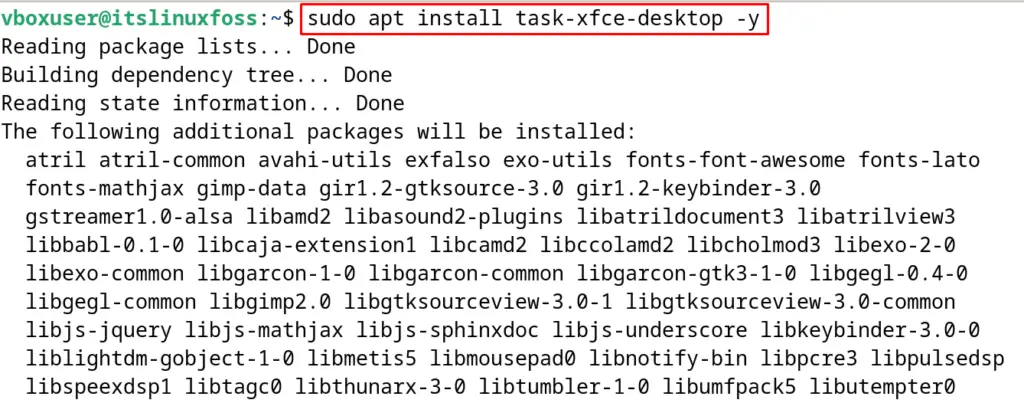
Step 2: Install XFCE
Now install the XFCE with the execution of the below-mentioned command:
$ sudo apt install task-xfce-desktop -y
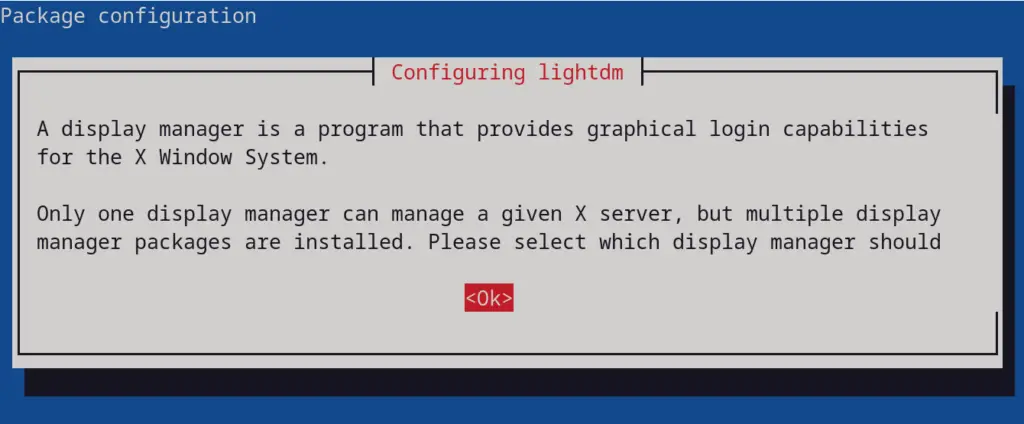
Click on the “Ok” option in the appeared dialog box:
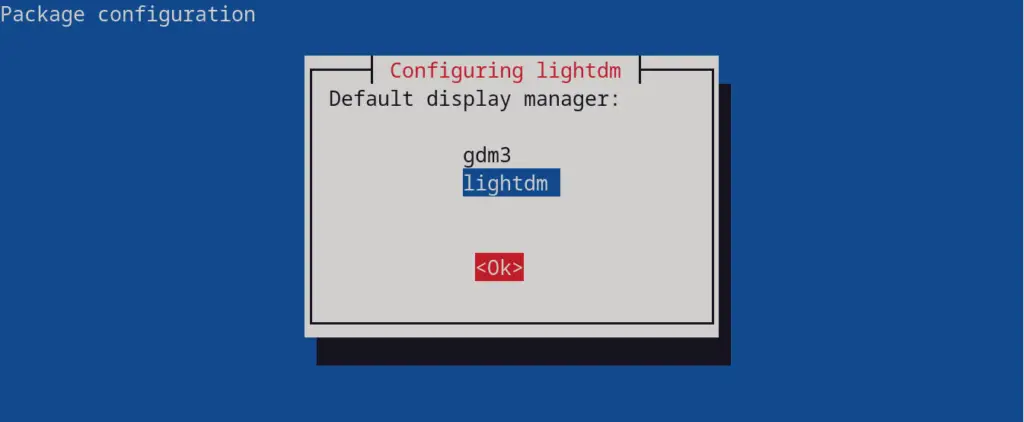
After a few minutes, again a message will prompt you to choose either gdm3 or lightdm. It is suggested to choose the lightdm because of its lightweight architecture and fast speed. And then click on the “Ok” option to proceed with the installation:
Step 3: Check Default Boot Target
After the XFCE is successfully installed, check the default boot target of it:
$ sudo systemctl get-default
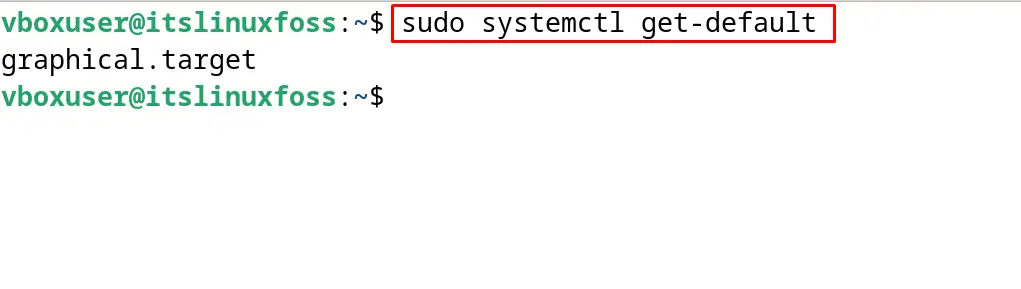
In our case, it is already set to a graphical target. If it is not set, then proceed to the next step, else skip it.
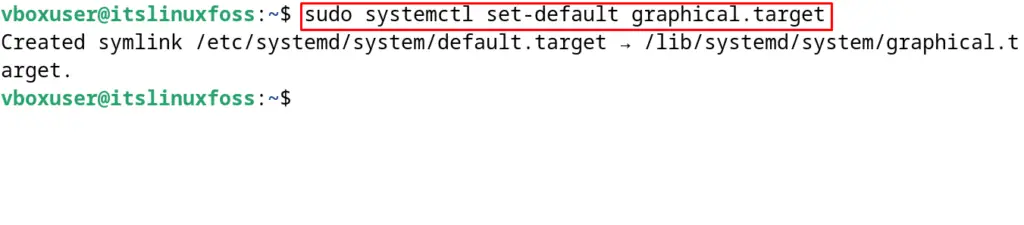
Step 4: Set Graphical Target
To set the XFCE target to graphical, run the command:
$ sudo systemctl set-default graphical.target
Step 5: Restart the Computer
Finally, restart the computer using the reboot command:
$ sudo reboot

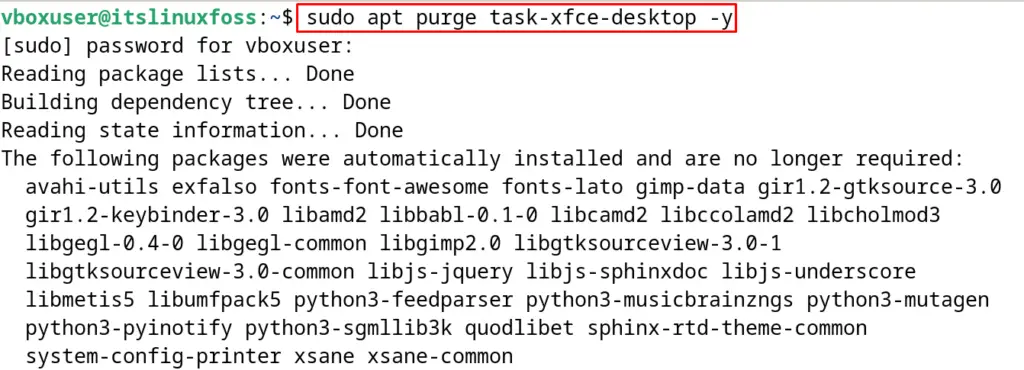
How to Uninstall the XFCE Desktop on Debian 12?
To remove and uninstall the XFCE Desktop environment on Debian 2, use the apt package manager:
$ sudo apt purge task-xfce-desktop -y
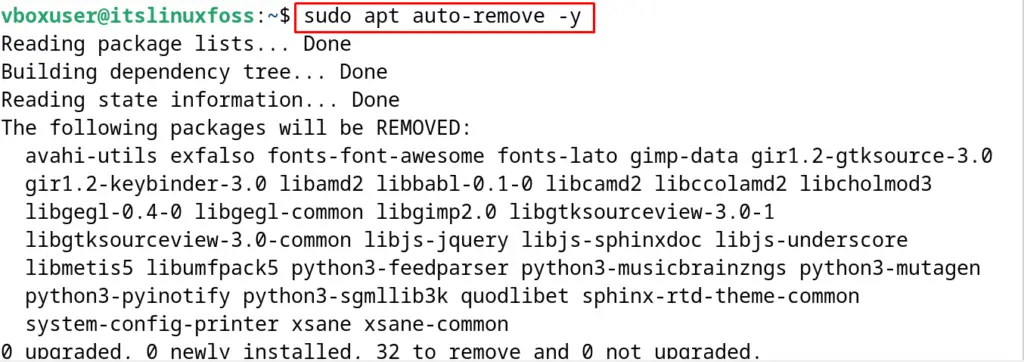
Also, remove the packages which are not been in use for a long time:
$ sudo apt auto-remove -y
Method 2: Install XFCE Using the tasksel
Tasksel is the command-line utility in Linux distributions used to install predefined software including desktop environments. By following the below-mentioned steps, the tasksel is used for the installation of the XFCE desktop environment.
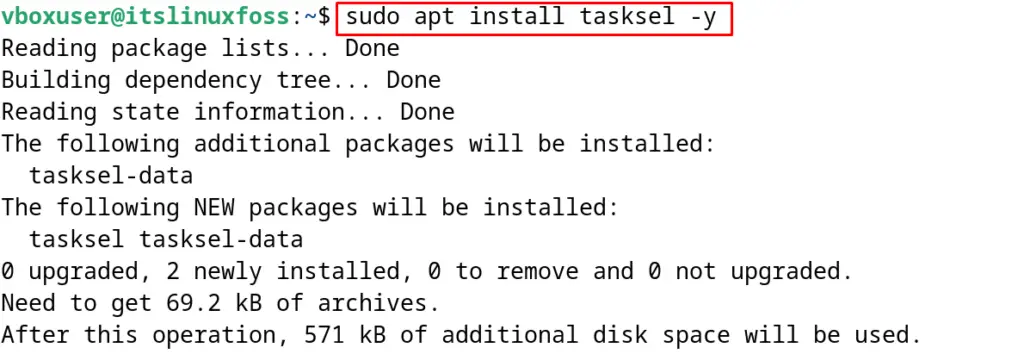
Step 1: Install the tasksel
For the installation of the tasksel, use the command:
$ sudo apt install tasksel -y
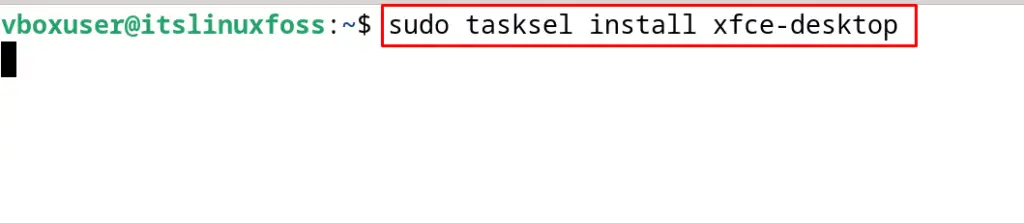
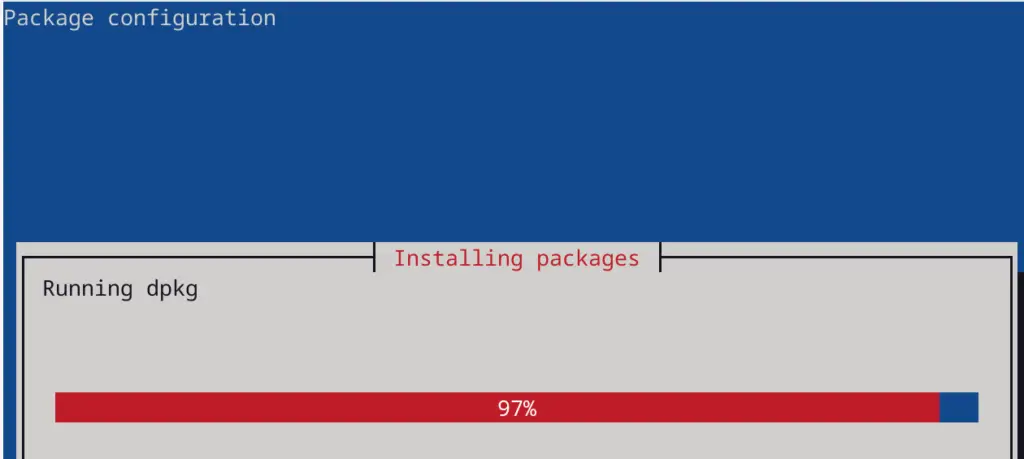
Step 2: Install XFCE on Debian 12
Now use the tasksel for the installation of the XFCE Desktop Environment:
$ sudo tasksel install xfce-desktop
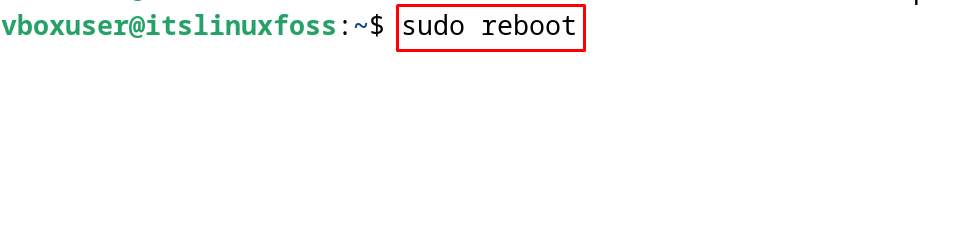
Step 3: Reboot the Computer
To experience the newly installed, XFCE Desktop Environment, restart the computer:
$ sudo reboot
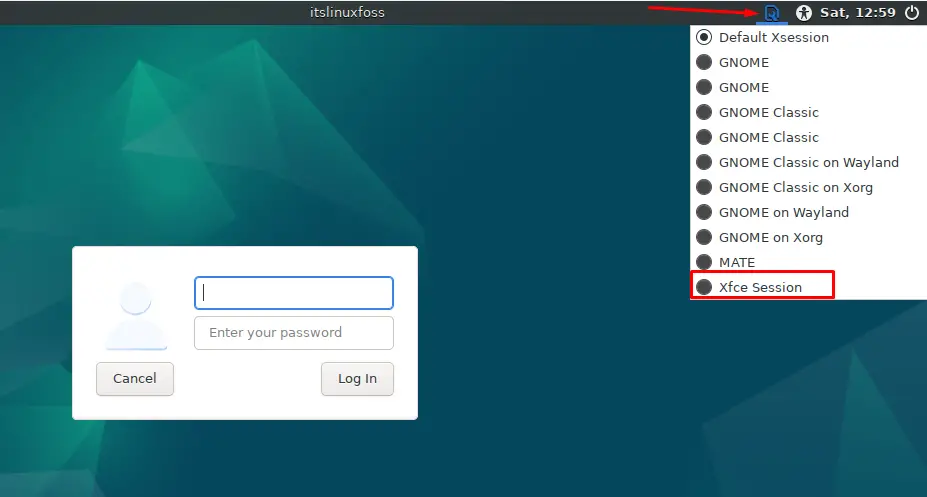
XFCE Desktop Environment has been successfully installed on Debian 12. Click on the “Session Icon” and choose the xfce session:
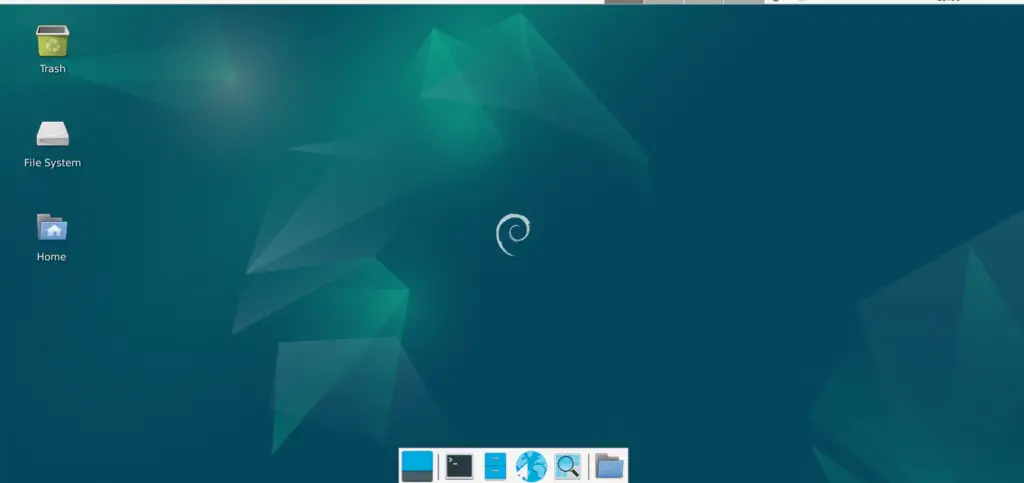
The XFCE session has been logged in:
How to Use the XFCE Desktop Environment on Debian 12?
XFCE can be used with a lot of its features and some of its features are explained in the below section.
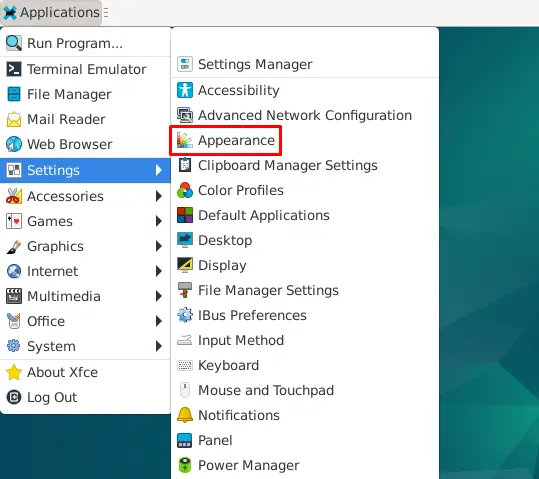
Appearance and Themes
To set the themes, open “Settings” and click on “Appearance”:
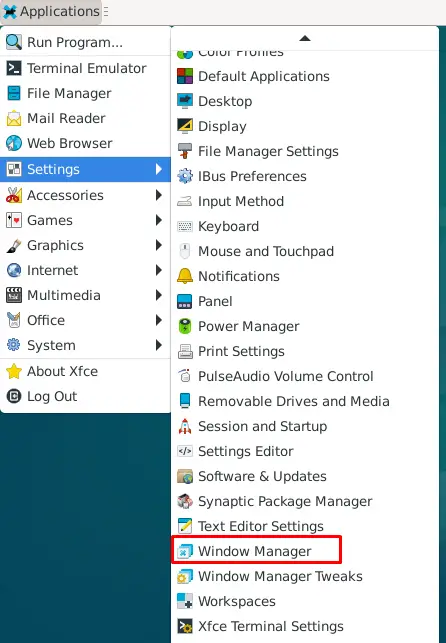
Window Manager Settings
Window Manager is used to manage Windows related tasks. It can be changed by choosing “Window Manager” from “Settings”:
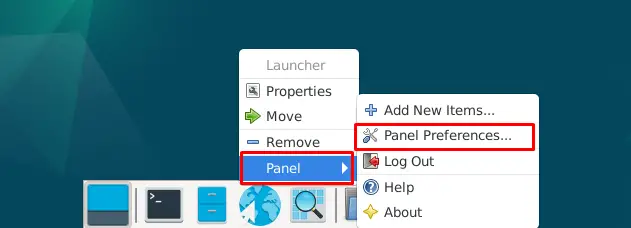
Panel Customization
To manage the panel customization including the panel height and removal of panel’s items, right-click on the Panel, then choose “Panel Preferences”:
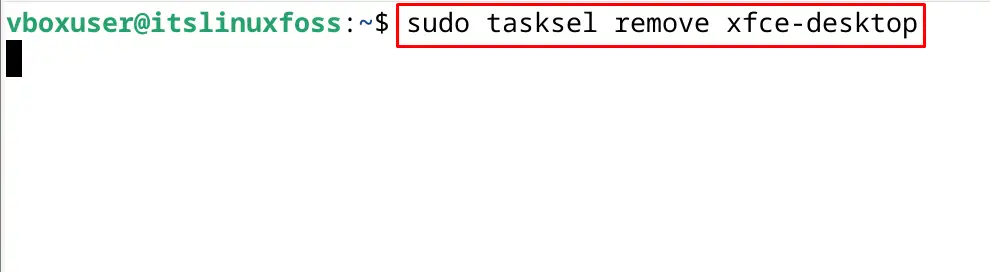
How to Remove the XFCE Desktop Environment on Debian 12?
To remove the installed XFCE Desktop Environments on Debian 12 using the tasksel, use the command:
$ sudo tasksel remove xfce-desktop
These are the methods by which XFCE can be installed after Debian’s 12 installations.
Conclusion
To install the XFCE desktop environment on Debian 12, either use the default repository package with “sudo apt install task-xfce-desktop -y”. Or run the “sudo tasksel install xfce-desktop” command. Installation of the XFCE desktop environment by both mentioned methods has been explained in this blog with its basic usage.
