
Zabbix is a monitoring application used to monitor the performance of networks, applications, services, and the cloud. Zabbix requires a webserver and a database server to manage the data over the server.
This post will address the installation of Zabbix alongside its prerequisites on Ubuntu 22.04.
How to Install Zabbix on Ubuntu 22.04?
As discussed earlier, a database and a webserver are the pre-requirements for Zabbix. Here, Apache is being used as a Web server, and the MySQL database will be considered. Let’s dig into the installation of all these components:
Step 1: Install Apache
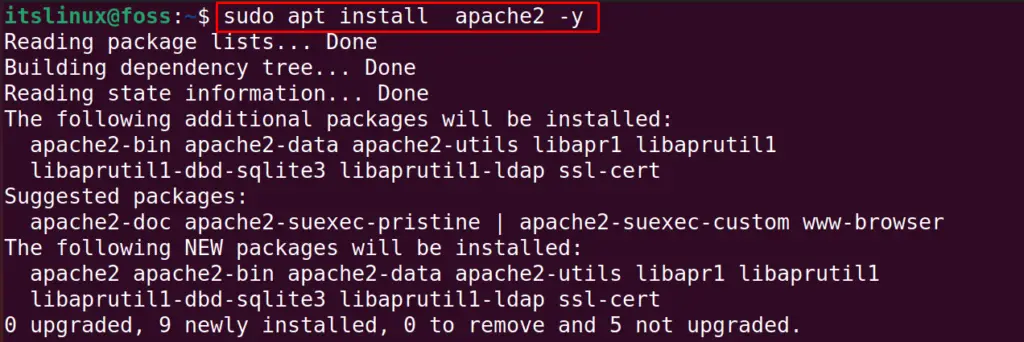
To install the Apache server, run the command in the terminal of Ubuntu:
$ sudo apt install apache2 -y
After the installation, start the package of Apache2 by using the systemctl command:
$ sudo systemctl start apache2

Also, enable the service again by using the systemctl utility:
$ sudo systemctl enable apache2

To confirm the status of the service, use the status option of “sytemctl” command:
$ sudo systemctl status apache2
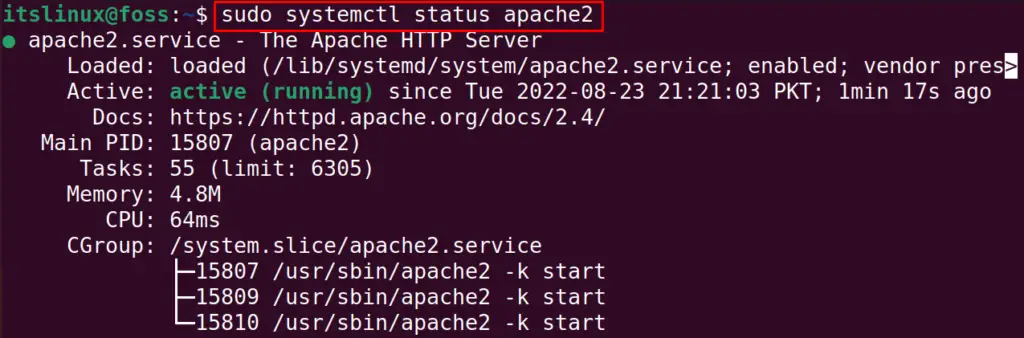
The active status of apache2 shows the service is enabled and running.
Step 2: Install Zabbix
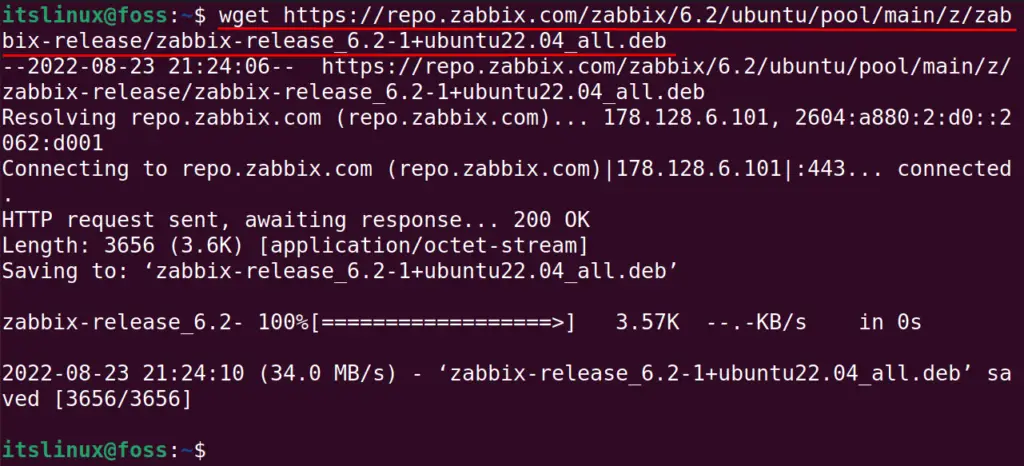
Download the latest package of Zabbix with the help of the “wget” command with its “c” flag:
$ wget https://repo.zabbix.com/zabbix/6.2/ubuntu-arm64/pool/main/z/zabbix-release/zabbix-release_6.2-1%2Bubuntu22.04_all.deb
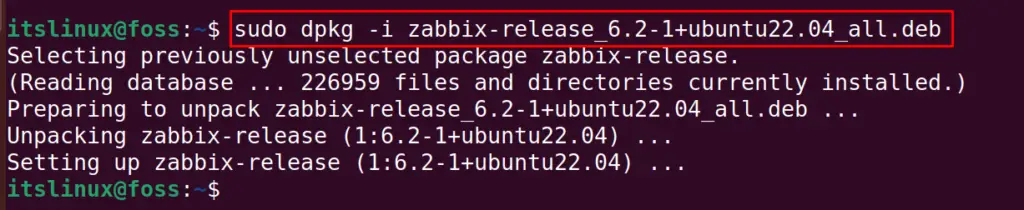
Then, install the downloaded Debian package of Zabbix with the help of the “dpkg” package manager:
$ sudo dpkg -i zabbix-release_6.2-1+ubuntu22.04_all.deb
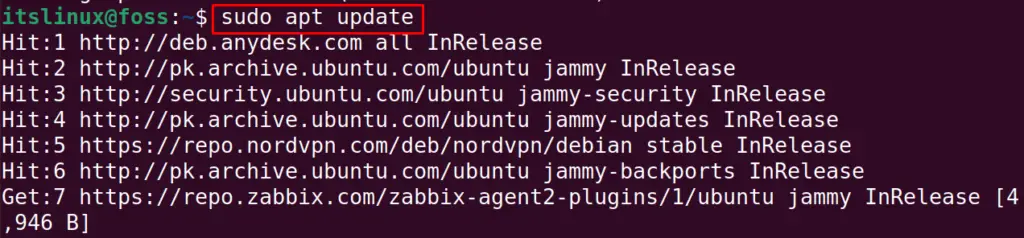
Update all the packages of Ubuntu:
$ sudo apt update
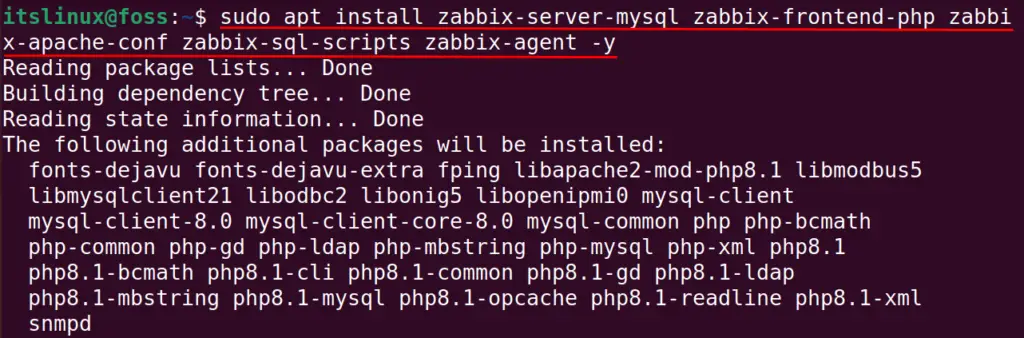
Then, we are supposed to install the Zabbix server with the front and other dependencies. To install the Zabbix with the apt package manager, run the command:
$ sudo apt install zabbix-server-mysql zabbix-frontend-php zabbix-apache-conf zabbix-sql-scripts zabbix-agent -y
When the packages are installed, the next step is to install a database server for Zabbix.
Step 3: Installation of MySQL on Ubuntu 22.04
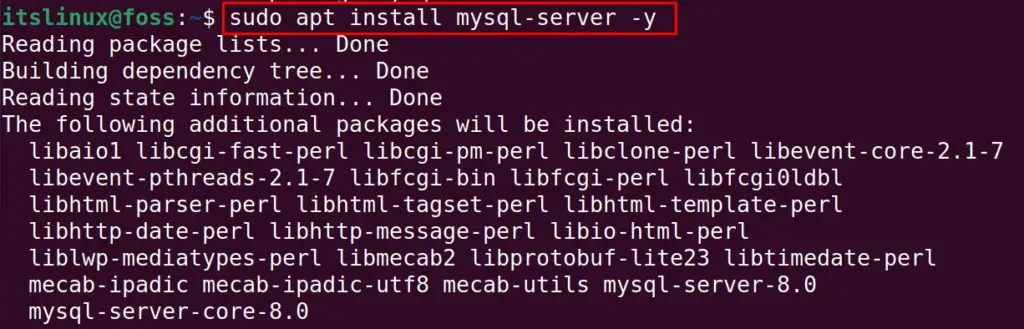
The most convenient database for Zabbix is MySQL which can be installed on Ubuntu by running the command:
$ sudo apt install mysql-server -y
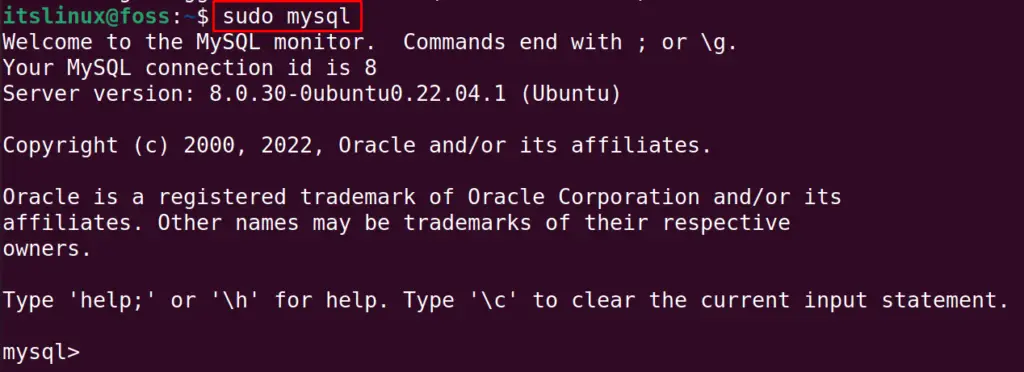
When the MySQL database is installed, open the MySQL database environment using the command:
$ sudo mysql
Step 4: Create a MySQL Database
Create the database with the name of Zabbix:
> CREATE DATABASE zabbix;

Create MySQL User
Now, create the user for the Zabbix that is “zabbix_user@localhost” with a password “PASSWORD” :
> CREATE USER zabbix_user@localhost IDENTIFIED BY 'PASSWORD';

Grant All the Privileges to Zabbix
Then, grant all the privileges to the Zabbix user with the command:
> GRANT ALL PRIVILEGES on zabbix.* to zabbix_user@localhost;

After making the changes, exit the MySQL environment by using the command:
> quit

Now, its time to configure the Zabbix.
Step 4: Configure Zabbix
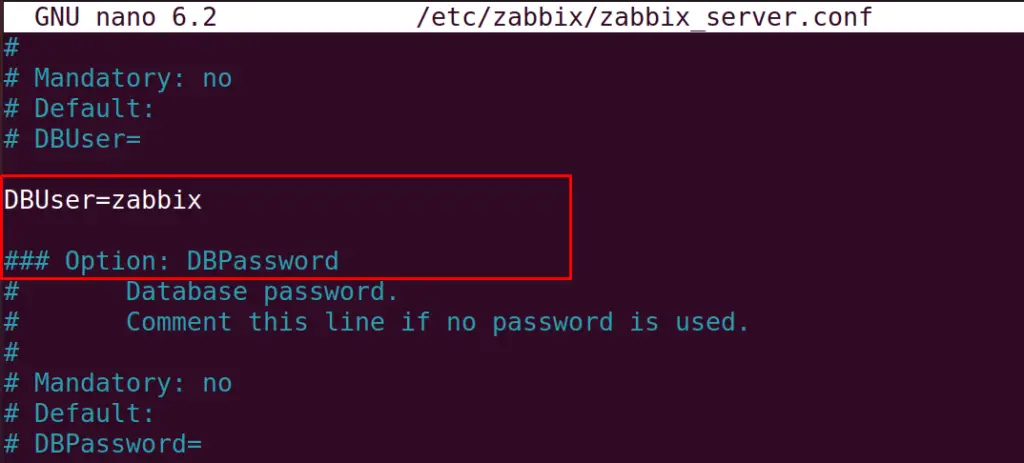
Open the configuration file of Zabbix using the nano text editor:
$ sudo nano /etc/zabbix/zabbix_server.conf

If you want, when anyone connects to the Zabbix server, it should not ask for the password. To customize the settings that require no password, then comment the mentioned line with “#”:
Then, reload the service by using the command:
$ sudo systemctl restart zabbix-server zabbix-agent apache2

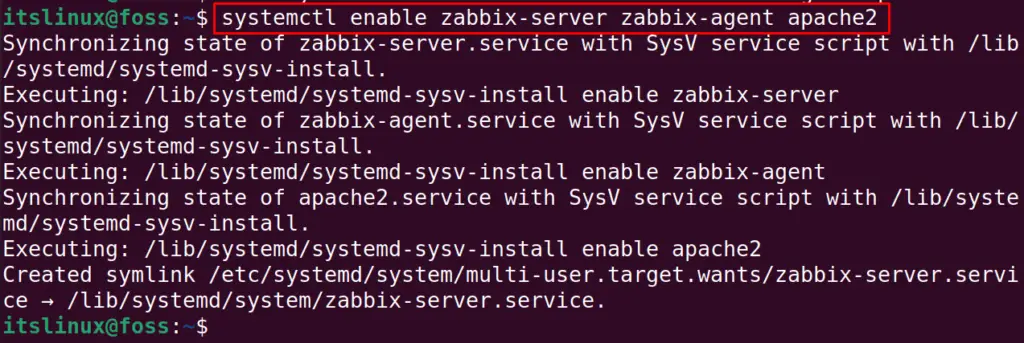
Also, enable all these services again:
$ sudo systemctl enable zabbix-server zabbix-agent apache2
It will ask for the password and then will all be set to go.
Conclusion
To install Zabbix on Ubuntu 22.04, download the Debian package file and install it. Moreover, a few dependencies are required, such as the Apache server is required whose installation is also demonstrated. This post has briefly explained the installation of Zabbix and all other dependencies on Ubuntu 22.04.
