A static IP address is already understandable from its name that this IP address will not change. The static IP address is the fixed address that is assigned to a particular network port.
If one wants to connect to the machine using a remote connection, a static IP address is required for it. If one is connected using the dynamic IP address, then the connection will be interrupted again and again.
Due to this, it is necessary to set up a static IP address on Debian 12, especially when one wants to connect the computer remotely. In this post, the methods for setting up a static IP address on Debian 12 have been explained.
What are the Methods to Set Up a Static IP Address on Debian 12?
One can set up the static IP address on Debian 12 by using any of the below-mentioned methods:
Method 1: Set Up a Static IP Address on Debian 12 Using the /etc/network/interfaces
The first method of setting up the static IP address on Debian 12 is by editing the /etc/network/interfaces file with the text editor. To use the /etc/network/interfaces, follow the next-mentioned steps.
Step 1: Open the Terminal
First, open the terminal to run the commands for setting up the static IP address:
Step 2: Create a Backup
Create a backup of the original /etc/network/interfaces by copying its contents:
$ sudo cp /etc/network/interfaces /etc/network/interfaces.bak

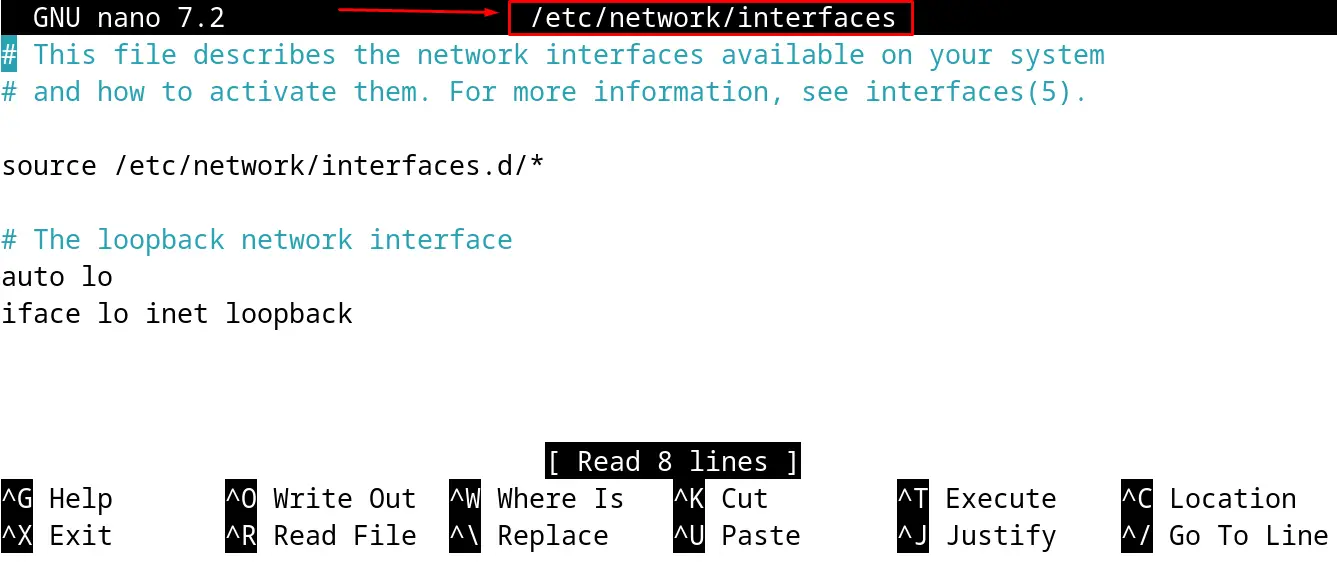
Step 3: Open the /etc/network/interfaces File
Using the nano or any other text editor, open the /etc/network/interfaces file:
$ sudo nano /etc/network/interfaces
Step 4: Set Up the Static IP Address
Now find the name of the network interface of which the static IP address is supposed to be set up and assign the IP address:
iface eth0 inet static
address 192.168.1.100        # Your desired static IP address
netmask 255.255.255.0        # Your subnet mask
gateway 192.168.1.1          # Your gateway (router) IP address
dns-nameservers 8.8.8.8      # DNS server(s) - You can add multiple servers
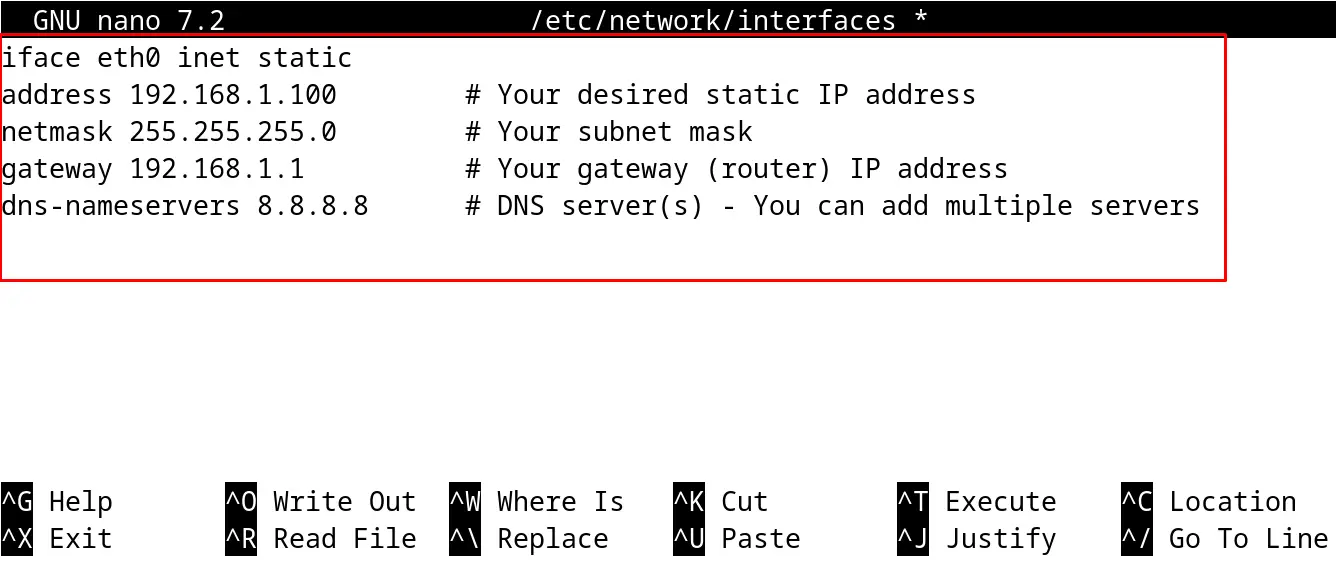
After making changes, save the file and close it by using the shortcuts CTRL+S and CTRL+X, respectively.
Step 5: Restart the Network
The final step of this method is to restart the network:
$ sudo systemctl restart networking

Method 2: Set Up a Static IP Address on Debian 12 Using the Network Manager
Another method to set up the static IP address on Debian 12 is by using the network manager. For this, follow the steps mentioned below.
Step 1: Use the nmcli Command
With the help of the nmcli command utility, set up the static IP address. To do so, follow the below-mentioned general syntax:
Syntax
$ sudo nmcli con mod "Your Connection Name" ipv4.addresses "192.168.1.100/24" ipv4.gateway "192.168.1.1" ipv4.dns "8.8.8.8" ipv4.method manual
In the above command, change the “Your Connection Name” with your own values. For example, in our case, the above command will be used like this:
$ sudo nmcli con mod “Wired connection 1” ipv4.addresses 192.168.1.200/24 ipv4.gateway 192.168.1.0 ipv4.dns 0.0.0.0 ipv4.method manual

If the name of the “connection name” is not known to you, then use the command:
$ nmcli con show

Step 2: Reload the NetworkManager
To save the changes, reload the network manager with the command:
$ sudo systemctl restart NetworkManager

Method 3: Set Up a Static IP Address on Debian 12 Using the GUI
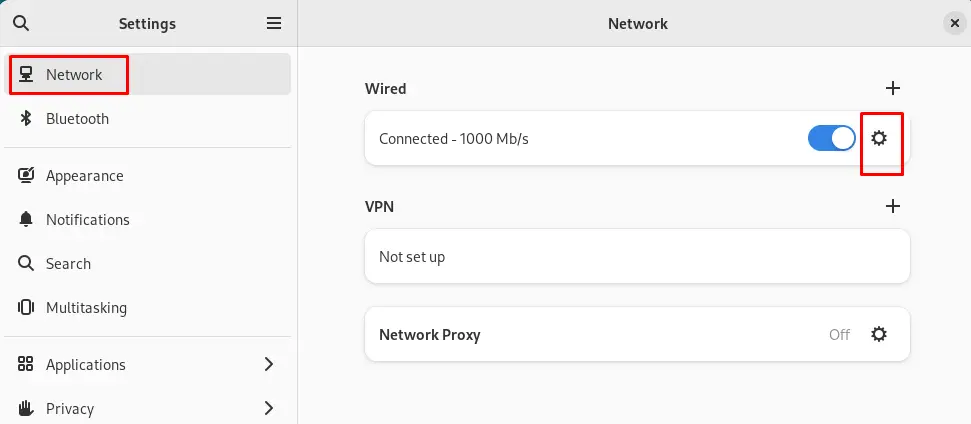
The last but easiest method of setting up the static IP Address on Debian 12 is by using the GUI. The graphical user interface method is to understand, simply open the “Settings” of the Debian 12:
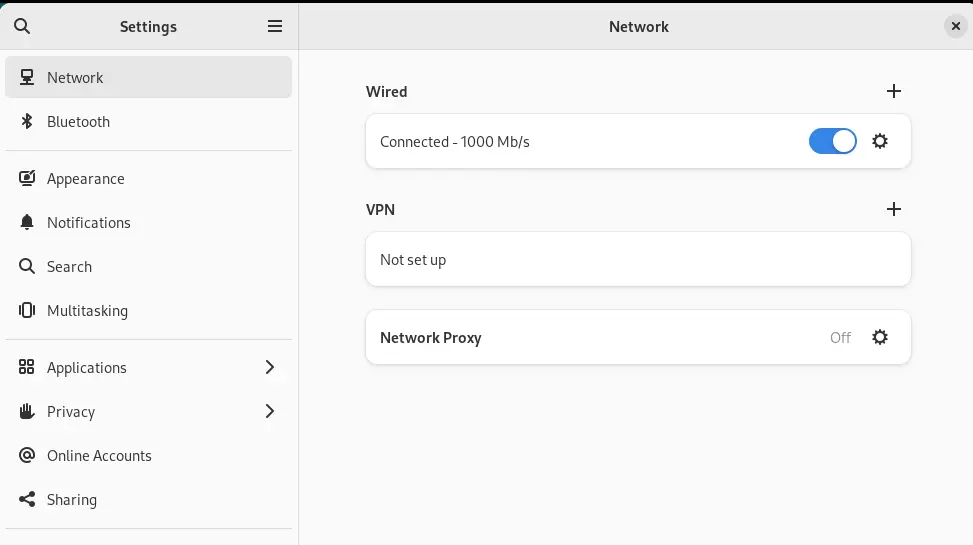
Click on “Network” and then choose the “gear icon” for the network connection:
Now click on “IPv4”, then change the address to your own choice, and finally click on the “Apply” button:
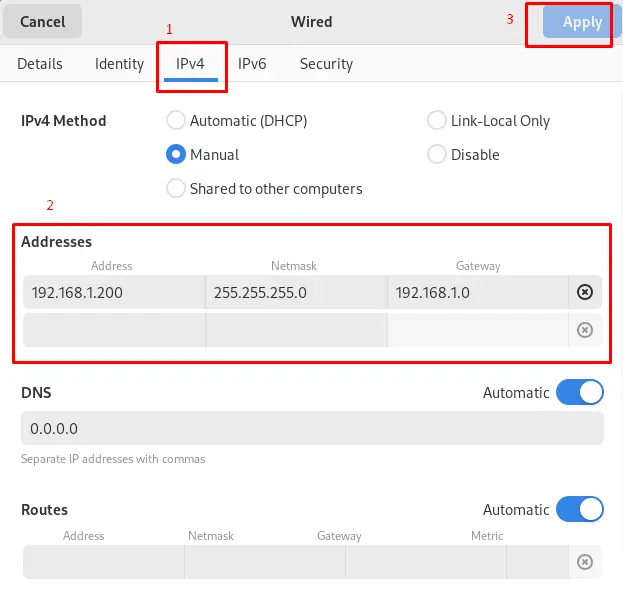
The static IP address will be set up successfully.
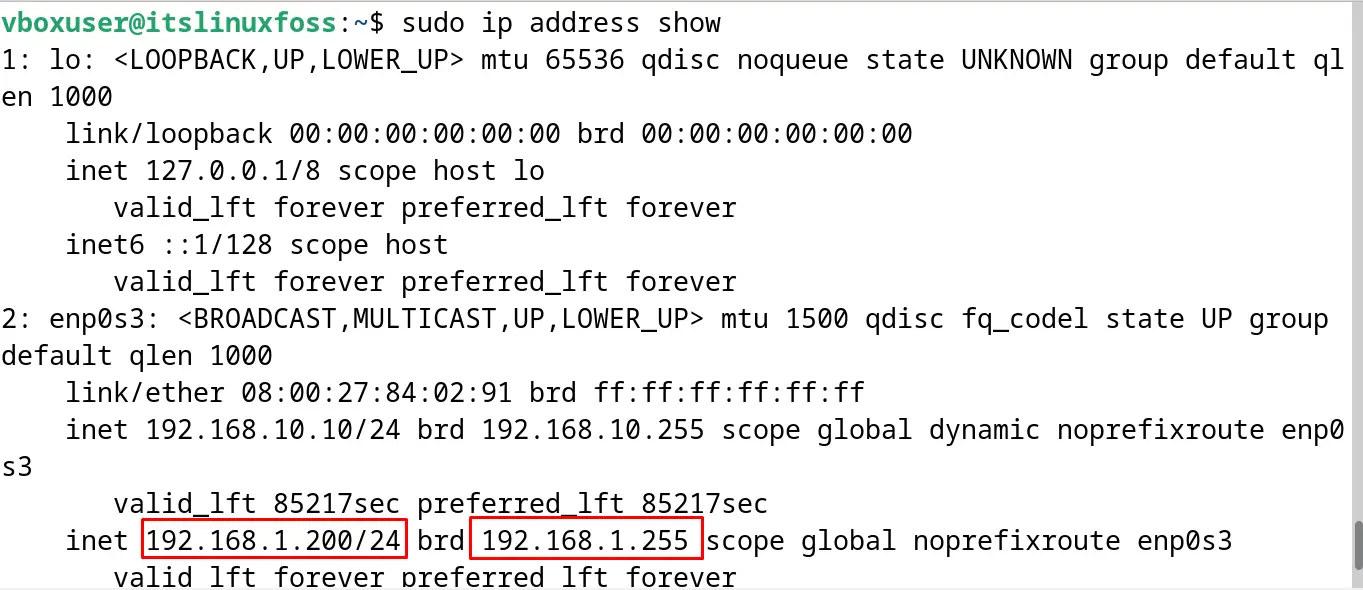
How to Verify the Changes to Static IP Address on Debian 12?
To verify the changes to the static IP address on Debian 12, use the command:
$ sudo ip address show
These are the three methods of setting up the static IP address on Debian 12.
Conclusion
On Debian 12, one can use the “Network Manager” or change the “/etc/network/interfaces” file to configure the static IP address. Also, access Settings to set the IPv4 address. This post has explained all the mentioned methods with a step-by-step guide.
