The script command comes pre-installed on the Linux distributions and records all the commands running in the shells. It also records what appears on the screen until its execution. If the file is now specified to store the script file’s output, then by default, it is stored in the same directory where it is being executed with the name typescript.
This blog will illustrate the working/usage of the script command with the following outcomes:
- How Does the script Command Work in Linux?
- Examples of Using the script Command
- Store Output in Specified File
- Extract the Specified Command from the Output File
- Append the File
- Record the Screen
- Return the error 0
Let’s start with the general syntax of using the script command in Linux.
How Does the script Command Work in Linux?
The syntax of using the script command in Linux is:
$ script [option] [filename]
The options and the filename are optional in the command. We can simply use the script command to start recording the progress. The output will be stored in that file if the filename is specified and the options which can be used with the script command are
| a | This is used to append the log file |
| c | This is used to run the command rather than the interactive shell |
| f | This will flush the output every each write |
| o | This will terminate the recording if the size exceeds the defined size |
| q | This will quite the recording |
| V | This will display the installed version of the script command |
| h | This will display the help menu of the script command |
To find the installed version of the script command:
$ script -V

The 2.37.2 version of the script has been installed on the computer and we will use different examples to explain the usage of the script command in Linux.
Examples of Using the script Command
The script command can be used to start the recording of the activity of the shell, including the input and output. To start the recording, use the command:
$ script

When the command is executed, it will start the recording of the activity. To finish the recording, use the command mentioned below, and the output will be stored by default in the “typescript” file:
$ exit

To confirm the output file, list down the contents of the directory in which the commands are being executed:
$ ls

The output file has been saved and the usage of the script command with different options has been explained in the next sections.
Example 1: Store Output in Specified File
To store the output of the script command in the specified file rather than the typescript, simply specify the file name with the script command:
$ script itslinuxfoss.txt

Now end the recording and open the “itslinuxfoss.txt” file with the command:
$ cat itslinuxfoss.txt

In the output, the two commands which are indicated with the red arrows are executed and record in the file.
Example 2: Extract the Specified Command From the Output File
To record the single command execution instead of all the commands, we can use the “c” option with the command:
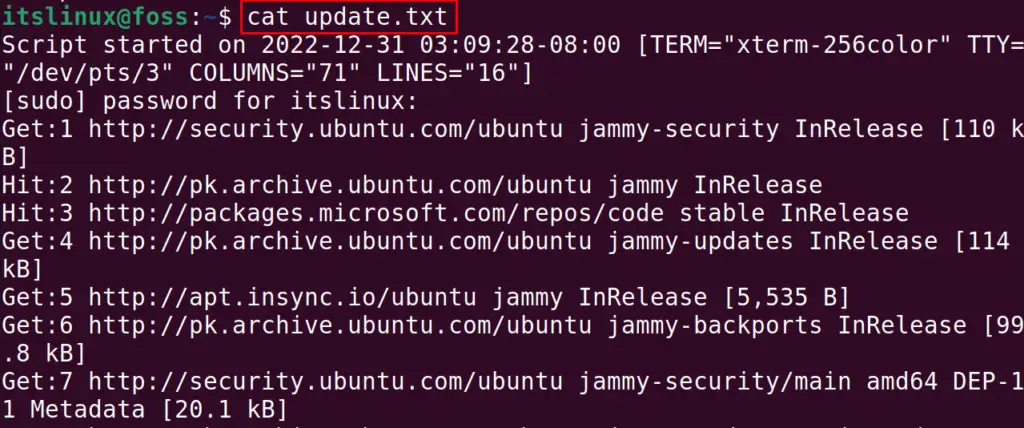
$ script -c “sudo apt update” update.txt

Now display the output of the “update.txt”:
$ cat update.txt

The output of the update command has been recorded.
Example 3: Append the File
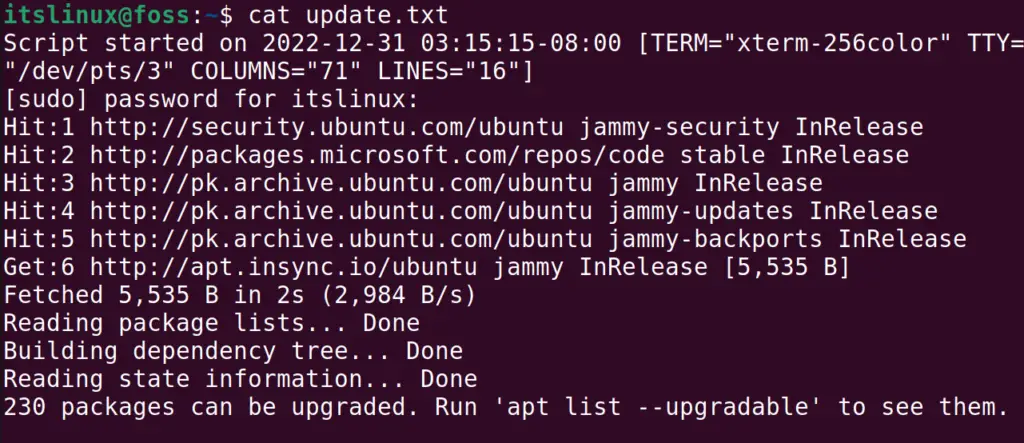
We can also make the changes in an already script file without changing its original contents. For example, we will append the update.txt file with the “a” option:
$ script -a update.txt

After running some other command, finish the recording. Display the update.txt file with the cat command:
$ cat update.txt


We can see the output is saved in the update.txt without changing the previous contents of the file.
Example 4: Record the Screen
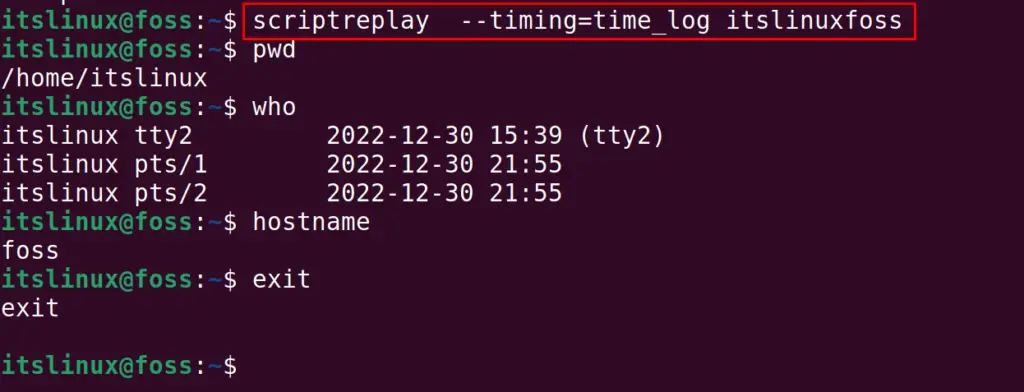
We can also record the screen with the “–timing=” option of the script command. The saved output can be played with the “scriptreplay” command. For example, we save the output in the itslinuxfoss file:
$ script --timing=time_log itslinuxfoss

Finish the recording the play the output using the command:
$ scriptreplay --timing=time_log itslinuxfoss

The output is displayed in the form of video.
Example 5: Return the error 0
To generate the child process error, use the “e” option:
$ script -e itslinuxfoss.txt

Exit the recording and display the output using the command:
$ cat itslinuxfoss.txt

The command exit code can be seen in the output.
That’s how the script command works in Linux.
Conclusion
To use the script command in Linux, we can run the “script” command and this command is used to record the activity of the shell. In this blog, with the help of a different example, we have explained the usage of the script command in Linux.
