Curl is a versatile open-source command line utility used to communicate with servers to upload and download data using protocols like HTTP, HTTPS, FTP, and SCP. Moreover, developers use it for API testing, file transfer, debugging, and web scraping.
The curl utility is not pre-installed, therefore, to use curl, you will need to manually install it after setting up your Ubuntu environment. This tutorial will demonstrate the step-wise instructions to install curl on the latest Ubuntu 24.04 Noble Numbat.
Install Curl on Ubuntu 24.04
Curl can be installed on Ubuntu using different methods, such as:
- Using apt
- Using snap
- Using Source
Having multiple methods to install a package gives you the flexibility to select the approach that feels most comfortable to you.
1. Install Curl on Ubuntu 24.04 using apt
One of the most straightforward ways to get the curl tool on Ubuntu 24.04 is by installing it using the apt command. The apt command is used to manage software packages on Ubuntu.
The step-wise instructions to install curl on Ubuntu using apt are given below:
Step 1: Launch Terminal
Open the terminal using ctrl+alt+T keys or right-click on the desktop and click Open in Terminal.
Step 2: Install curl using apt install Command
Execute the apt install command with the curl as package name to install it on Ubuntu.
sudo apt install curl
Step 3: Verify the Curl Installation
Check the version of the curl package to verify the installation.
curl --version
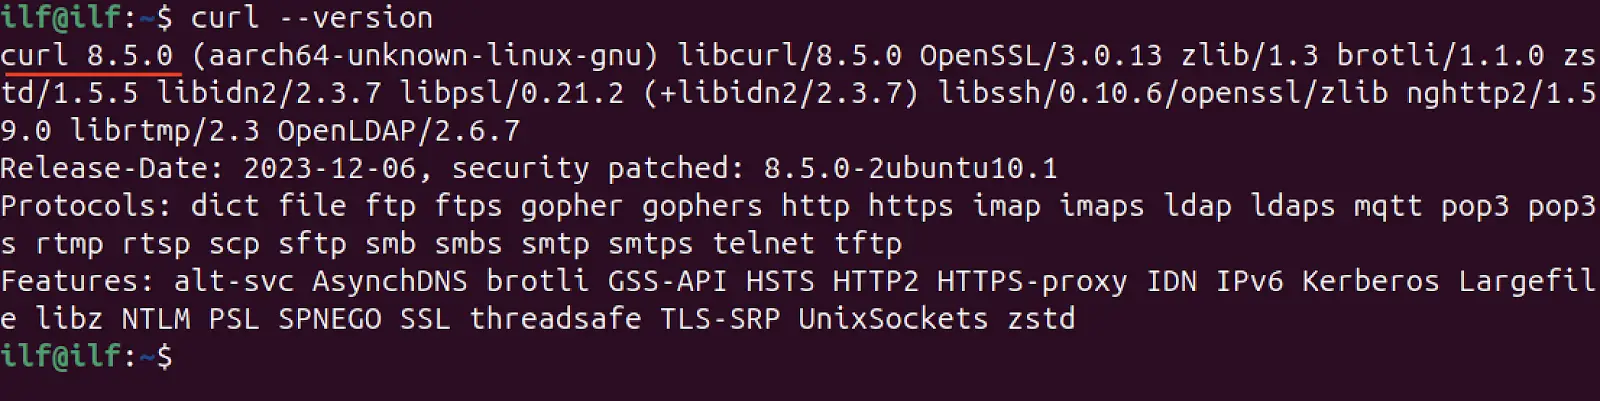
The curl version 8.5.0 has been installed successfully on Ubuntu 24.04 using apt.
Remove Curl from Ubuntu using apt
To delete the curl package, use the apt remove command.
sudo apt remove --auto-remove curl
The –auto-remove deletes the package and its dependencies.
2. Install Curl on Ubuntu 24.04 using snap
Snap packages are known for their automatic update capabilities and minimal dependency issues. They are designed to run in a self-contained environment with their dependencies.
The step-wise instructions to install curl on Ubuntu using the snap package manager are given below:
Step 1: Launch Terminal
Open the terminal using ctrl+alt+T keys.
Step 2: Install curl using snap install Command
To get the curl snap package, run the following command.
sudo snap install curl
Step 3: Verify the Installation
Once the installation is completed, it is time to verify the installation by checking the version.
curl --version
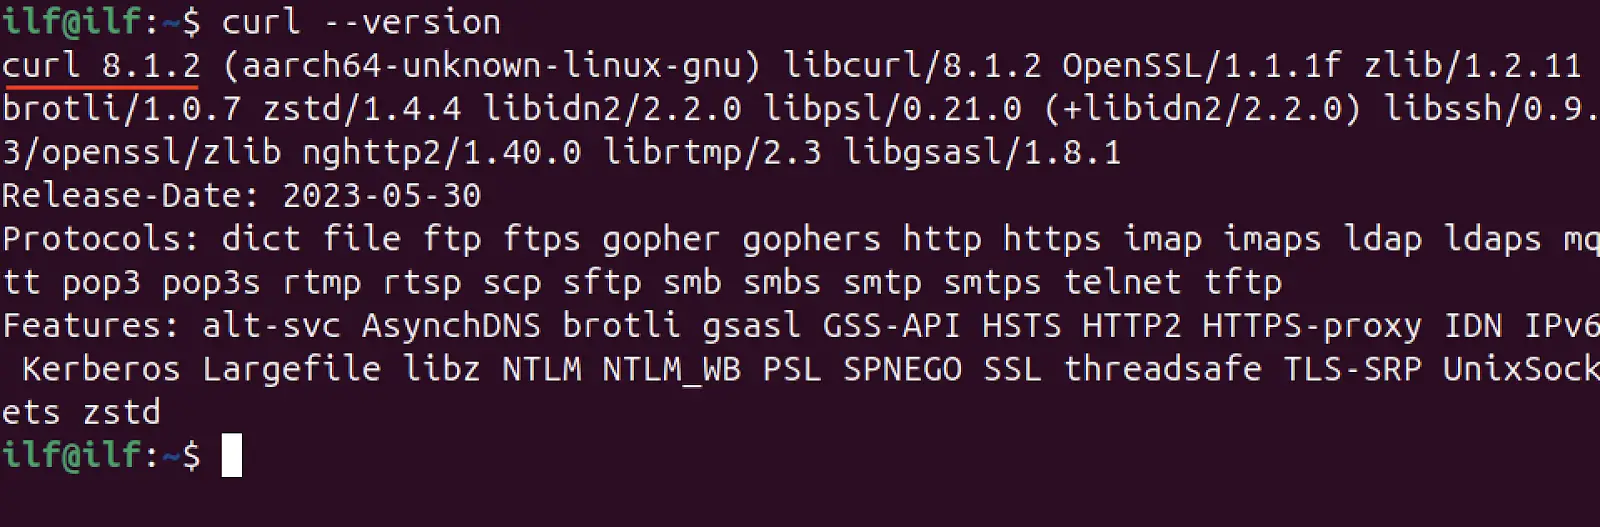
As it can be seen through snap an older version of curl is installed.
Remove Curl from Ubuntu using snap
The curl snap package can be removed using the snap remove command with the package name.
sudo snap remove curl

3. Install Curl on Ubuntu 24.04 using Source
The curl packages installed through apt and snap may be older versions. As of writing this guide, according to the official source, the latest version of curl is 8.7.1.
To get the latest version of curl on Ubuntu, you need to install it using its source code.
The step-wise instructions to install curl through source code are listed below:
Step 1: Open the Terminal Window
Open the terminal using ctrl+alt+T keys.
Step 2: Download the curl Source Code
The source code archive can be downloaded from the official website link given below:
Or use the wget command, with the download link.
wget https://curl.se/download/curl-8.7.1.tar.gz
Step 3: Extract the Archive
The file will be downloaded in the Downloads directory or current directory depending upon the method of download.
tar -xf curl-8.7.1.tar.gz
The contents of the archive will be extracted and saved into a folder with the same name as the file, created within the same directory as the archive file.
Step 4: Install Dependencies
Installing from source code gives you the freedom to customize the installation and the latest version. But one drawback is that you have to manage the dependencies by yourself. For the curl package, minimally we need build-essential, openssl, and binutils packages as dependencies.
To install these dependencies run the commands given below:
sudo apt install build-essential
sudo apt install binutils-common binutils
sudo apt install openssl
Step 5: Configure the Build
Get into the extracted directory using the cd command and list the content. Here, you will find a configure script that is used to configure the build and check the dependencies. The missing dependencies will be notified, you will have to install them manually.
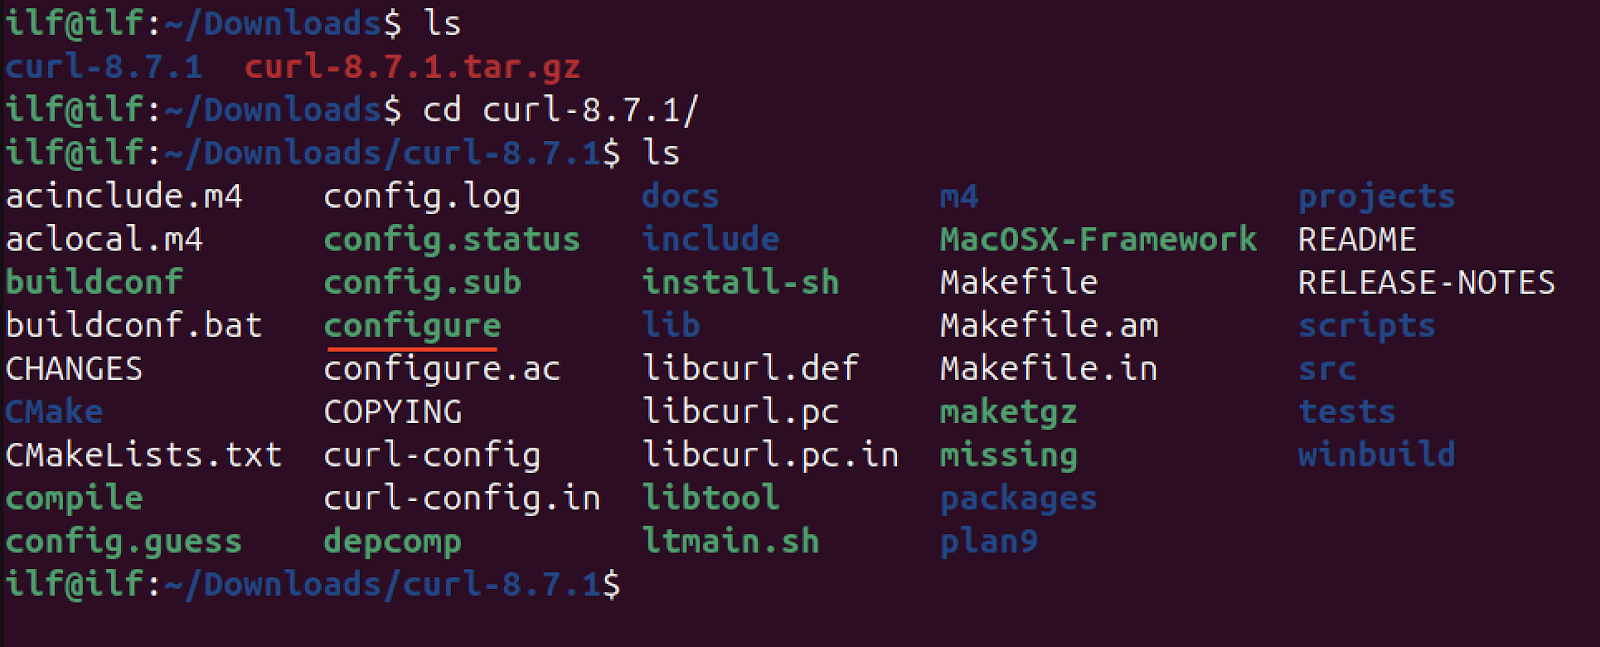
Execute the configure script.
./configure
The configuration has given an error of missing transport layer security (TLS) backend which is responsible for secure communication.
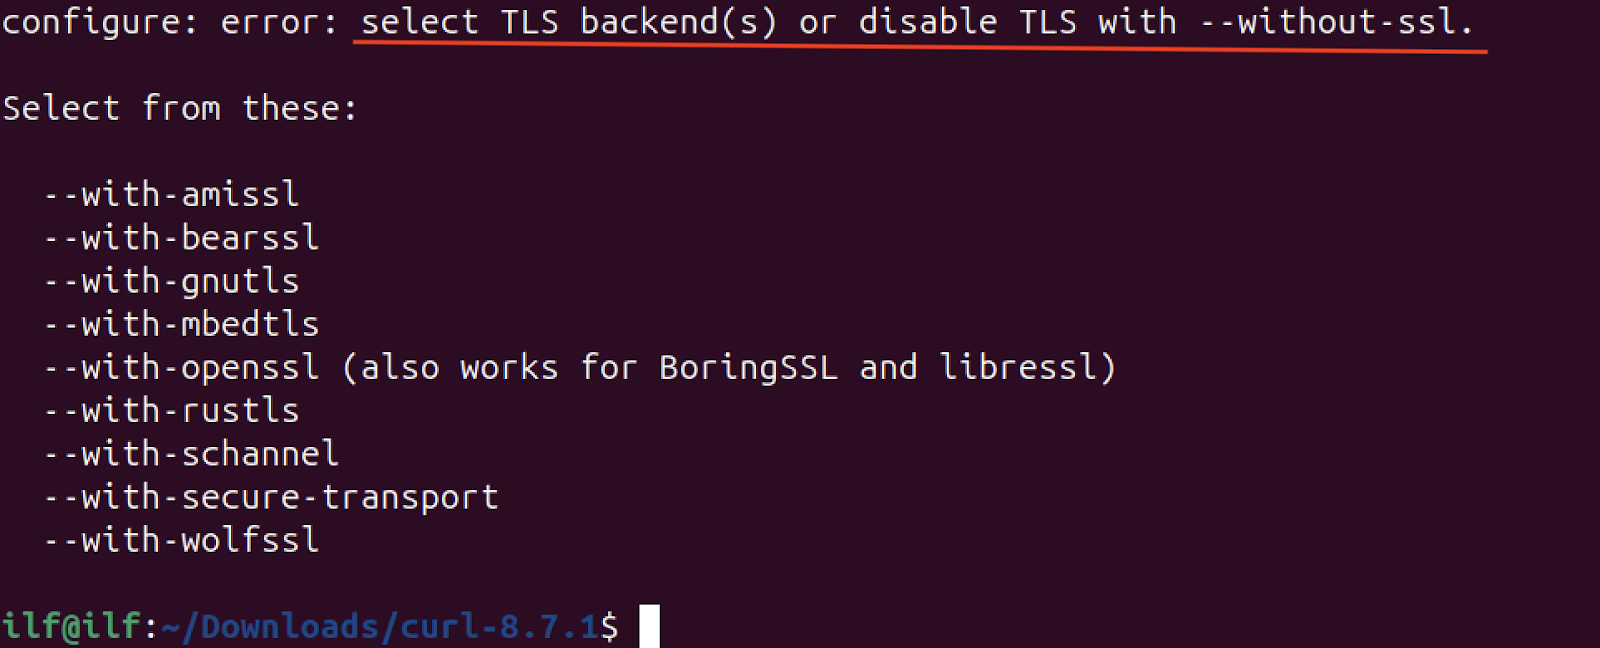
To fix it use the –with-openssl option with the configure script.
./configure --with-openssl

If the OpenSSL does not work then we can proceed using the –without-ssl option as well.
./configure --without-ssl
Step 6: Compile and Install Curl
Now, compile curl using the make tool.
sudo make
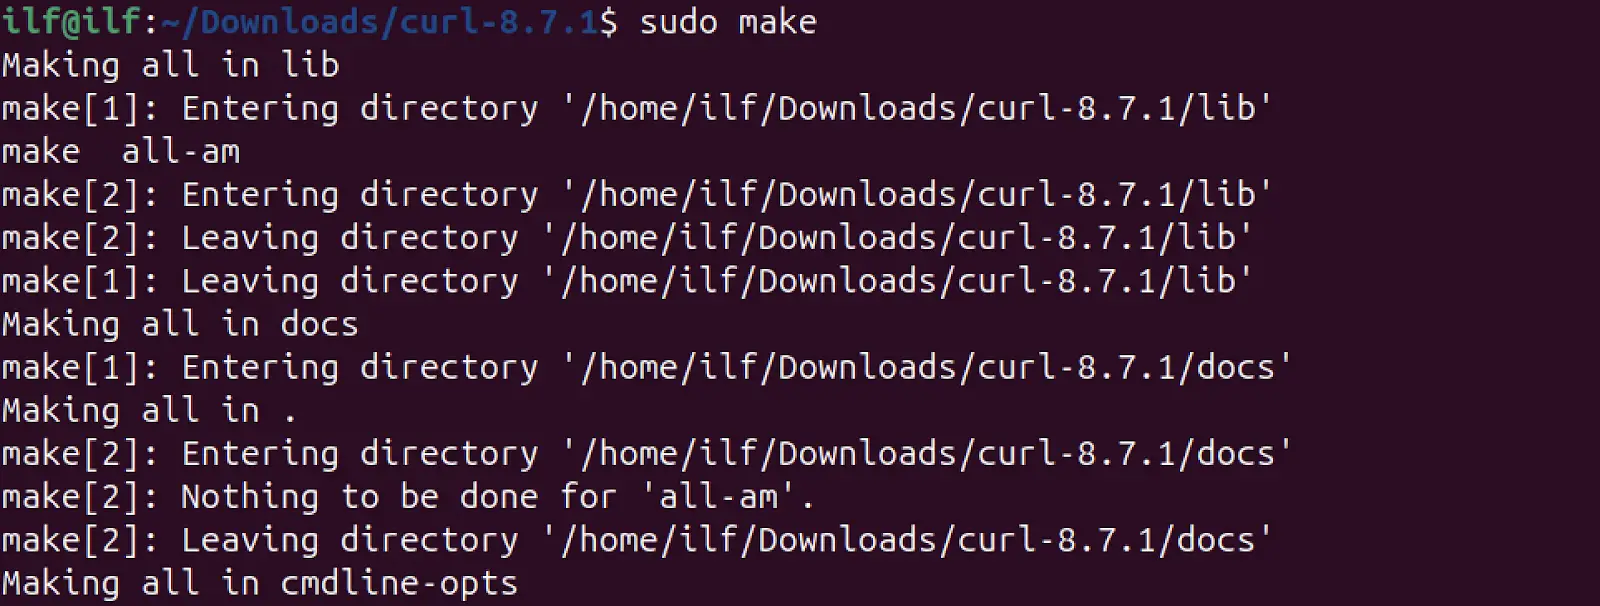
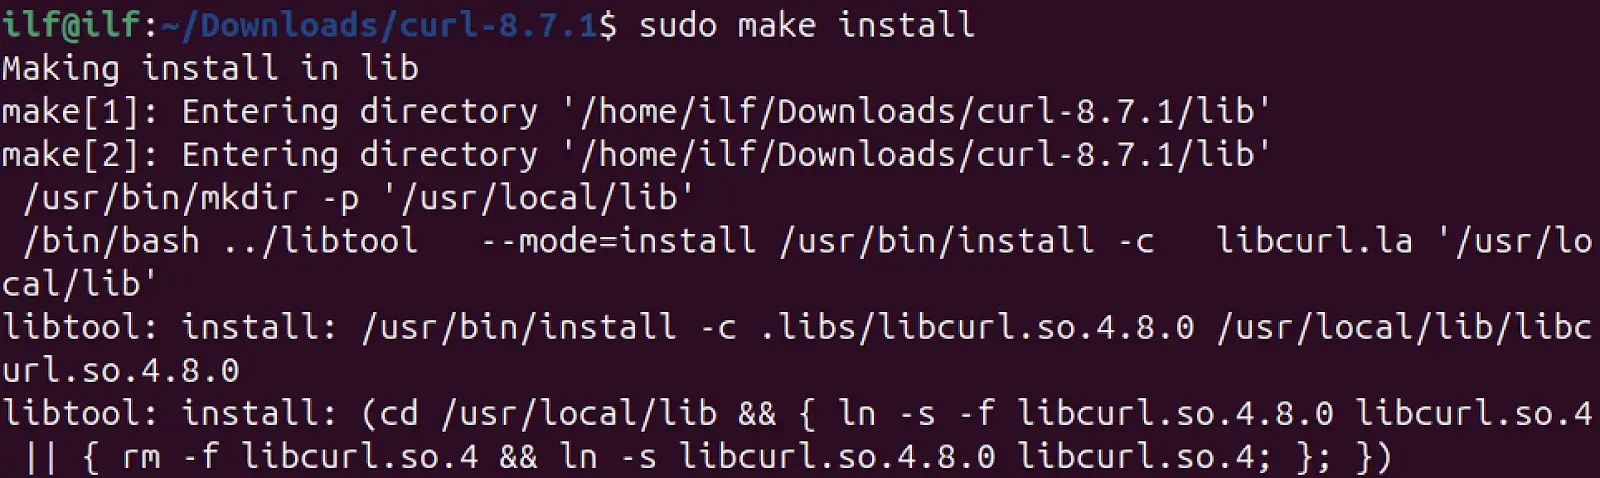
After the completion of the above process, install the curl.
sudo make install
Note that if the build fails due to some reason, before re-building the package, execute the make clean command to remove the previously generated files and directories.
sudo make clean
Step 7: Verify the installation
Now, verify the curl installation by checking the version.
curl --version

The output shows that the latest curl version is installed on Ubuntu 24.04.
Remove Curl from Ubuntu using the Source
If the curl is installed using the source code, then it will not be removed using conventional methods. To remove the curl if it is installed through the source code, first identify the installation directory.
which curl

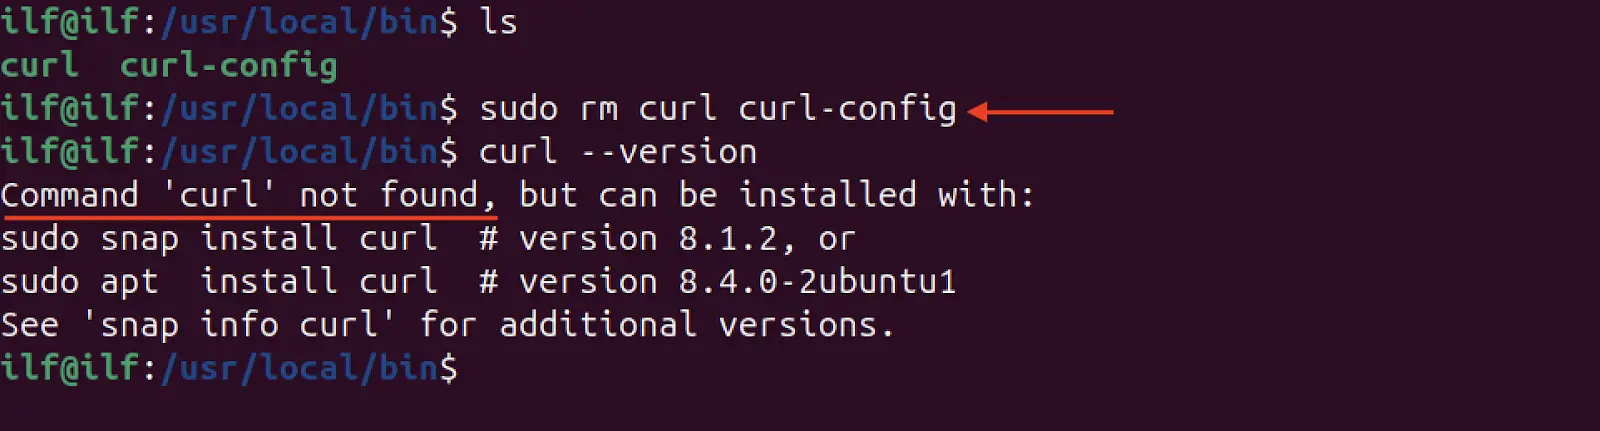
Navigate to the /usr/local/bin directory.
cd /usr/local/bin

And remove curl and curl-config files.
sudo rm curl curl-config
That’s it, the curl has been uninstalled to verify, check the version.
Using curl Command on Ubuntu 24.04
The curl command has many usages, let’s explore it with a few examples.
Example 1: Downloading a File
To download a file, use the URL of the file and the curl command.
curl -o <filename> <URL>
The -o flag is used to give a name to the downloading file.
For example, if you want to download the curl source code and save it with curl_source.tar.gz name then use.
curl -o curl_source.tar.gz https://curl.se/download/curl-8.7.1.tar.gz

With the -o flag the file will be downloaded by its default name.
Example 2: Resuming Download
If downloading of the file is interrupted then it can be resumed using the -C flag which signifies the continue.
curl -C - -o curl_source.tar.gz https://curl.se/download/curl-8.7.1.tar.gz
The dash (-) between –C and -o is used to tell the curl to calculate the resuming point.
Example 3: Fetching Content
To fetch the content of a web page, simply use curl with the URL of the web page.
curl <URL>
Let’s fetch the content of the Google web page.
curl https://www.google.com

It will fetch the source code of the Google home page.
Example 4: Fetching and Saving Content to a File
You can also download the content of a webpage and save it to a file. Let’s fetch the Google web page source code and save it to a file.
curl -o google.html https://www.google.com > google.html
Or redirection operator can also be utilized.
curl https://www.google.com > google.html

Example 5: Interacting with APIs
The curl utility is widely used to test APIs. Let’s find the public IP address using ipify API.
curl api.ipify.org

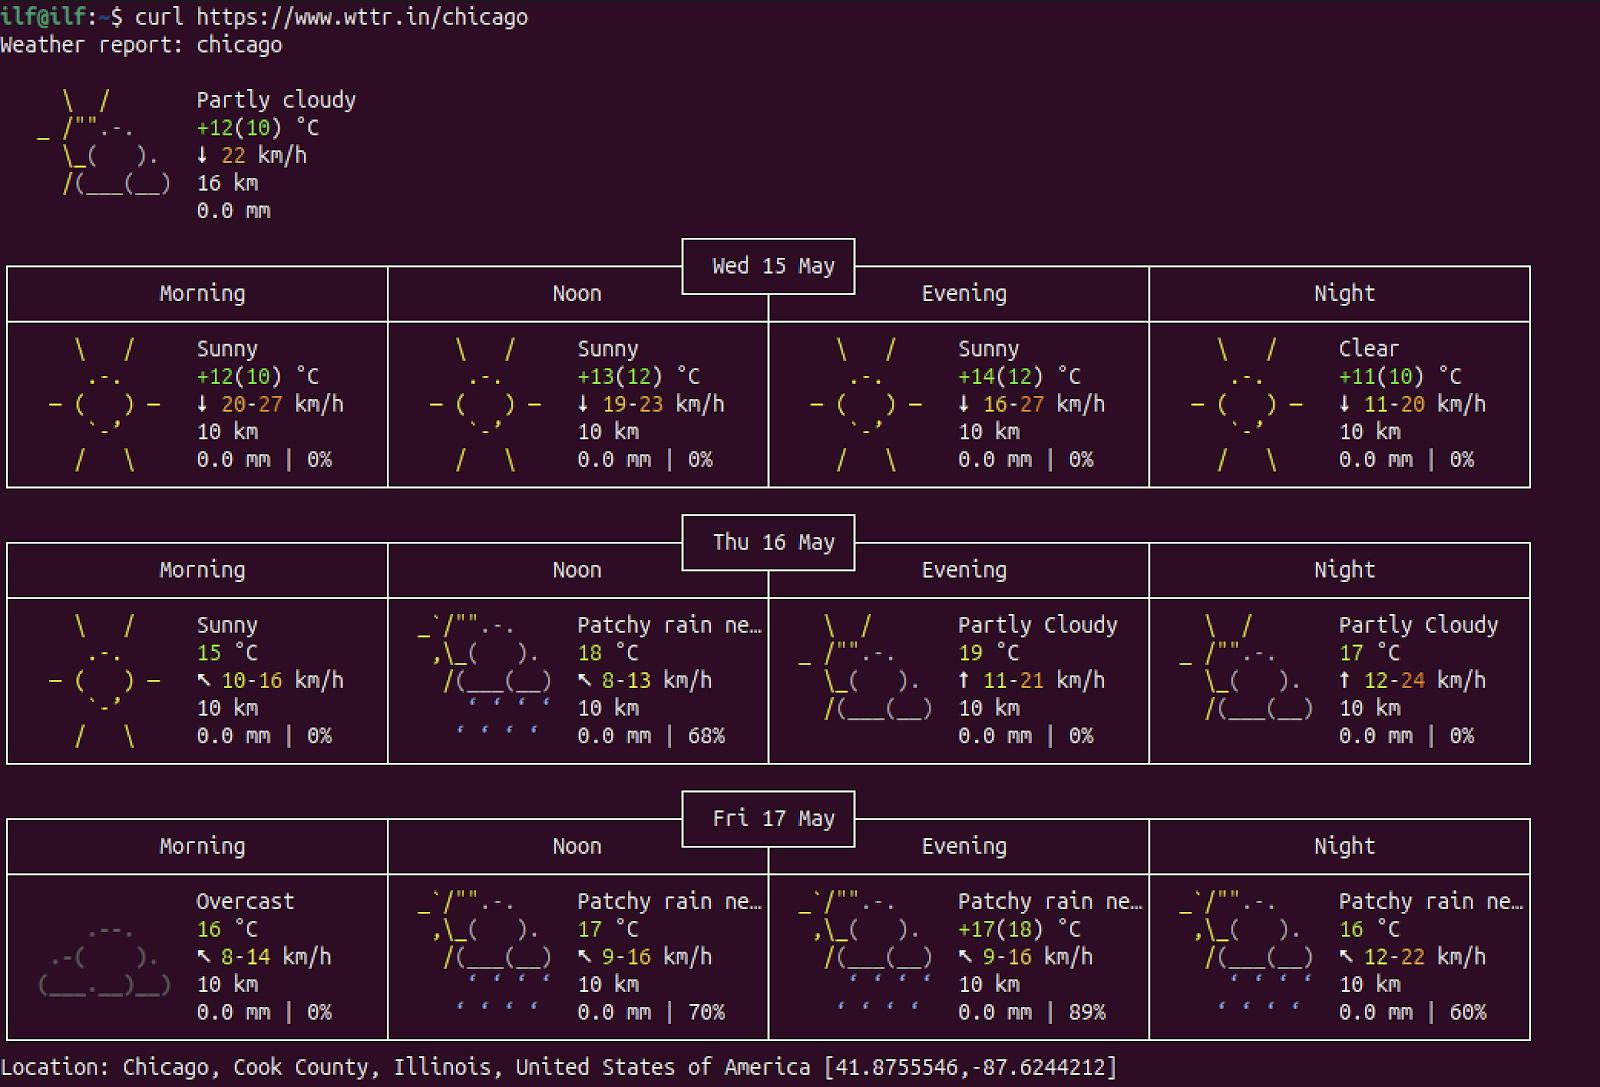
Let’s get the weather report of a specific location using wttr.in API.
curl https://www.wttr.in/chicago
Conclusion
Curl widely used command line utility to communicate with servers to download and upload data. Moreover, developers use it in programs to fetch data through APIs. This guide demonstrates three different approaches to installing curl on Ubuntu 24.04. Further, the uninstallation methods of each approach are also discussed. Finally, a basic usage of curl command in Ubuntu is also explained with examples.
