The server edition of Ubuntu is optimized for system resources, dedicating them to running services rather than supporting a graphical desktop environment. GUIs consume more system resources, which could otherwise be allocated to the server’s primary tasks.
Installing a Desktop (GUI) on an Ubuntu Server enhances the user experience, particularly for those who demand a visual interface over command-line interactions. In addition, it makes the system more accessible for routine operations and management
This article will explain the process of installing a Desktop (GUI) on your Ubuntu Server, transforming it from a command-line-only environment to one with a rich graphical desktop.
How to Install Desktop (GUI) on Ubuntu Server?
Before starting the installation procedure, it’s important to understand why Ubuntu Server does not come with a GUI by default. It’s important to consider the trade-off between the ease of use provided by a GUI and the additional resources it will consume on the server.
To install Desktop (GUI) on Ubuntu Server, follow the below steps:
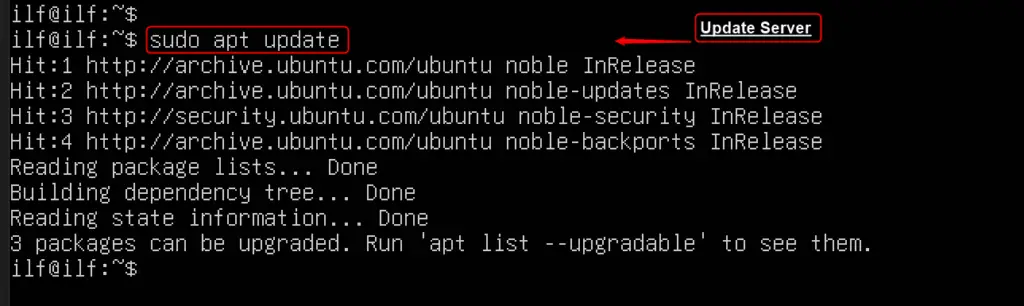
Step 1: Update Your Server
Start by updating your server’s package list to ensure all your software is up to date:
sudo apt update sudo apt upgrade
Step 2: Choose a Display Manager
A display manager handles user logins and starts the display server. Ubuntu comes with GDM3 by default, but for a server, you might want a lighter option like SLiM or LightDM.
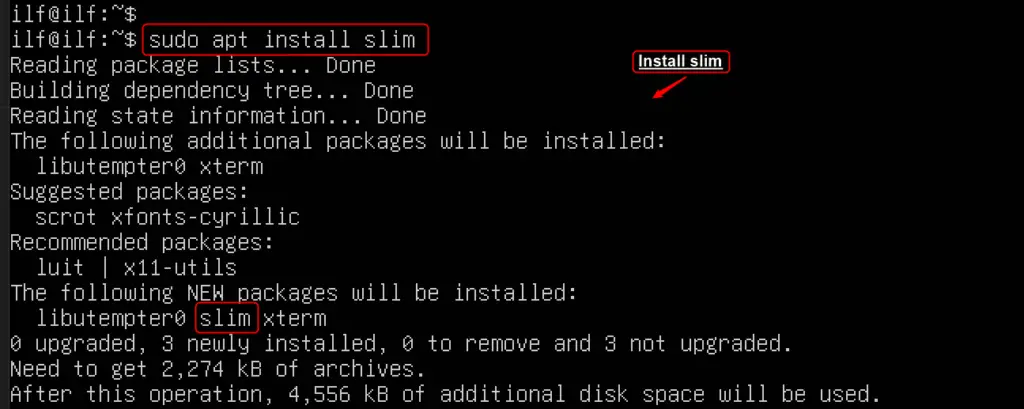
To install SLiM, use the “slim” package by using the apt command below:
sudo apt install slim
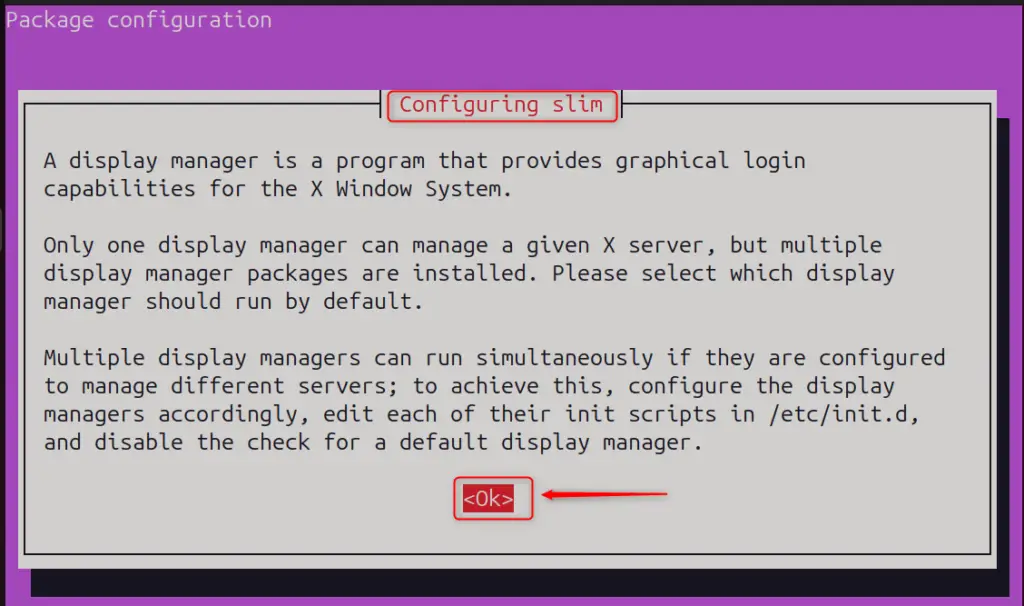
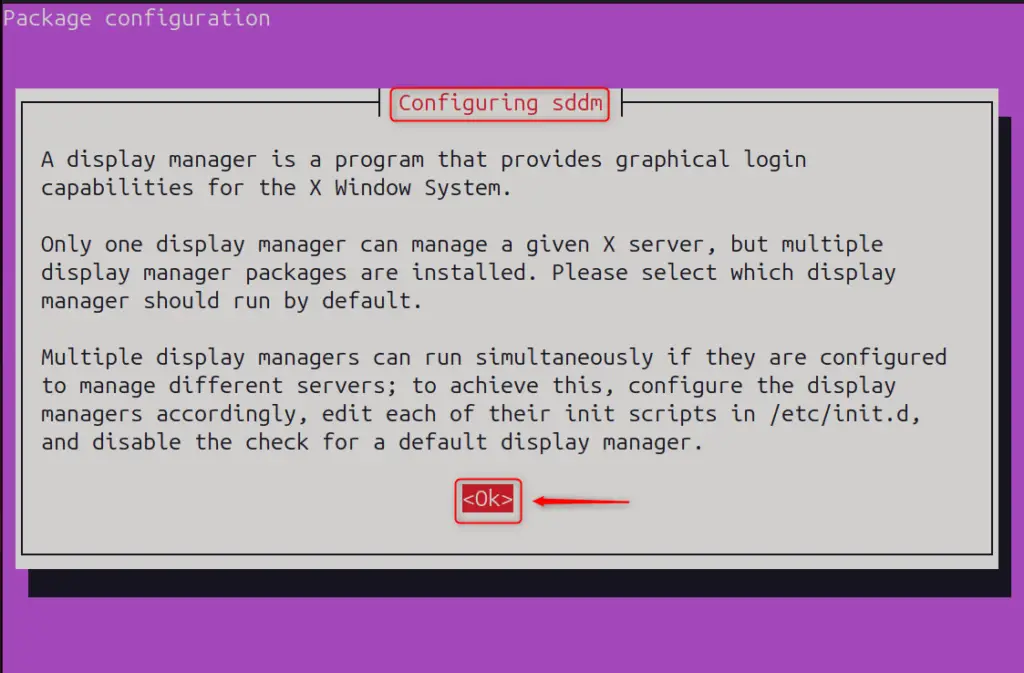
After installation, it navigates to the configuration page of Slim. Hit the <Ok> button for further proceed:
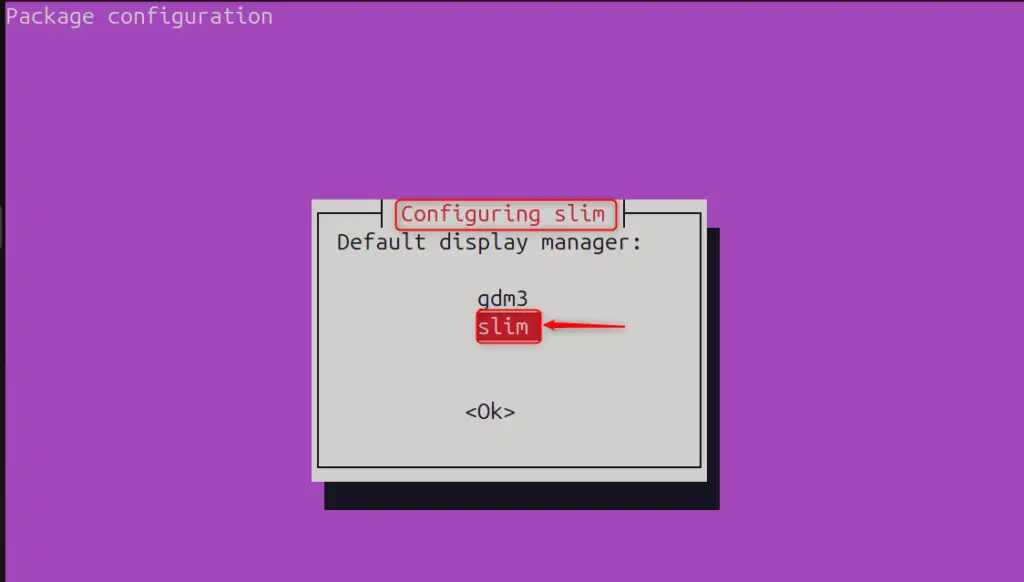
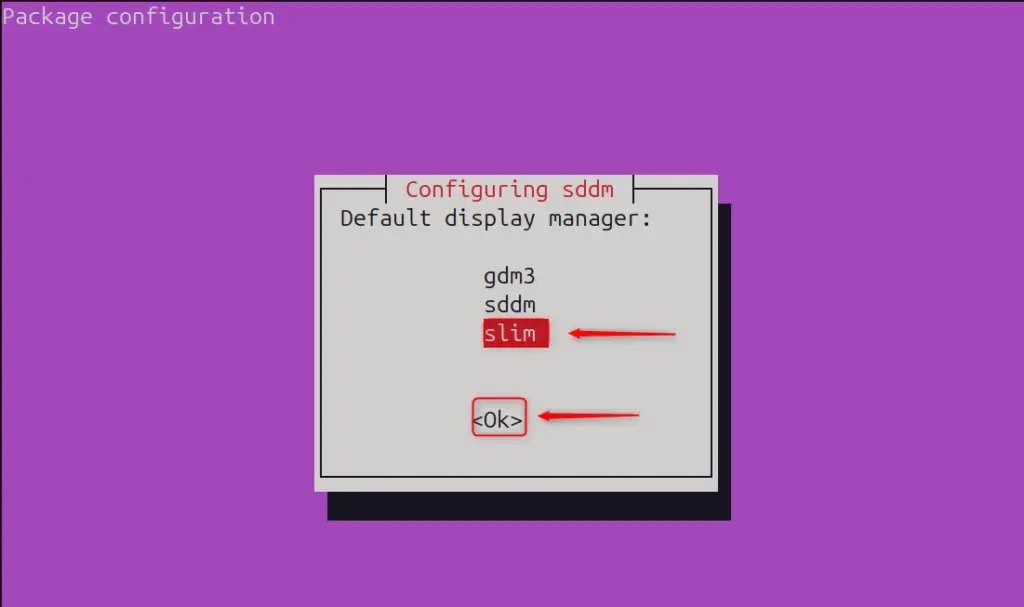
Now, users can choose the default display manager by picking the “slim” option. Then, hit the <Ok> button:
Step 3: Install the Desktop Environment
Now, decide which desktop environment you want. The most common options are:
Ubuntu Desktop (GNOME)
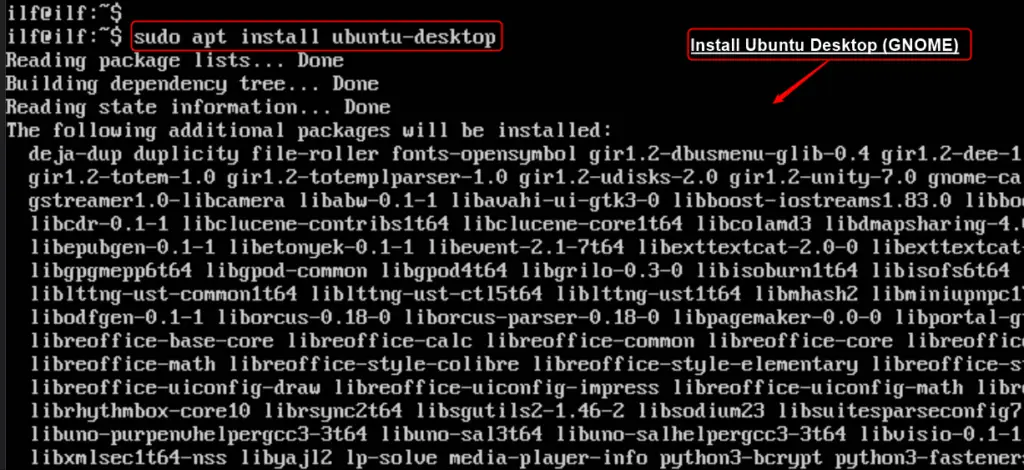
The default Ubuntu desktop environment, modified from GNOME. To install Ubuntu Desktop (GNOME), use the below command with the “sudo” privileges:
sudo apt install ubuntu-desktop
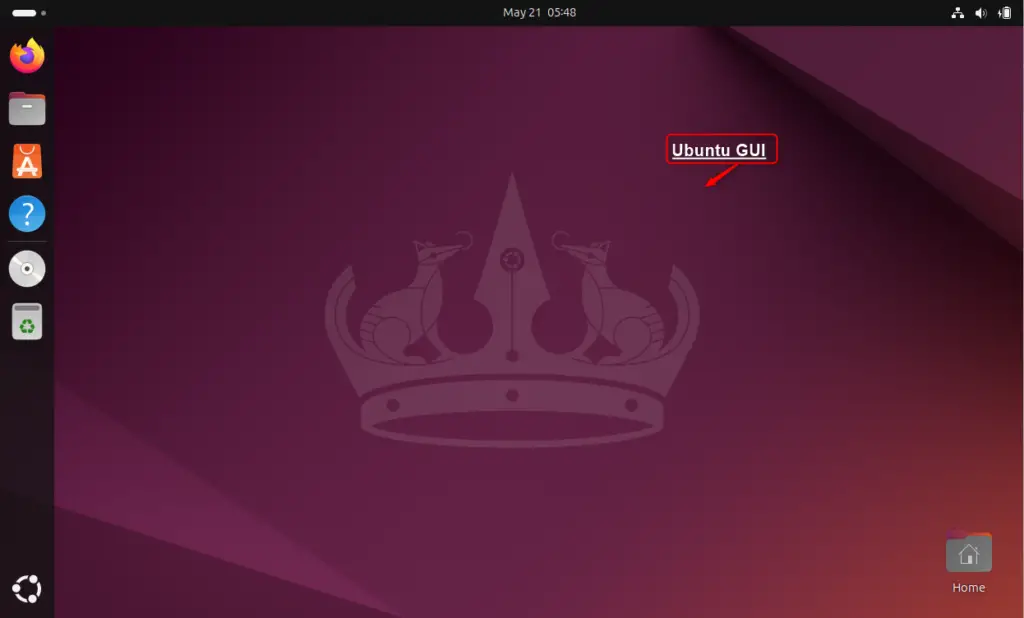
After successful installation, users can reboot the system and verify the Ubuntu Desktop (GNOME) as below:
Note: If users find any issue, they can press the “F1” key to switch the desktop session. Or, they can enable and launch slim with the “systemctl” command.
KDE Plasma
A flexible and customizable environment known for its aesthetics and functionality. To install KDE Plasma Desktop (GUI) on the Ubuntu Server, execute the below command:
sudo apt install kde-plasma-desktop

During the installation, it pops up a new interface for configuration. Now, hit the <Ok> button for further procedure:
Now, users can select the default display managers. For instance, select the “slim” manager for the installation of KDE Plasma and hit the <Ok> button:
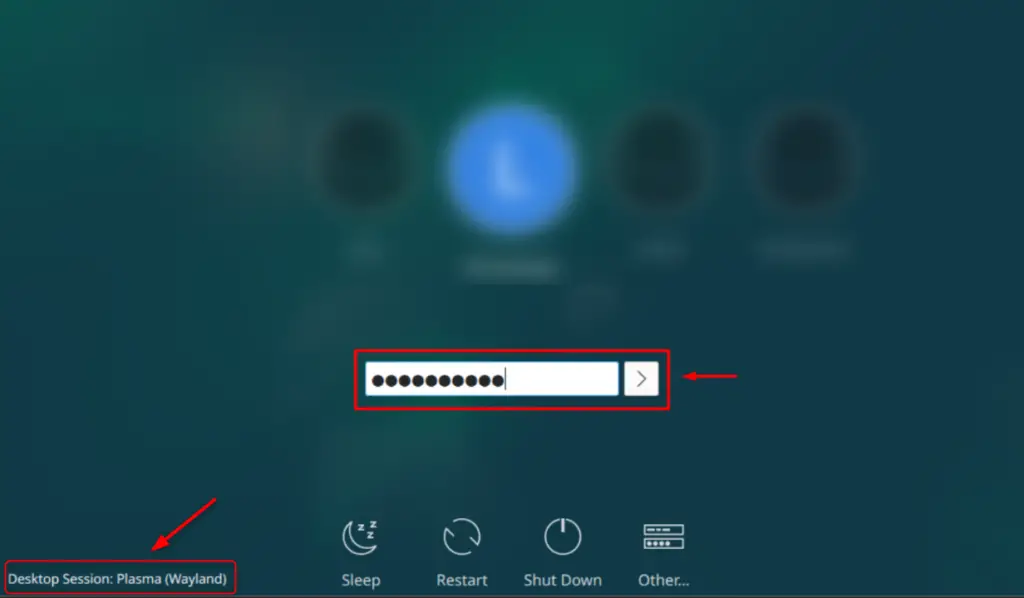
After installing your chosen desktop environment, you may need to reboot the server. Once rebooted, users can display greets with a graphical login screen:
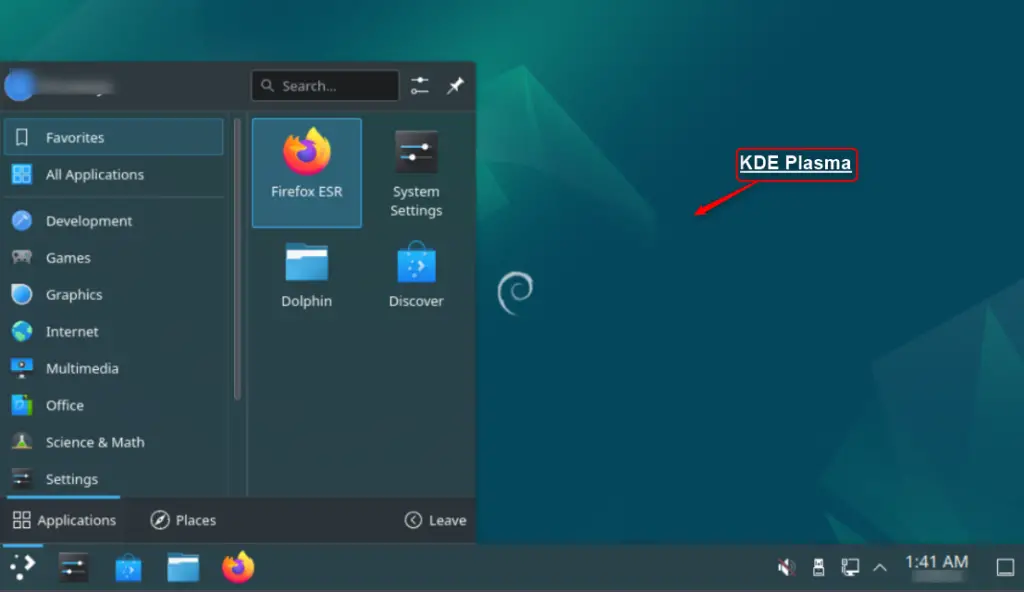
To verify the successful installation of KDE Plasma, users can see the desktop:
MATE
To install MATE on the Ubuntu server, users can utilize the “ubuntu-mate-core” package with the apt command:
sudo apt install ubuntu-mate-core

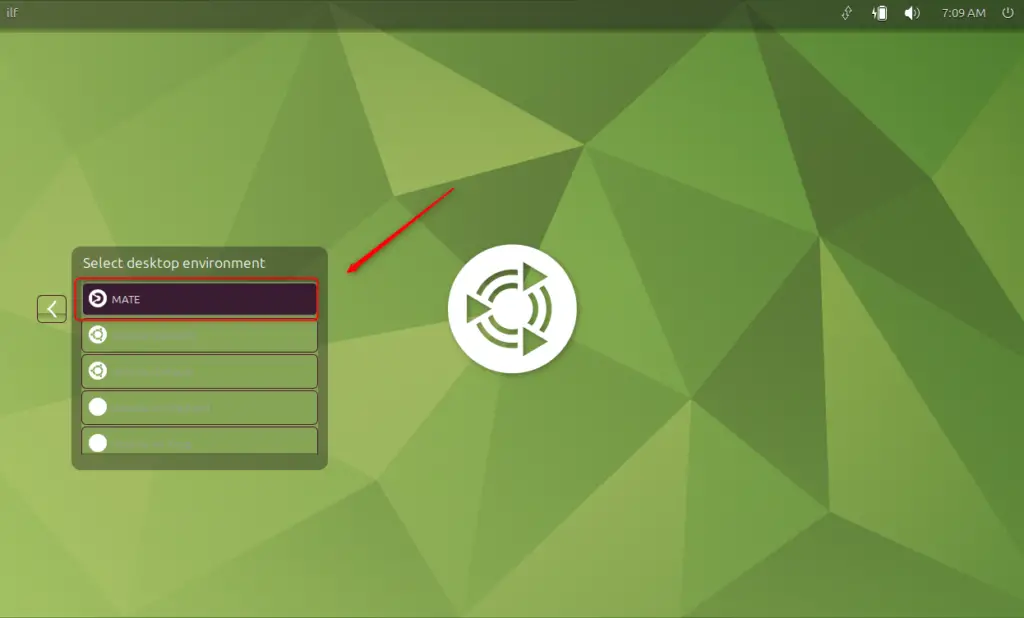
For confirmation, users can reboot the system. After that, select the MATE desktop environment to access the home screen:
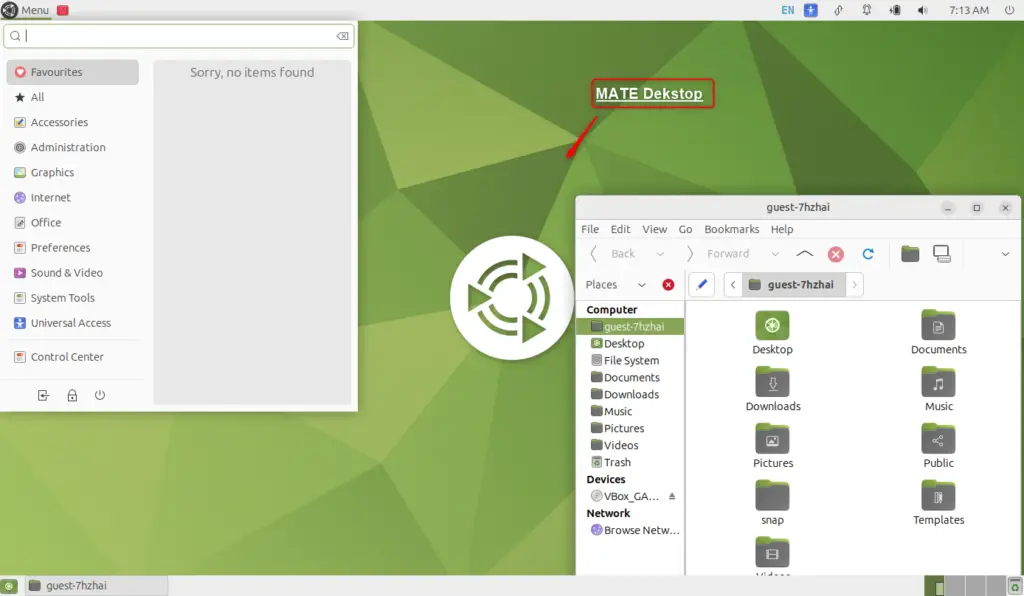
Finally, users can verify the installation of the MATE desktop on the Ubuntu server:
XFCE
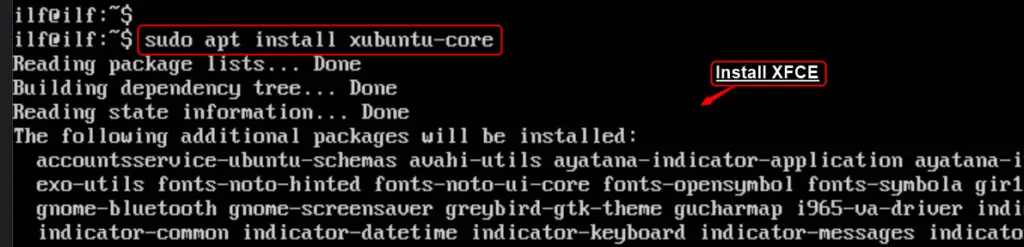
To install the XFCE desktop, use the “xubuntu-core” package with the sudo privileges:
sudo apt install xubuntu-core
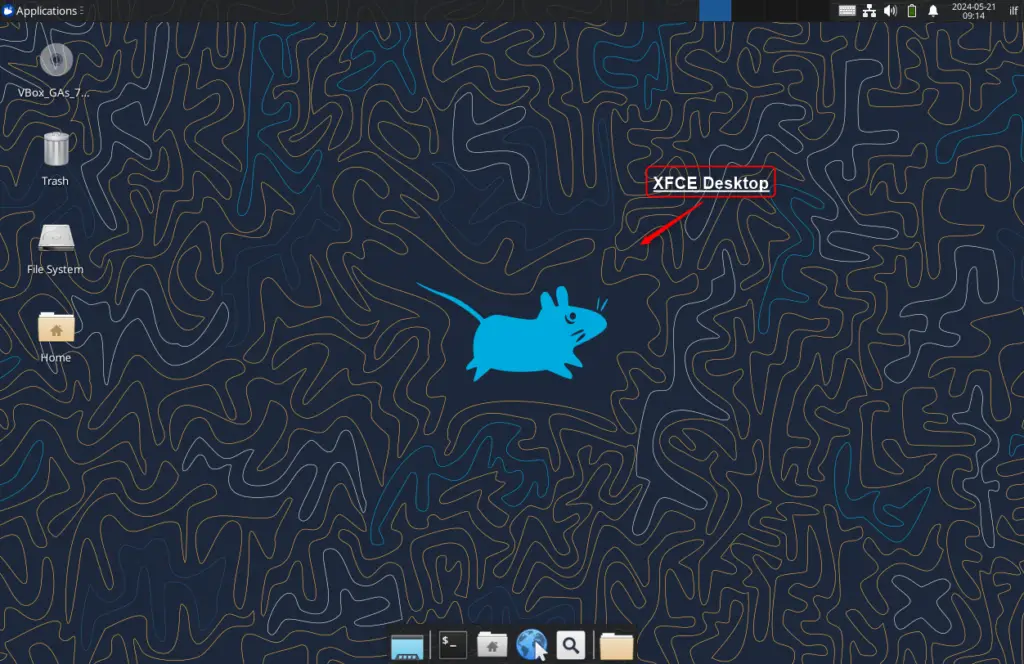
After installation, reboot the system and see the login page. If users find any issue, they can press the “F1” key to switch the desktop session. In our case, it is already an Xfce session.
Finally, users can display the home screen of the Xfce desktop after login with the existing username and password:
Cinnamon
To install the Cinnamon desktop environment on the Ubuntu Server, utilize the “cinnamon-desktop-environment” package name with the apt command:
sudo apt install cinnamon-desktop-environment

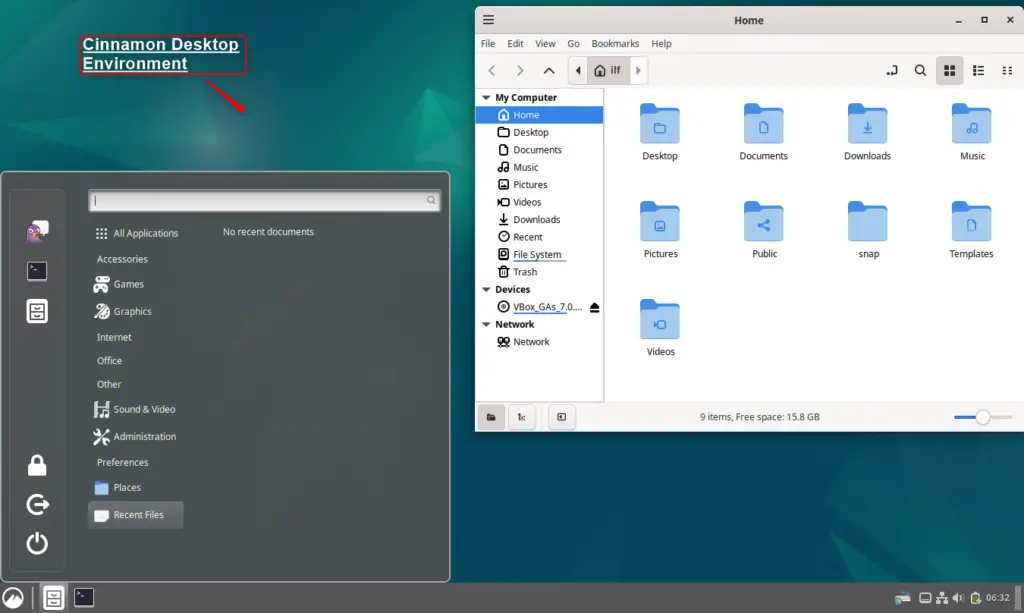
Once your system restarts, you arrive at the login screen. There, hit the gear icon placed in the bottom-right corner and pick “Cinnamon”. Log in as usual and see the Cinnamon desktop environment for confirmation:
Step 4: Finalizing the Installation
After installing the chosen desktop environment, users may need to reboot the Ubuntu server:
sudo reboot
Once rebooted, you should be greeted with a graphical login screen, courtesy of your new desktop environment.
Alternative Way: To Install Desktop (GUI) on Ubuntu Server, users can update the system and install tasksel: sudo apt update && sudo apt upgrade && sudo apt install tasksel. Then, choose and install your preferred desktop environment (e.g., GNOME with sudo tasksel install ubuntu-desktop) and reboot.
| Desktop Environments | Features |
|---|---|
| Gnome | Stable, Resource-Efficient, Easy to Use, GTK Support, Highly Customizable |
| KDE Plasma | Stable, Intuitive Design, Visually Appealing |
| MATE | Stable, Time-Tested, Very Stable |
| Xfce | Stable, Very Lightweight, Regular Updates |
By following these steps, you can enjoy the flexibility of a GUI without compromising the efficiency of your Ubuntu Server.
Tip: Uninstall Desktop (GUI) From Ubuntu Server
Users can remove the installed desktop environments (GUI) on the Ubuntu Server by following the commands:
Ubuntu Desktop (GNOME)
To uninstall KDE Plasma on the Ubuntu server, use the “ubuntu-desktop” package with the “remove” utility:
sudo apt remove ubuntu-desktop
KDE Plasma
To remove the KDE Plasma desktop environment on the Ubuntu server, execute the below command:
sudo apt remove kde-plasma-desktop
MATE
To remove MATE on the Ubuntu server, use the “ubuntu-mate-core” package as below:
sudo apt remove ubuntu-mate-core
XFCE
To remove the XFCE desktop, run the below command by mentioning the “xubuntu-core” package name:
sudo apt remove xubuntu-core
That is all from the installation of GNOME, KDE Plasma, MATE, and XFCE Desktop environments (GUI) on the Ubuntu Server.
Conclusion
To install a GUI on Ubuntu Server, start by updating the package list using the command “sudo apt update”. Once updated, you can install a desktop environment; for example, for a full GNOME desktop, use “sudo apt install ubuntu-desktop”. If you prefer a lightweight environment, you might consider “sudo apt install xubuntu-core”. For visually appealing, use the “sudo apt install kde-plasma-desktop” for KDE Plasma. After the installation, reboot the system and start the installed desktop environment.
