
Visual Studio Code is the code editor used to write codes of different programming languages. It offers built-in debugging support, and numerous coding-supported extensions can be installed.
Visual Studio Code tool can be obtained on various Linux distributions because of its cross-platform support. This guide will demonstrate the method of installing Visual Studio Code on Ubuntu 22.04.
- Method 1: Install Visual Studio Code By Adding the Repository in Ubuntu
- Method 2: Install Visual Studio Code Using Flatpak on Ubuntu
- Method 3: Install Visual Studio Code Using Snap on Ubuntu
Method 1: Install Visual Studio Code By Adding the Repository in Ubuntu
Follow the step mentioned below to install Visual Studio Code on Ubuntu:
Step 1: Download Public key
First, add the public the Key of Visual Studio Code in Ubuntu to access permission for adding the repository:
$ wget -q https://packages.microsoft.com/keys/microsoft.asc -O- | sudo apt-key add -

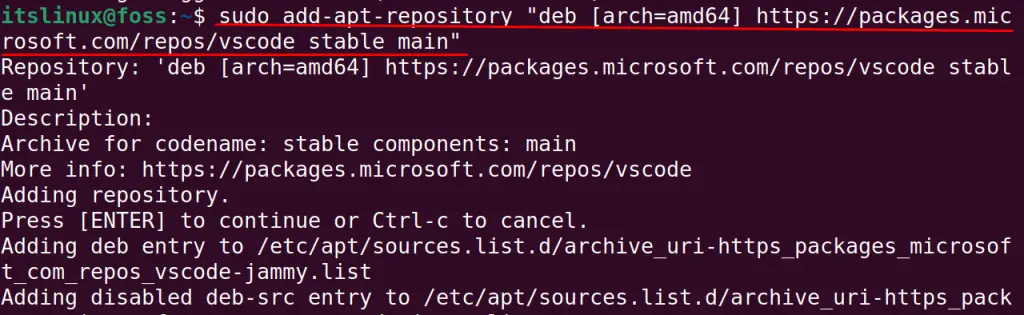
Step 2: Add the Repository
Then, add the repository of Visual Studio Code with the command:
$ sudo add-apt-repository "deb [arch=amd64] https://packages.microsoft.com/repos/vscode stable main"
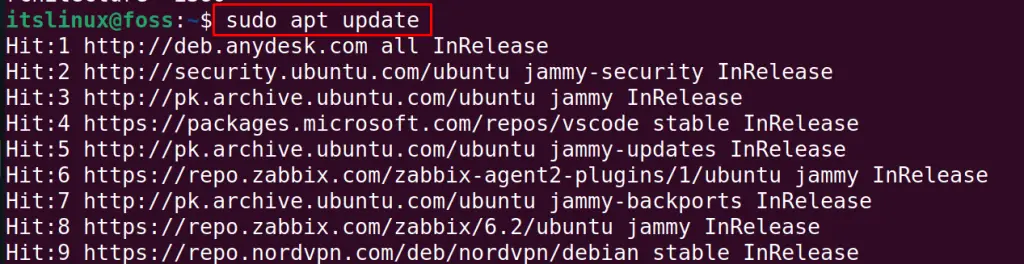
Step 3: Update the Packages
After adding the repository, update all the packages:
$ sudo apt update
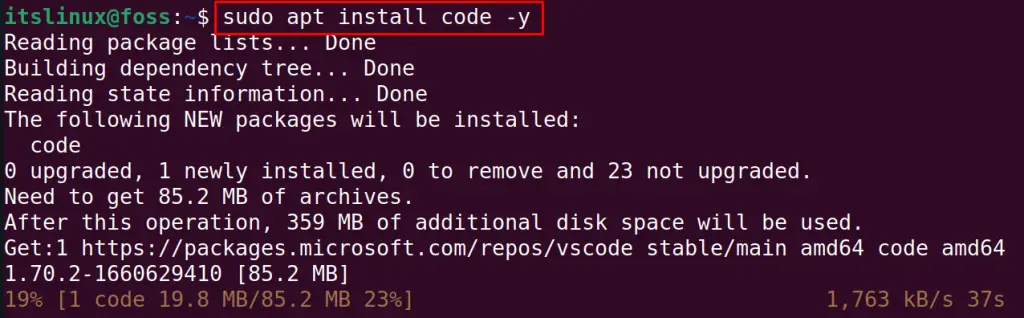
Step 4: Install Visual Studio Code
Finally, install the Visual Studio Code with the command:
$ sudo apt install code -y
Launch Visual Studio Code
When the command is successfully executed, then go to the search bar of applications and search for “code”:
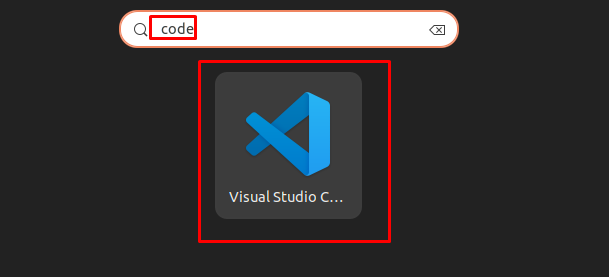
Click on the icon to launch the application:
Remove Visual Studio Code
Now, it can be removed from Ubuntu by running the command:
$ sudo apt purge code -y
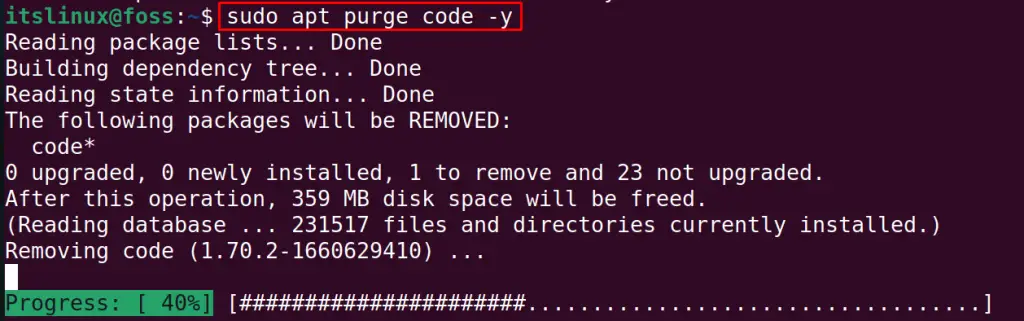
The Visual Studio Code has been removed from Ubuntu and all its configuration files.
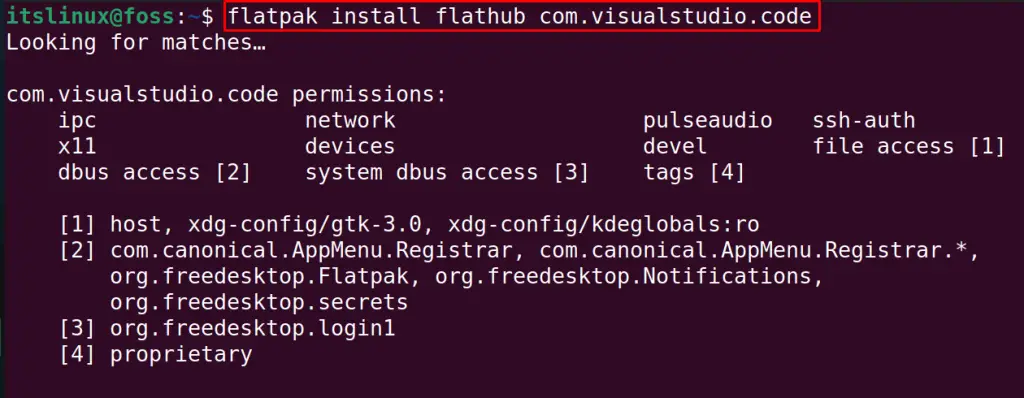
Method 2: Install Visual Studio Code Using Flatpak on Ubuntu
For the installation of Visual Studio Code from the flathub, we will use the flatpak utility and, using it, first download the visual studio code package from flathub. Then, we will install it using the same command:
$ flatpak install flathub com.visualstudio.code
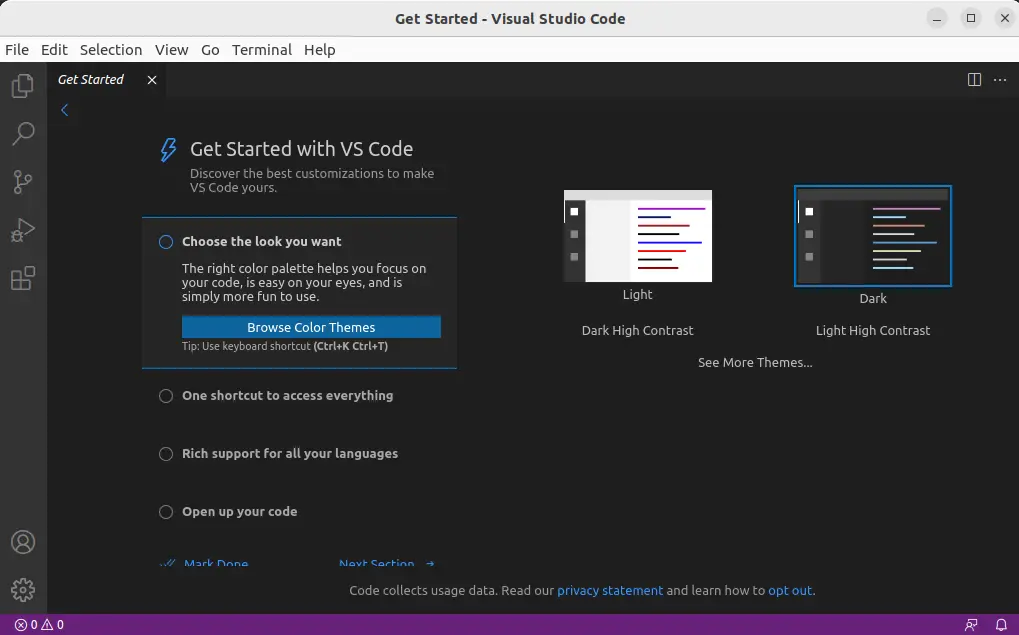
Launch the Visual Studio Code
When the package is installed, run it using the command:
$ flatpak run com.visualstudio.code

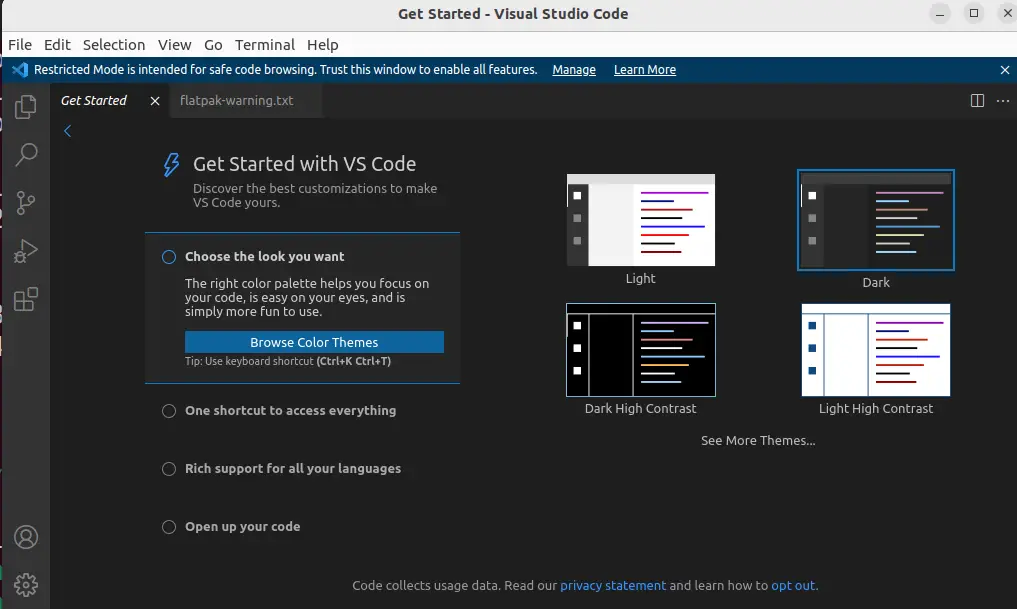
The GUI of Visual Studio code has been launched.
Uninstall Visual Studio Code
To delete it using the flatpak, use the command:
$ flatpak uninstall flathub com.visualstudio.code
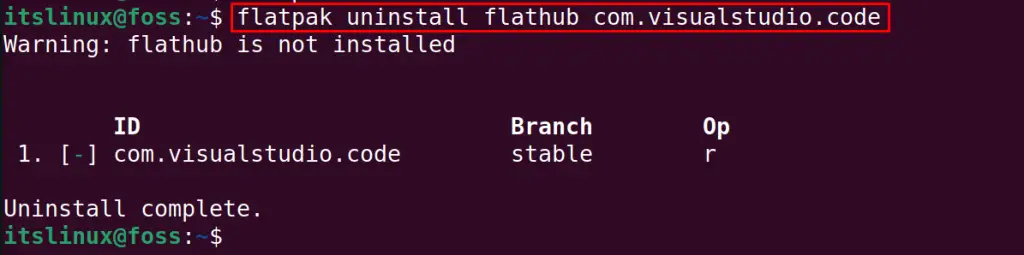
The package has been uninstalled when the message is displayed on the screen of uninstalling.
Method 3: Install Visual Studio Code Using Snap on Ubuntu
The snapd utility also contains snap for Visual Studio code and can be installed on Ubuntu using the command provided below:
$ sudo snap install code --classic

When the package is installed, run the command to launch the application:
$ code

Remove Visual Studio Code Using Snap
To remove the Visual Studio Code from Ubuntu using the snapd utility, run the command:
$ sudo snap remove code

The “code removed” message confirms the removal of the package from Ubuntu.
Conclusion
To install Visual Studio Code on Ubuntu, we can use snapcraft, flathub, or by adding its repository from third-party applications. In this blog, all three mentioned installation methods of Visual Studio Code on Ubuntu have been explained in detail. Among these, the most used and effective one is method 1.
