
Before moving on to the installation process of Git, Let me help you understand what is Git and why you should use it.
Suppose you are working on any project, text, or word file and mistakenly you deleted something and closed the file. Now the content which is gone from your file cannot be retained. If the files are important then everyone works on the backing up procedure before doing any kind of edit to track changes.
Why would someone do the files backup because later on if you delete something unintentionally you can go back and have a look at that content which was earlier in the file.
Most of the time you forget to maintain the backup in all of your systems. There exist chances that you have to work or collaborate with other workers or fellows. As all of the workers are doing their thing simultaneously one cannot wait to see his fellow’s work and start working on its part. That’s where the need for Version Control Systems like Git arises. These systems help a person by managing its code, keeping track of the files, and you can also see what was edited, merged, deleted, or added in the file.
Git:
Git is a Version Control System (VCS) that is used for keeping the track of changes in projects or computer files and coordinating with multiple people based on those files. It is the most popular VCS right now because of its capability of being flexible with history. It permits you to store the project’s entire history in a repository and launch the changes in the project in a very assembled and controlled way while working with your team.
That’s the most essential information you should know before Installing and using ‘Git’.Now let’s move on to its Installation process on Ubuntu 20.04.
Note: To follow the installation, make sure that you are a ‘superuser’ or ‘root’ as the superuser provides unrestricted access to all the commands, files, resources, and directories.
Install Git on Ubuntu 20.04
Step 1: First of all, Open up the terminal by searching it manually in activities, or you can also press ‘CTRL+ALT+T’ to view the terminal window.
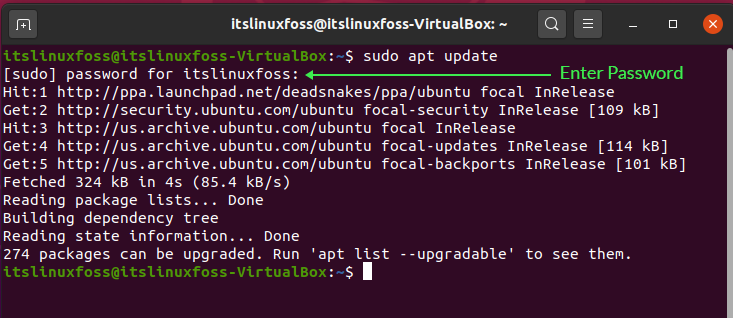
Step 2: Now update the package lists.
$ sudo apt update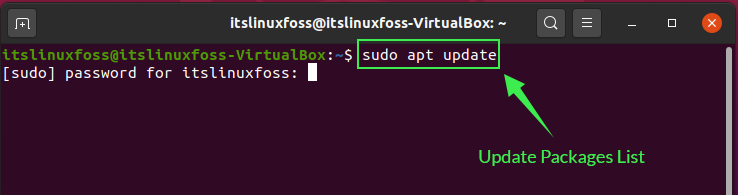
Enter your password to permit the packages update.
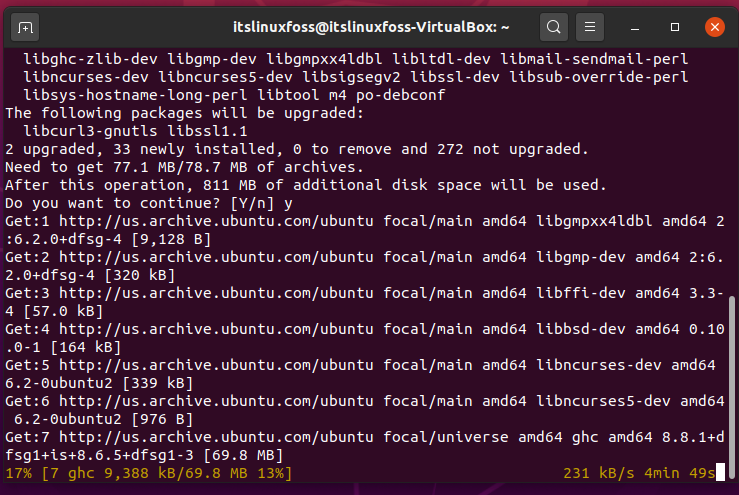
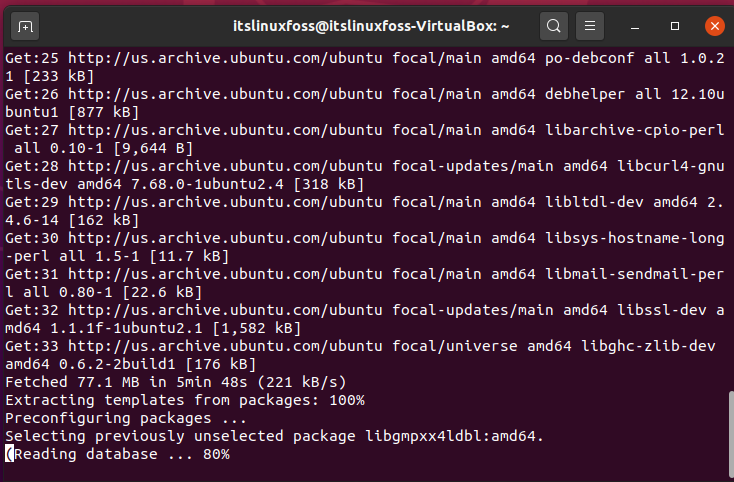
Step 3: Given command will install all of the dependencies that are required on your system to work on Git.
$ sudo apt install dh-autoreconf libcurl4-gnutls-dev libexpat1-dev make gettext libz-dev libssl-dev libghc-zlib-dev
Step 4: Visit the official website to check the latest git version and you can choose a version from the available ones.
https://github.com/git/git/releases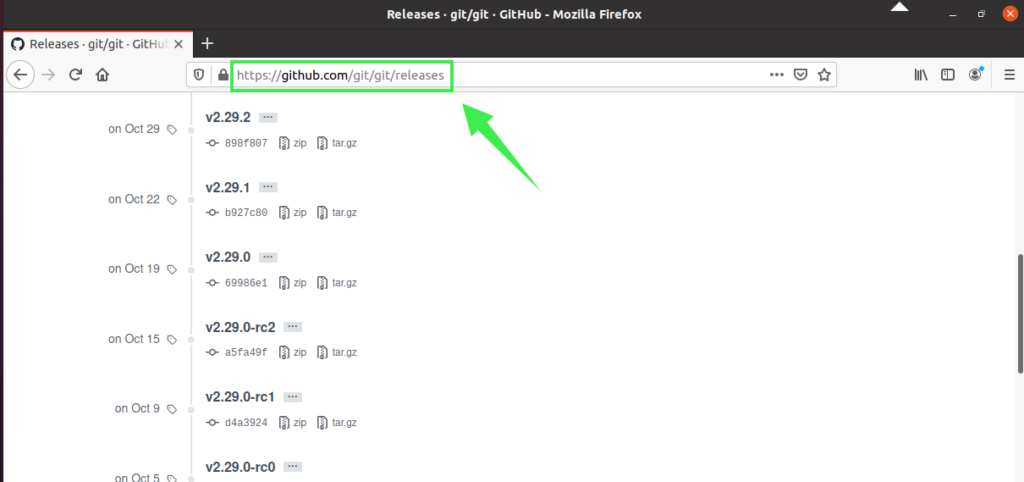
We are going to install the ‘v2.29.2’ git release because it is considered the most stable version at this time.
Step 5: Write out the following command in your terminal for downloading and extracting the source. This is going to be store in ‘/usr/src’ directory.
$ wget -c https://github.com/git/git/archive/v2.29.2.tar.gz -O - | sudo tar -xz -C /usr/src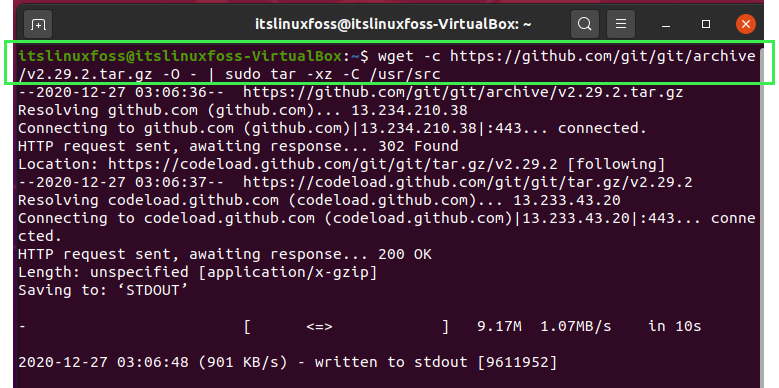
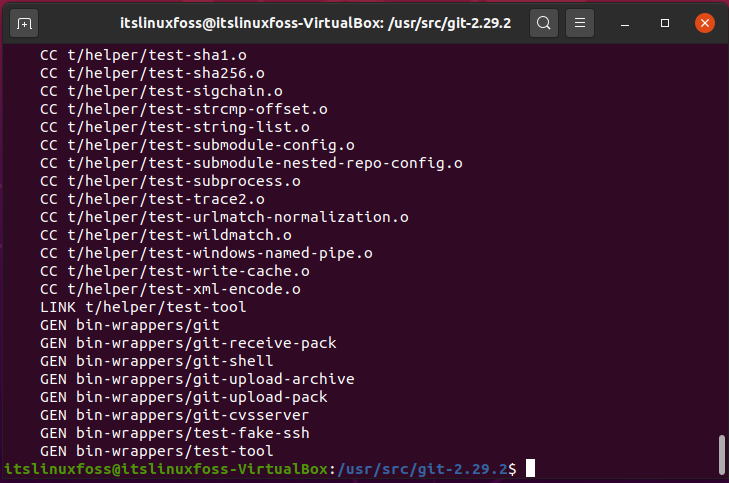
Step 6: As the download is complete, now we are going to install the Git on our Ubuntu 20.04 by changing the directory first.
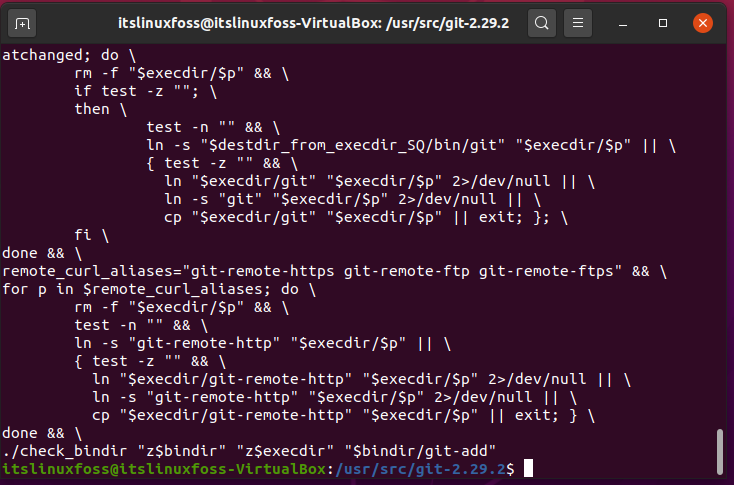
$ cd /usr/src/git-*$ sudo make prefix=/usr/local all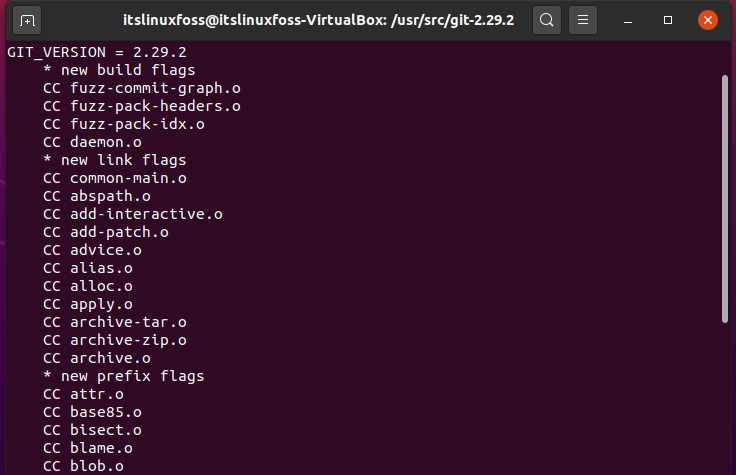
$ sudo make prefix=/usr/local install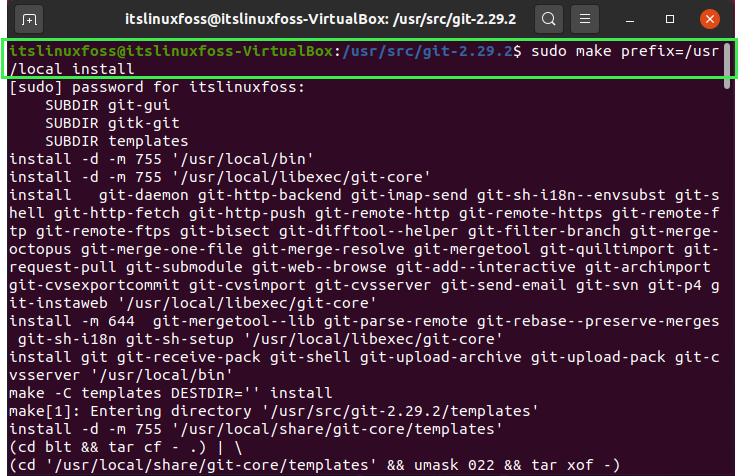
Step 7: Verify the Git existence on your Ubuntu by writing-out the command given below.
$ git --version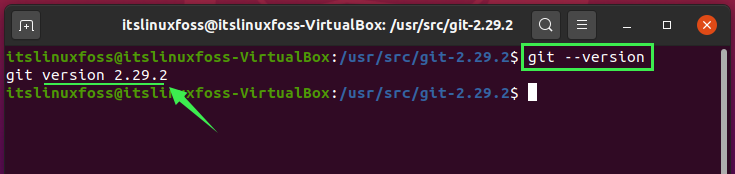
Configuring Git on Ubuntu 20.04
Step 1: First thing you have to do for configuring Git on your system is to link your identity with it. Set your name and your email. It will be used with every commit you trying to make.
$ git config --global user.name "Your Name"$ git config --global user.email "[email protected]"
Step 2: Now authenticate these modifications.
$ git config --list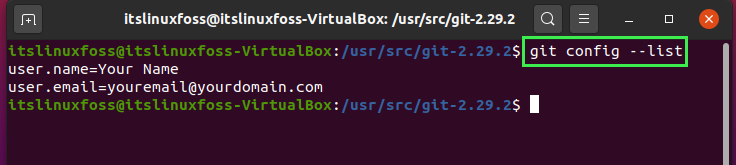
Check the configuration file too.
$ nano ~/.gitconfig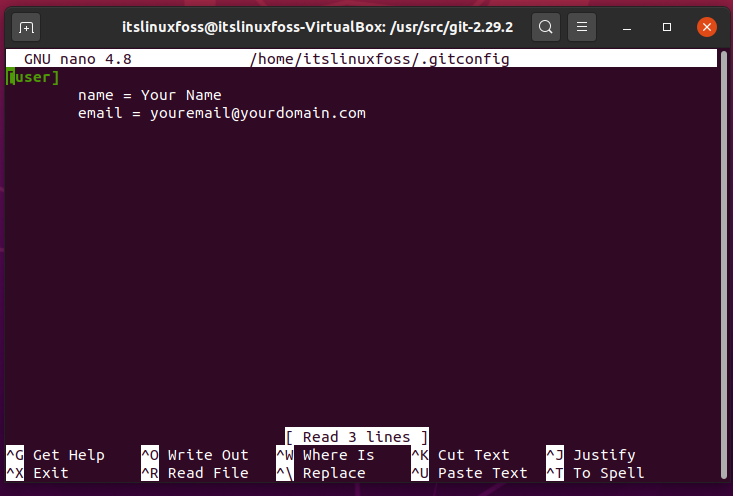
Conclusion:
In this article, we have discussed what is Git and why you should use it on your system. Furthermore, we have shared the step by step method of its installation and configuration on Ubuntu 20.04.

Saryia is a technology entrepreneur and digital publisher specializing in Linux, open-source technologies, and developer education.