Django:
Django is a free and open-source framework for Python that uses the Model-View-Controller (MVC) principles. The behind its development was to ease the complexity of development, database-driven website programming, and to provide clean code. It is used for creating various kinds of web applications. In 2003, a web developer formed this python-based high-level framework. The idea behind Django was “Don’t repeat yourself.” This framework can be used for creating any application in Python. It also contains a built-in Admin panel that is utilized in CRUD tasks. For coding, it is considered very fast as it has built-in libraries and pre-built code. It also forbids various kinds of security attacks such as Clickjacking, CRF, SQL Injection, etc. The update of new functions and fixes makes this framework more adaptable.
Key features of Django:
Some of the Key features of Django are given below:
- URL routing
- Object-relational mapper (ORM)
- A plethora of ready-to-use libraries
- Support for other web servers
- Template engine
- Authentication support system
- Database schema migrations
Some of the websites that use Django as a Back-end are Pinterest, Mozilla, itbucket, The Washington Times, Instagram, etc.
That’s the most comprehensive information you should know before Installing and using Django. Now let’s move on to its Installation process on Ubuntu 20.04. In this article, you are going to learn how to install Django on Ubuntu 20.04 by using two methods.
1. Install Django from Ubuntu Repository
Step 1: First of all, Open up the terminal by searching it manually in activities, or you can also press ‘CTRL+ALT+T’ to view the terminal window.
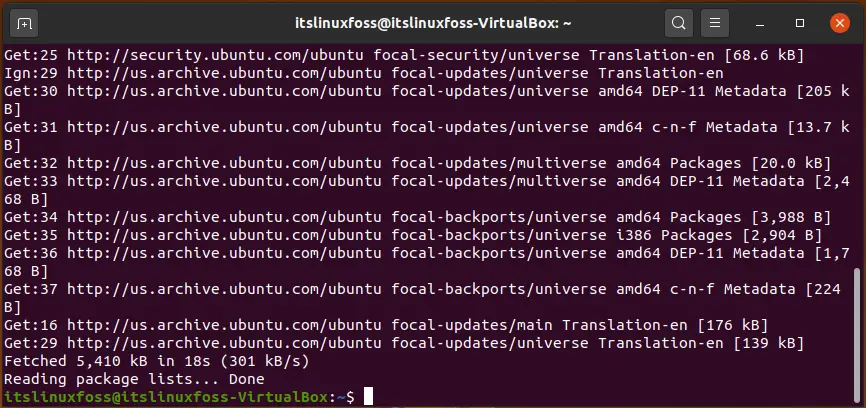
Step 2: Now update the package lists.
$ sudo apt-get update
Enter your password.


Step 3: Verify the version of already installed Python on your system.
$ python3 -V
The output shows the installed Python version.
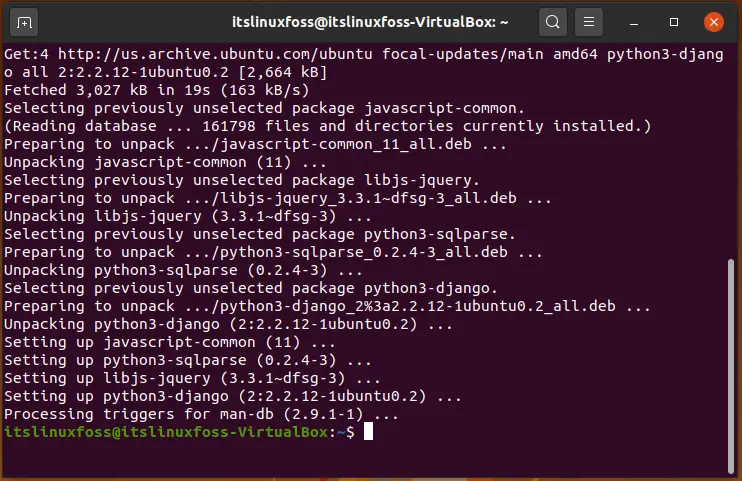
Step 4: Install ‘Django’ by writing-out the given command on your terminal.
$ sudo apt install python3-django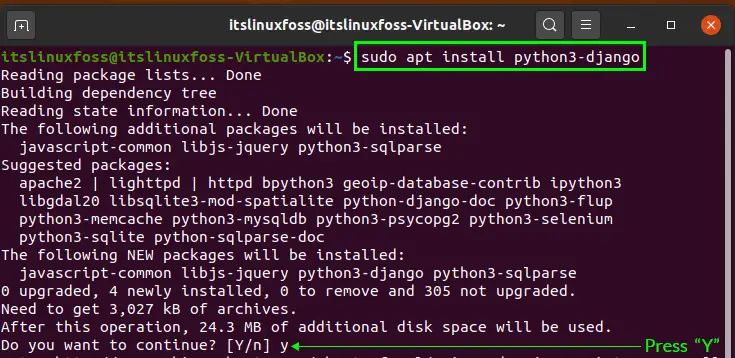
Press ‘Y’ to continue.
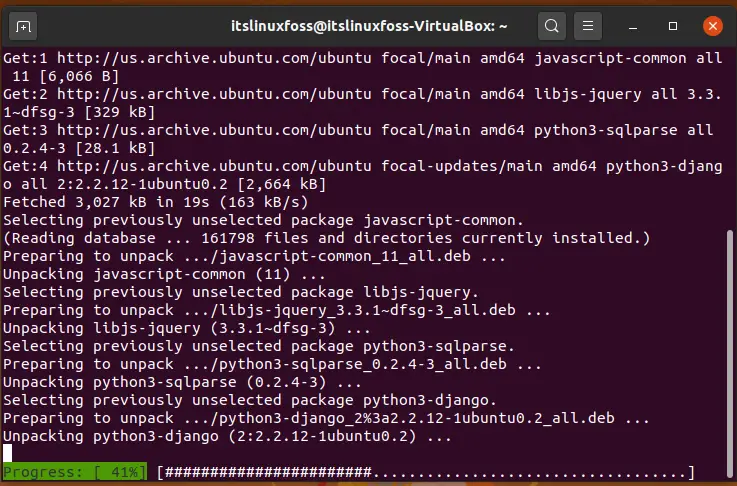
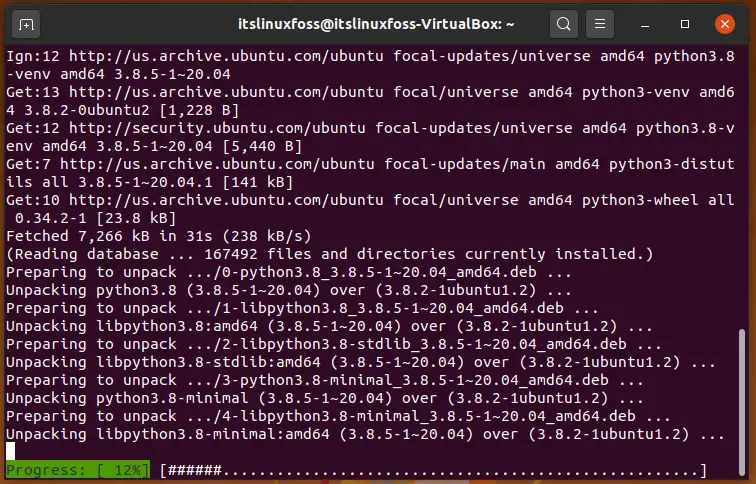
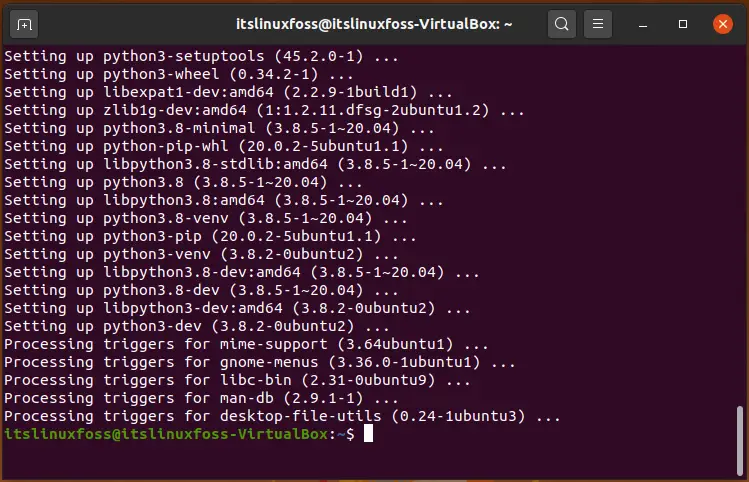
Wait for some time as the packages are getting unpacked.
Step 5: Type the below-given command for verifying the Django existence on the system.
$ django-admin --version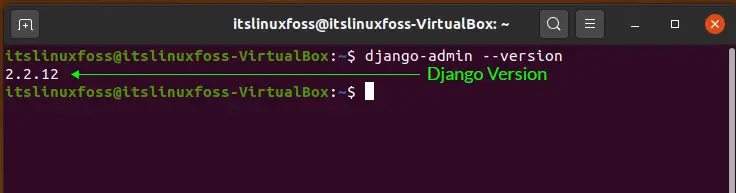
Now, let’s Move on to the second method.
2. Install Django on Ubuntu 20.04 using Pip:
Step 1: First of all, Open up the terminal by searching it manually in activities, or you can also press ‘CTRL+ALT+T’ to view the terminal window.

Step 2: Now update the package lists.
$ sudo apt-get update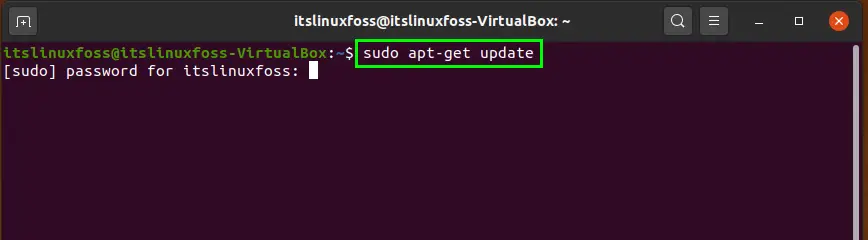
Enter your password to update the packages.

Step 3: Verify the version of already installed Python on your system.
$ python3 -V
Step 4: In this step, we will use the Ubuntu repository for installing ‘venu’ and ‘pip’.
$ sudo apt install python3-pip python3-venv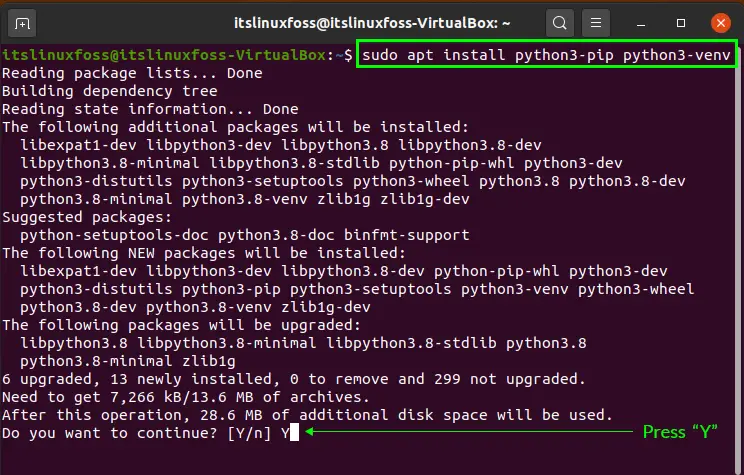
Press ‘y’ to continue.
While working on a new project, firstly you have to create this new project and after that move it into a new directory.
$ mkdir ~/newproject$ cd ~/newproject
Step 5: Now set up the virtual environment.
$ python3 -m venv my_env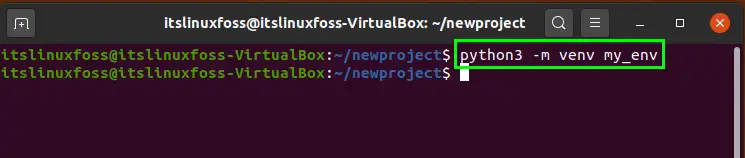
For adding Python and Pip packages in an isolated environment, use the following command.
$ source my_env/bin/activate
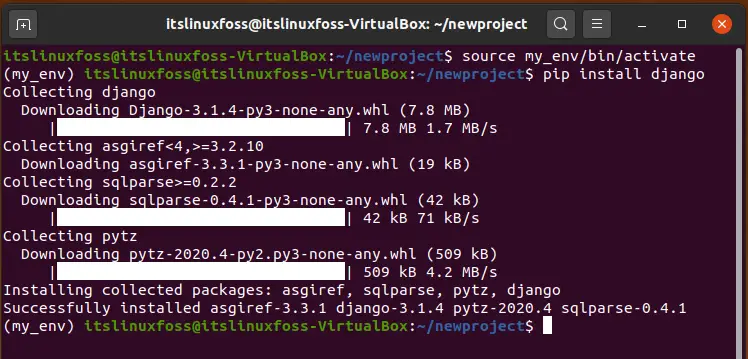
Step 6: Now you are in your created virtual environment. Install Django on your Ubuntu 20.04 by typing the following command.
$ pip install django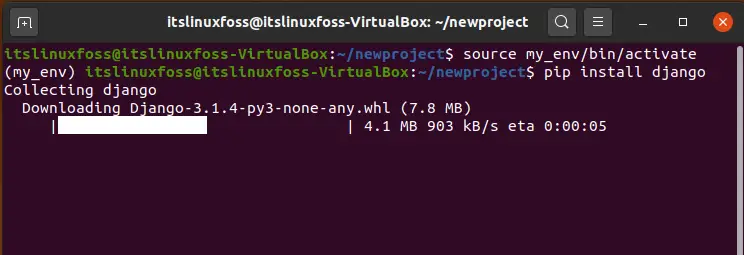
Step 7: Verify the Django installation.
$ django-admin --version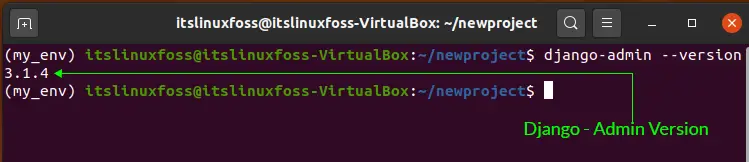
To deactivate the environment, simply write ‘deactivate’ on your terminal.
$ deactivate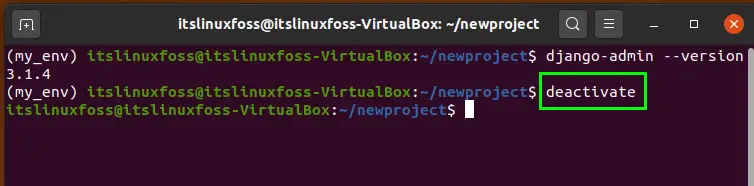
Conclusion:
This article started with a brief introduction of Django and then it leads you to its installation method on Ubuntu 20.04. We have shown you two step by step procedures for installing Django. It’s your choice to install this framework either from the Ubuntu repository or by using Pip.

Saryia is a technology entrepreneur and digital publisher specializing in Linux, open-source technologies, and developer education.