
Wireshark is a tool that is used to investigate the packets of the data that are coming into and out of a particular network device. It is also utilized to inspect the security risks, or for monitoring the traffic of a workplace device. It is considered a great tool for learning about the underlying network framework. It is a kind of packet analyzer that tries to know all the possible details about the network packets.
Purpose of Wireshark:
- To Troubleshoot network problems
- For examining security problems
- Debugging protocol implementations
- To Learn network protocols
Importance of Wireshark:
- You can set yourself apart as a network analyst.
- It also lets someone know what is happening on their system, in terms of network traffic.
- You can solve dynamic puzzles.
- It can be utilized to capture interesting stuff.
- Wireshark can be also used to entertain yourself by having an eye on the network traffic.
- It can be used to find out the issue at the first hand before the users do such things.
- Web debugging.
- It is freely available.
- Bond with the packet which is considered as the source behind the network truth.
- It also ensures that the resources are allocated to the valid application.
That’s the most essential information you should know before Installing and configuring ‘Wireshark’. Now let’s move on to its Installation process on Ubuntu 20.04.
Note: To follow the installation, make sure that you are a ‘superuser’ or ‘root’ as the superuser provides unrestricted access to all the commands, files, resources, and directories.
Install Wireshark on Ubuntu 20.04
Step 1: First of all, Open up the terminal by searching it manually in activities, or you can also press ‘CTRL+ALT+T’ to view the terminal window.

Step 2: Now update the package lists.
$ sudo apt update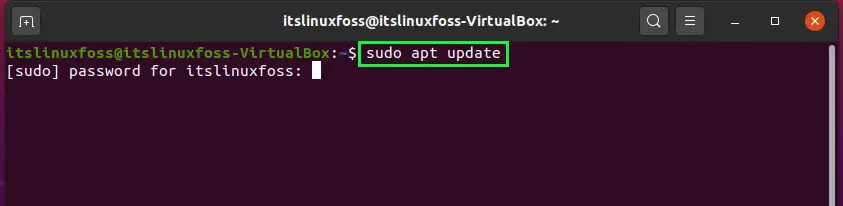
Enter your password to permit the packages update.

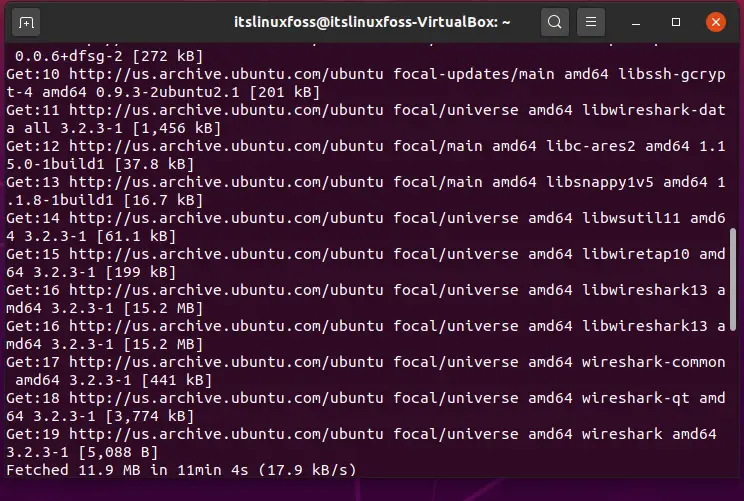
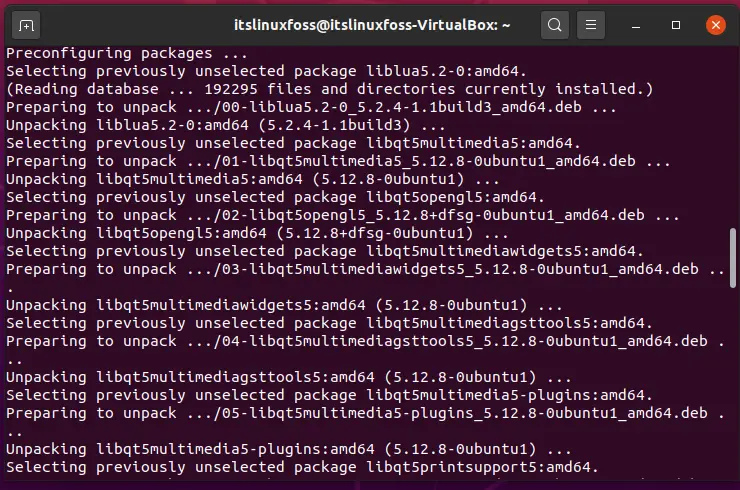
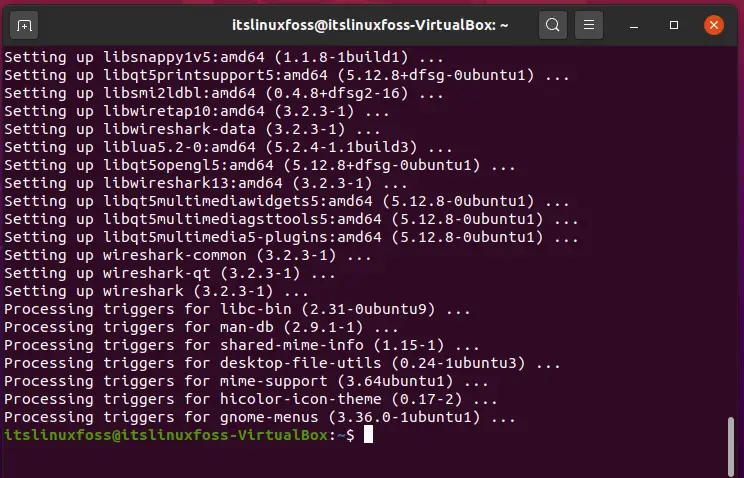
Step 3: Use the repository to install Wireshark.
$ sudo apt install wireshark

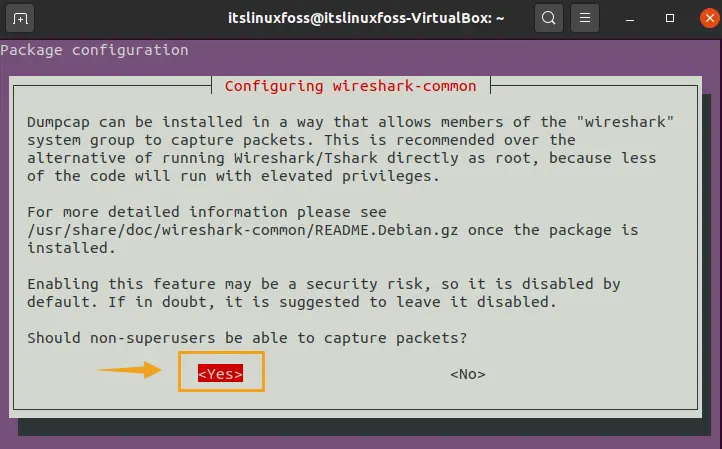
Configuring Wireshark on Ubuntu 20.04:
Step 1: Select the ‘yes’ option to allow the non-superusers to capture the packages.
Step 2: Verify the existence of Wireshark by using the command given below.
$ wireshark --version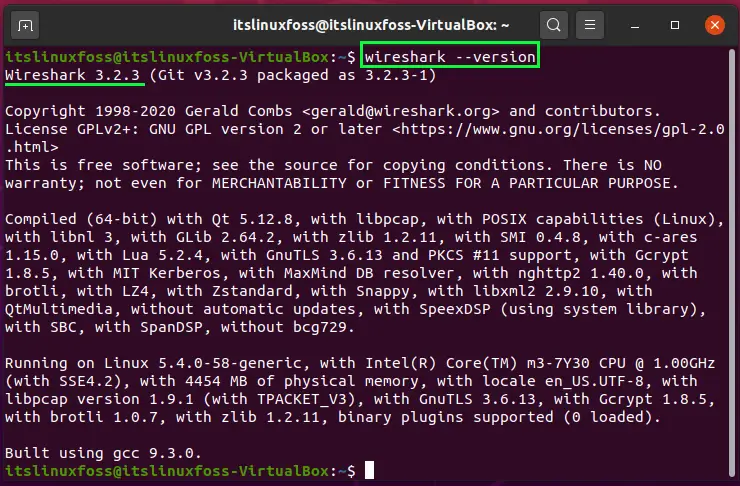
Step 3: Now you have to add the user to the Wireshark group for capturing the packets as normal users do.
$ sudo usermod -a -G wireshark $USER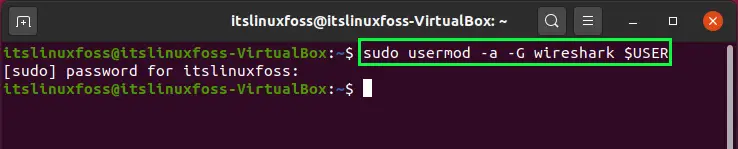
Step 4: Now, we are going to modify the ‘dumcap’ file permission.
$ sudo chgrp wireshark /usr/bin/dumpcap$ sudo chmod 750 /usr/bin/dumpcap$ sudo setcap cap_net_raw,cap_net_admin=eip /usr/bin/dumpcap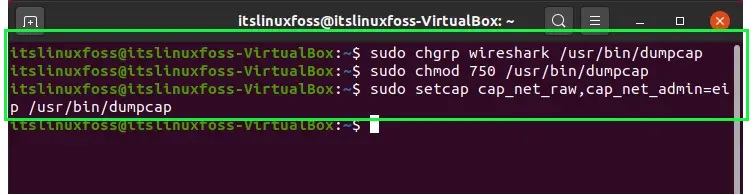
$ sudo getcap /usr/bin/dumpcap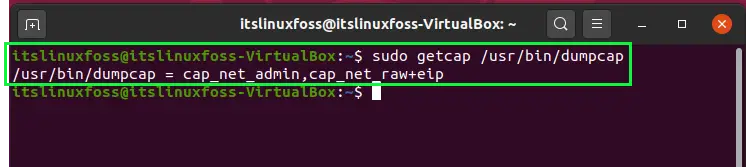
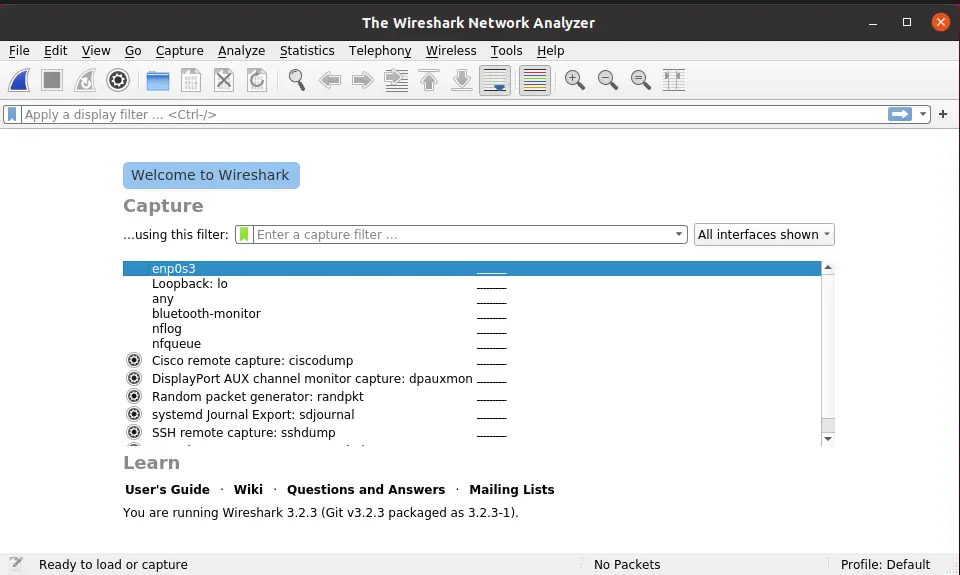
$ sudo wireshark
You can also open the Wireshark by searching it manually in the ‘Activity’ search bar.

This is considered as the first view of Wireshark you would see after giving the command to open it.
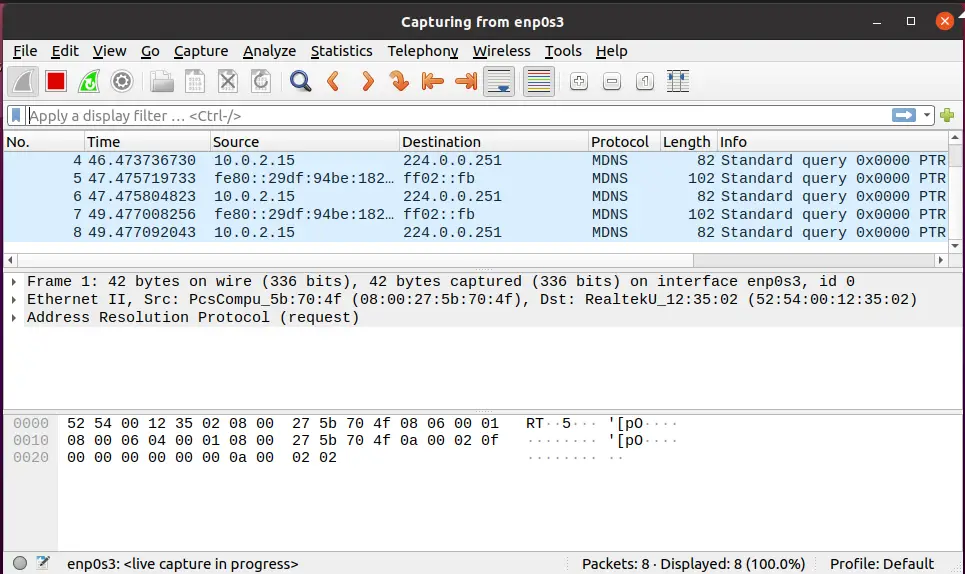
Click the button named ‘Start capturing packets’ to test the capturing of packets.
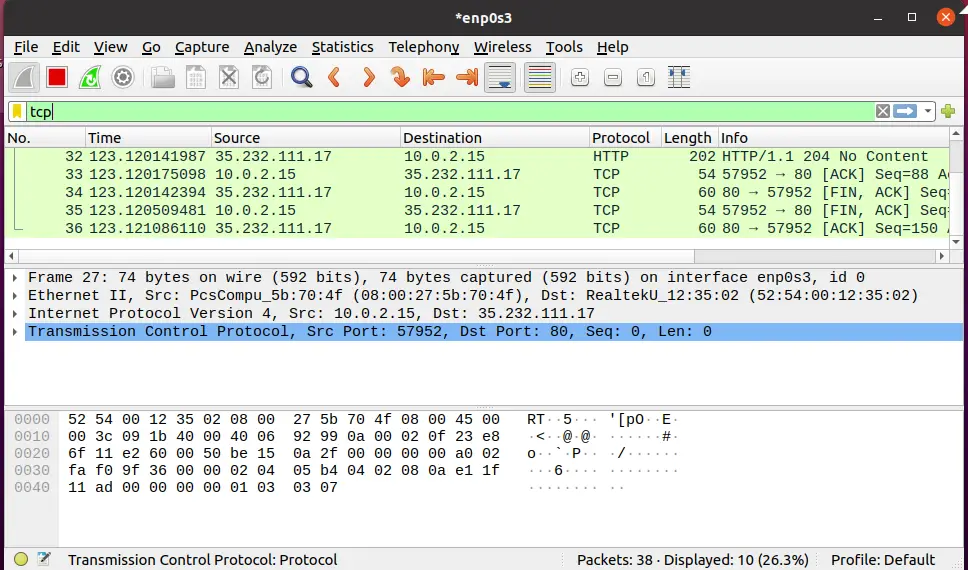
You can also search for any protocol in the search bar to know about its participation in the packet capture.
Conclusion:
This article presented you with a brief overview of Wireshark, its purpose, and specialties. After that, we have shown you a complete procedure to install and configure the Wireshark on your Ubuntu 20.04.

Saryia is a technology entrepreneur and digital publisher specializing in Linux, open-source technologies, and developer education.