A screen recorder helps to capture the screen while gaming, meetings and recording a specific video with a single click. Do you want to record the screen in Linux but need to know which screen recorder is best for you? This article will describe the best 8-screen recorders you can use in Linux.
The following recorders are discussed in detail with their installation methods on various Linux distributions:
- Kazam
- Default GNOME Shell Screen Recorder
- Vokoscreen
- Blue Recorder
- Open Broadcaster Software Studio (OBS Studio)
- RecordMyDesktop
- Byzanz
- Kooha
Kazam
Kazam is a simple screen recorder with a compact user interface to record the screen. It allows you to capture the full screen, a particular part of the screen, or a specific window. Kazam comes with hotkeys that allow you to start, finish, resume and pause the screen recording.
The Kazam’s main features provide user-friendly and customization options on User Interface with supporting various video formats.
Moreover, you can record the screen’s audio with “kazam”. It does not come with webcam support.
How to Install Kazam on Linux?
This section provides the required commands to install Kazam on Linux.
For Ubuntu/Debian/Linux Mint:
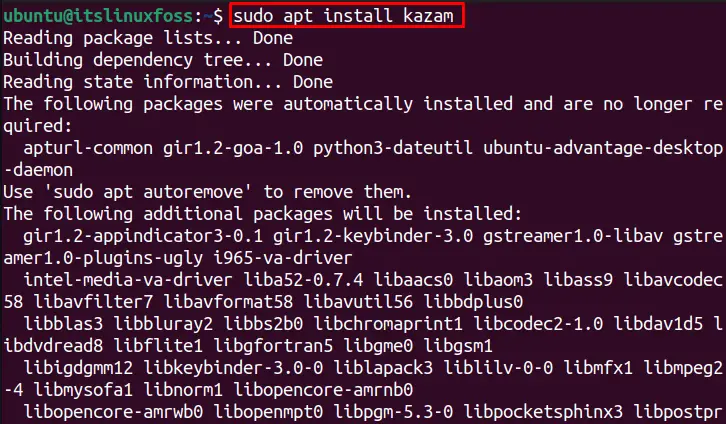
To install Kazam on Ubuntu/Debian/Linux Mint, run this command:
$ sudo apt install kazam
For CentOS:
$ sudo dnf install kazam
For Arch Linux:
$ sudo pacman -Syu kazam
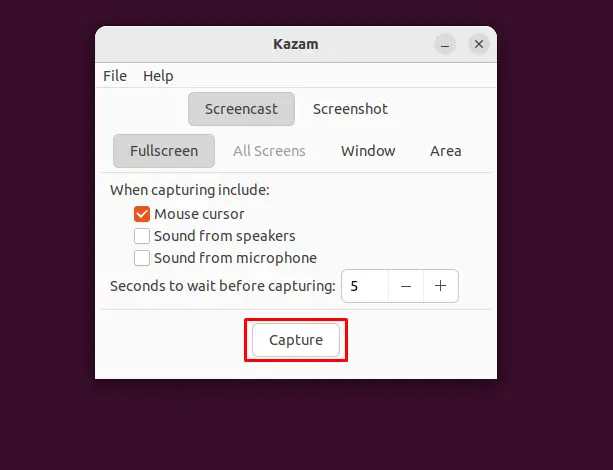
After executing the above commands, “kazam” is installed in your system. To open Kazam, click on “Show applications” from the Dock panel. Search “kazam” in the search bar, and click on the Kazam application to open it. The below Graphical User Interface will open up to record the screen:
Default GNOME Shell Screen Recorder
The simplest way to record the screen without adding any external software is by using the GNOME shell screen recorder. It comes with the default GNOME shell package to record the screen with options to select the specific area of the screen, the entire screen, and the other windows. You can select the screen length, click the capture/Start button, and start the screen recording.
How to Install GNOME Shell on Linux?
Use the following command utilities to install the GNOME Shell in the below distributions:
For Ubuntu/Debian/Linux Mint:
GNOME shell in Ubuntu/Linux Mint/Debian is installed running the below-written command in the terminal:
$ sudo apt install gnome-shell-extensions
For Fedora:
In Fedora OS, install the GNOME Shell by executing the below command:
$ sudo dnf install gnome-shell-extensions
For Arch Linux:
GNOME desktop environment is installed in Arch Linux OS running this command:
$ sudo pacman -S gnome
To record the screen via GNOME shell screen recorder is to use the below shortcut keys:
Ctrl + alt + shift + R
After pressing the shortcut keys, a new window will open with multiple options, as shown below:
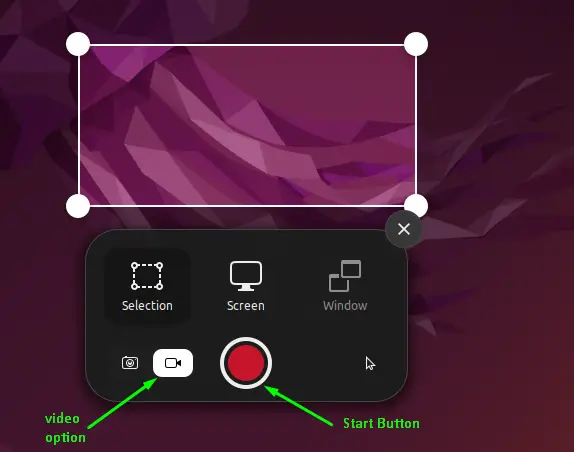
Note: Make sure the video option is checked.
The below window will open that shows the video time duration.
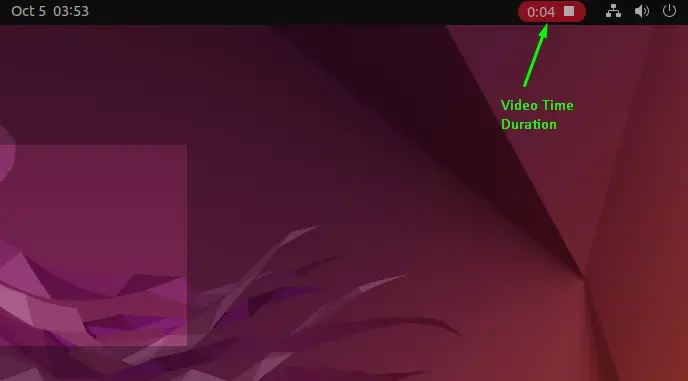
You can control the video time duration for the GNOME Shell video recorder. If you want to limit the video to 60 seconds, execute the below command:
$ gsettings set org.gnome.settings-daemon.plugins.media-keys max-screencast-length 60
You can change the length of the video to your desired time duration. To have no limit on the time duration for video, just replace 60 with “0” in the above command, which is also the default time duration.
Vokoscreen
Vokoscreen is an easy-to-use simple software with all the advanced features in Linux. It’s a powerful screen recorder with minimum GUI with the option to record video and audio (only) with a screen area and desktop panel.
The main features of the “Vokoscreen” screen recorder are the ability to record the entire desktop screen and a portion of the screen and set a time limit for screen recording. Moreover, it allows you to add delay time in videos, recording through webcam and supports different formats.
How to Install Vokoscreen on Linux?
To install the Vokoscreen in different Linux distributions, utilize the following commands.
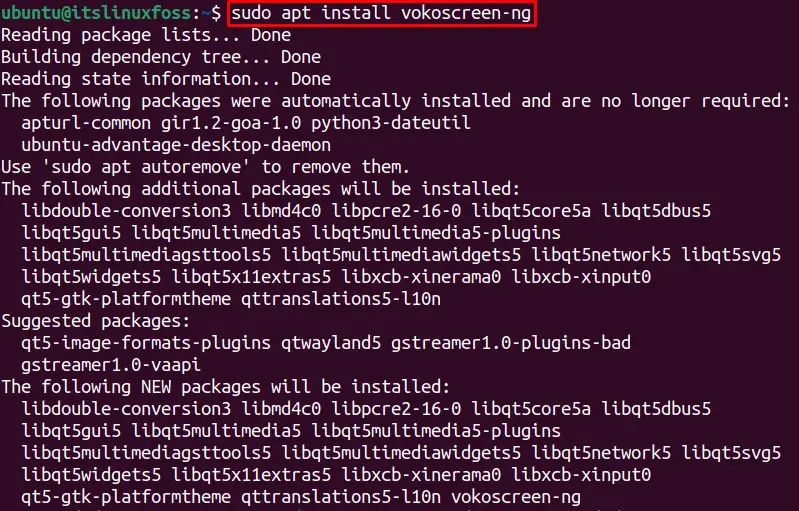
For Ubuntu/Debian/Linux Mint:
$ sudo apt install vokoscreen-ng
For Fedora:
$ sudo dnf install vokoscreenNG
For Arch Linux:
$ sudo pacman -S vokoscreen
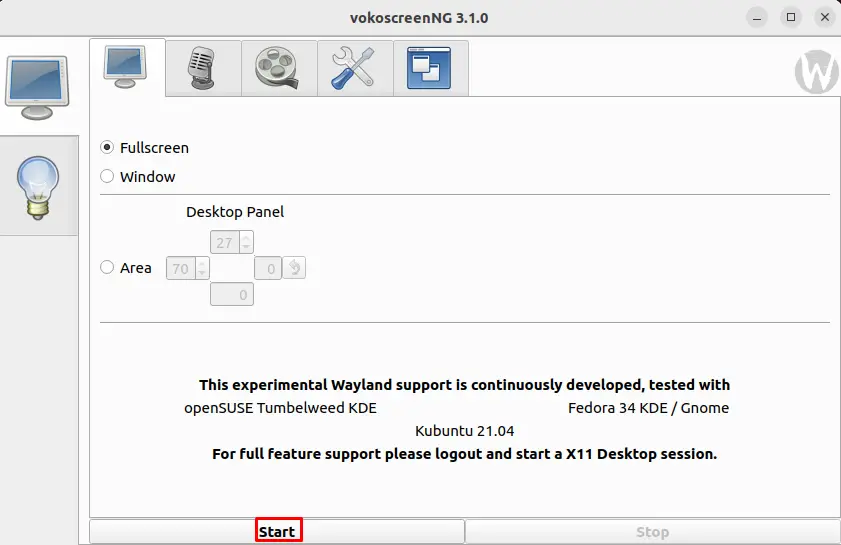
After installing the “Vokoscreen” software, the below GUI will enable you to record the screen.
Blue Recorder
The Blue recorder is simple, with many advanced features for screen recording. It is lightweight, has few buttons on the interface for recording, and supports multiple video extensions.
The main features of the blue recorder are a simple user interface, the option to stop recording through the system tray directly, and the audio interface can be changed easily. It provides video recording in multiple formats like MP4, AVI, GIF, MKV, and many more.
Bule recorder can be downloaded and installed from Flatapak or snap. While selecting the window using a blue recorder, the screen can show glitches.
How to Install a Blue Recorder on Linux?
To install a blue recorder, use the following command that will install it from the snap support:
$ sudo snap install blue-recorder
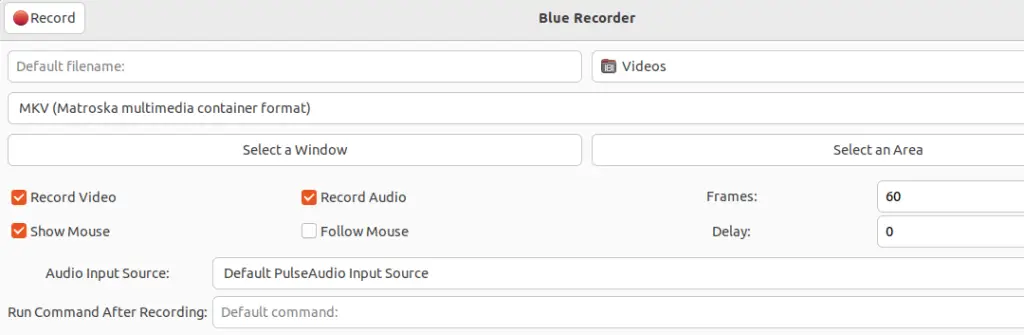
The interface for the “Blue Recorder” is provided below:
Open Broadcaster Software Studio (OBS Studio)
OBS Studio is a multi-purpose screen recorder with easy configuration. Its GUI displays several options, which allow the user to customize screen recording easily. It has scene transitions on the Graphical User Interface, which can be used with a single click.
Its main features include applying video filters and audio mixers for filtering. Moreover, The “OBS Studio” comes with a built-in live streaming tool that has several editing options with webcam support.
How to Install OBS Studio on Linux?
For installation of “OBS Studio”, execute the below commands:
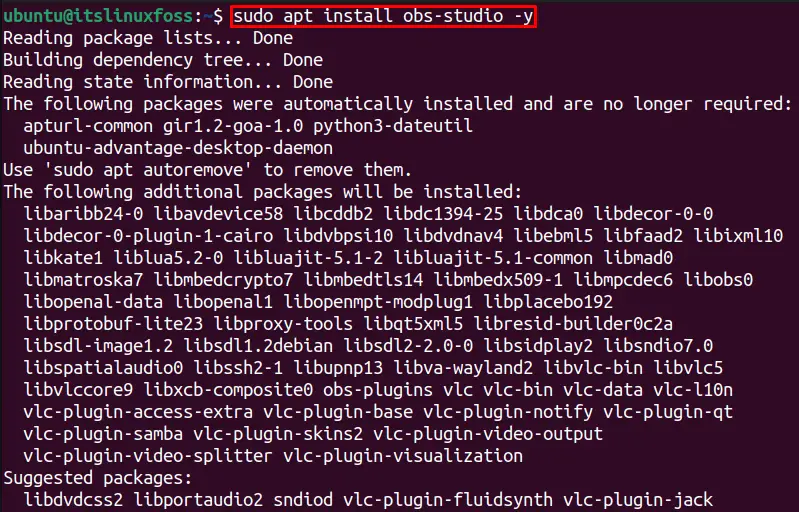
For Ubuntu/Debian/Linux Mint:
$ sudo apt install obs-studio -y
For Fedora:
$ sudo dnf install obs-studio
For Arch Linux:
$ sudo pacman -S obs-studio

RecordMyDesktop
RecordMyDesktop is a command-line app utility used for capturing the video of the screen. This recorder allows recording the screen by running a single command and provides video details on the terminal.
The main features of “RecordMyDesktop” are essential options for any type of user and allow one to record the screen for servers like ALSA, JACK audio servers, and many more. Moreover, with its easy-to-use navigation in software, the ability to be used through the terminal makes it helpful for the user. The only option missing is
How to Install RecordMyDesktop on Linux?
The installation procedure of the RecordMyDesktop screen recorder for Linux-based distributions is mentioned below:
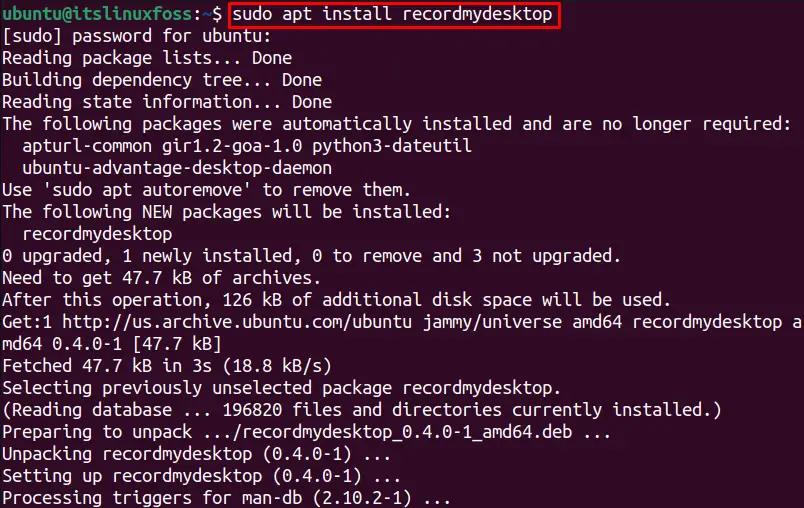
For Ubuntu/Debian/Linux Mint:
To install “recordmydesktop” execute the below-mentioned command:
$ sudo apt install recordmydesktop
For Fedora:
$ sudo yum install gtk-recordmydesktop
For Arch Linux:
$ sudo pacman -S recordmydesktop
To run the “recordmydesktop” screen recorder, run the below command in the terminal; it will start recording the screen.
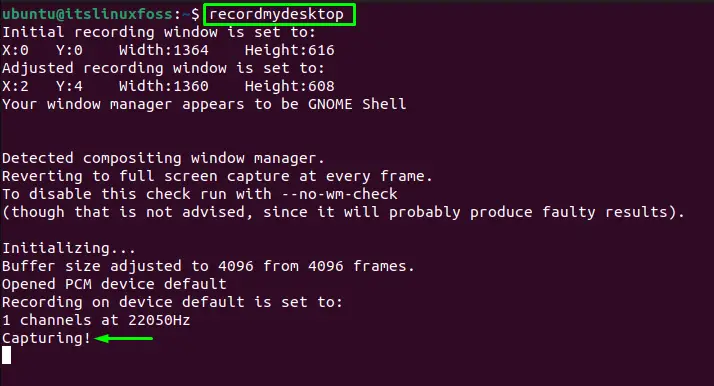
After recording the screen, press “Ctrl + C” to stop the recording, and the video will be saved in your system.
Byzanz
Byzanz is a command line utility screen recorder that records audio, mouse cursor movement, and animation duration for the videos. It has many built-in video recording options, which are super useful for Linux users.
Byzanz screen recorder’s main features include recording the screen for multiple displays and recording animated GIFs. It provides options for delaying the video, highlighting the recording, and setting the screen’s aspect ratio for capturing the screen. After Byzanz finished the screen recording, it saved the recording with multiple video extensions.
How to Install Byzanz on Linux?
The installation for Byzanz can be performed with the following commands:
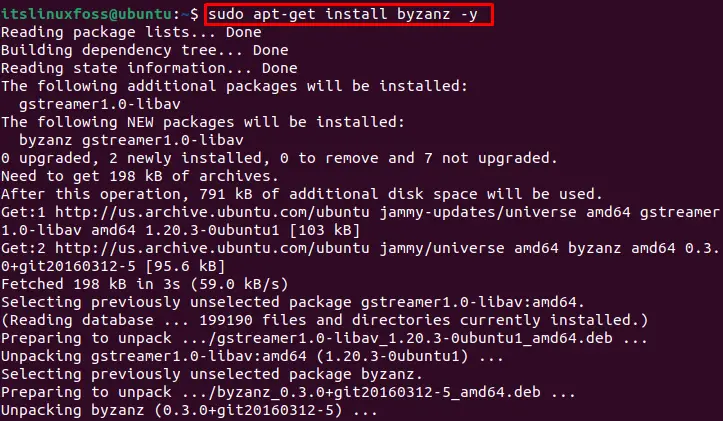
For Ubuntu/Debian/Linux Mint:
To install the “Byzanz” screen recorder, use the below-mentioned command:
$ sudo apt-get install byzanz -y
For Fedora:
$ sudo dnf -y install byzanz
For Arch Linux:
$ sudo pacman -S byzanz

Kooha
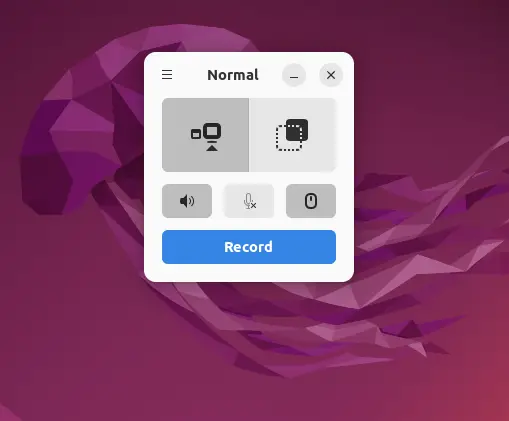
Kooha is easy-to-use with all the options shown on the GUI screen recorder. You can record the screen, and mouse movement and adjust the volume with a single click from the GUI.
The main feature of Kooha includes hardware acceleration and keyboard shortcuts for better working. It supports formats like GIF, MP4, MKV, and many more. Owing to an optimized and user-friendly interface, Kooha is a very easy-to-work tool, but it does not support a webcam.
How to Install Kooha on Linux?
The installation command for the Kooha screen recorder is written below:
For Ubuntu/Debian/Linux Mint:
For installing the Kooha screen recorder, run the below-mentioned commands:
Note: If flatpack is not already installed, you can run the command “$ sudo apt install flatpak” to install flatpak
$ flatpak remote-add --if-not-exists flathub https://flathub.org/repo/flathub.flatpakrepo
$ flatpak install flathub io.github.seadve.Kooha

For Arch Linux:
$ sudo pacman -S git base-devel
The interface of the Kooha recorder is shown below:
Conclusion
The 8 best screen recorders for Linux are kazam, Default GNOME Shell Screen Recorder, Vokoscreen, Blue Recorder, Open Broadcaster Software Studio (OBS Studio), RecordMyDesktop, Byzanz, and Kooha screen recorder. Each screen recorder is equipped with numerous features, which are described here. Moreover, the installation method of each screen recorder is also described for various Linux distributions.