“Checkbox” is used to attract the content of the document. The reason for creating a checkbox is to provide user-friendly, organized, and easily understandable content to the user. The usage of checklists or checkboxes is observed in resumes/CVs, research papers, and books. In Google Docs, the checkboxes can be created using the “Toolbar” or “Format” options. We can also insert checkboxes using the “keyboard shortcut key”.
This article will demonstrate different methods to create checkboxes in “Google Docs”.
The content of the article is shown below:
Let’s start with these methods.
Method 1: Using Toolbar
We can create checkboxes using the “toolbar menu” with the “bulleted list” option. Follow the steps below.
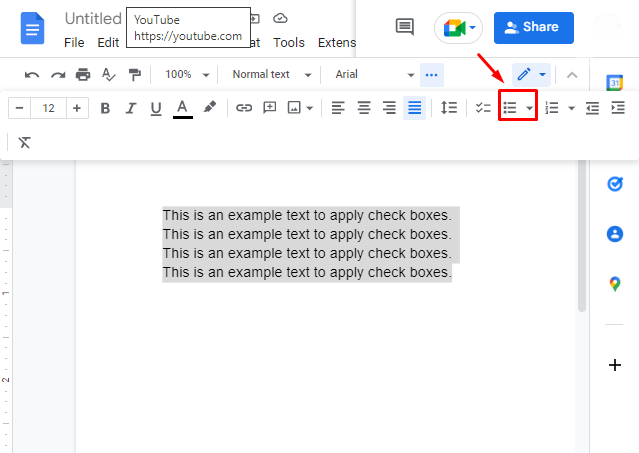
First, open your google document and select the lines on which you want to add checkboxes. After that, click on the “bulleted list” option:
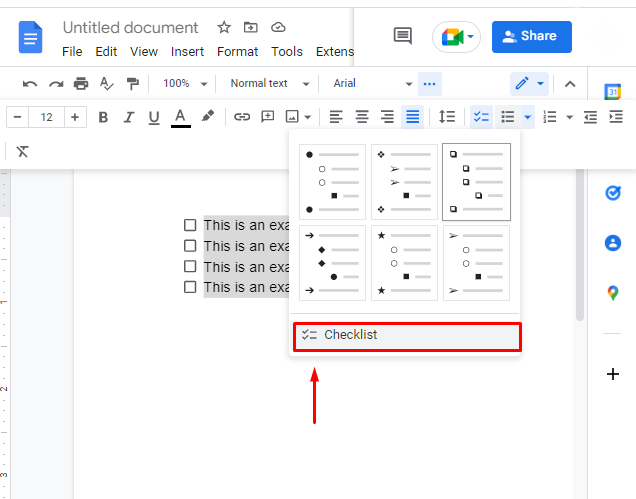
After clicking the option mentioned above, a dropdown will appear. Choose the “checklists” option from the list:
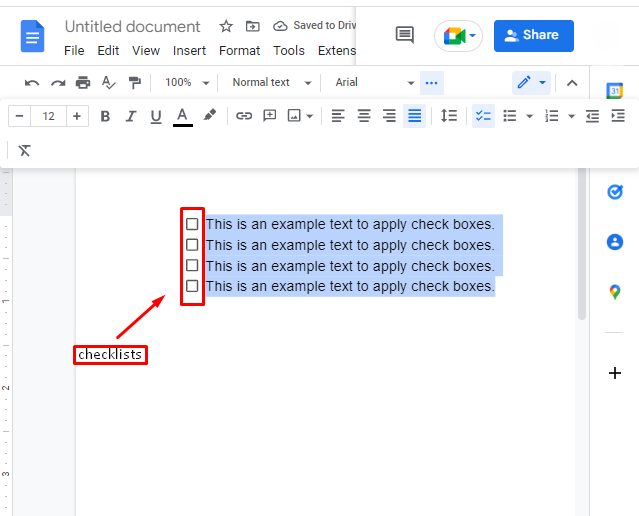
The selected lines will be marked with checkboxes as shown below:
Let’s explore the other method.
Method 2: Using Menubar
Another method to create the checkboxes is using the “Format” option on the “toolbar menu”. To do so, follow the below steps.
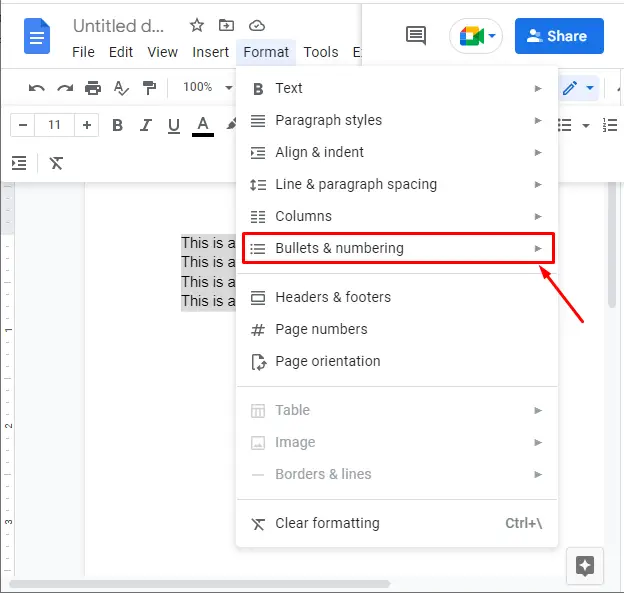
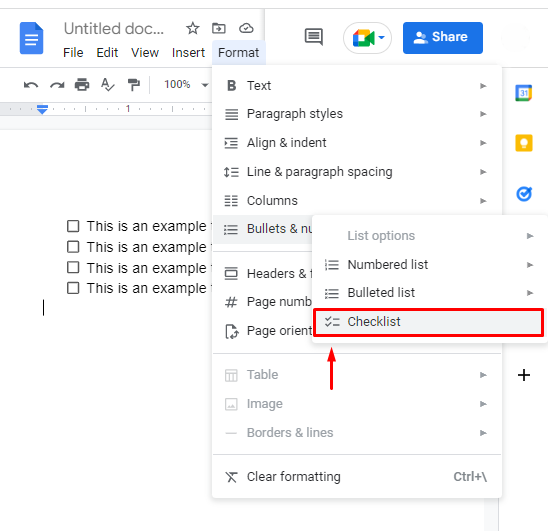
First, for which you want to add checkboxes, select the lines and click on the “Format” option. After that, choose the “Bullets & numbering” option:
Now, another dropdown list will be generated. Choose the option “Checklists”:
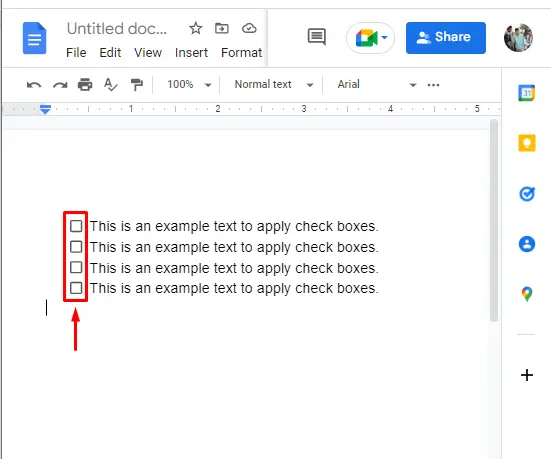
It can be seen that the checkboxes are applied on the selected lines.
Now, let’s see the third method.
Method 3: Using the Shortcut Key
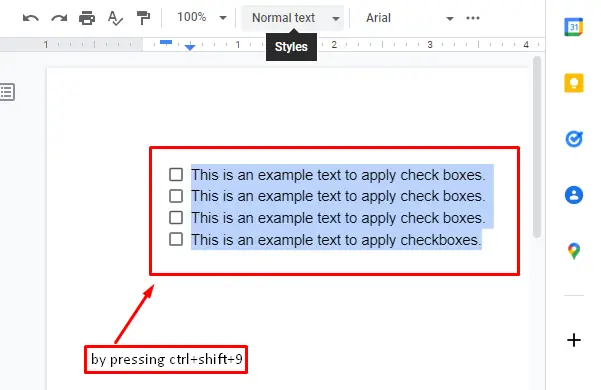
Another quick method to insert checkboxes in Google docs is using the shortcut key “CTRL+SHIFT+9”.
To do so, open the Google Docs file and select the lines to apply checkboxes. Now, press “CTRL+SHIFT+9” from your keyboard.
These are the methods to insert checkboxes if you use a web application. However, Google documents support is also available to manage documents on mobiles. Let’s explore how to add checkboxes using Mobile.
Bonus Tip: Insert Checkboxes on Mobile App
To create the checkboxes in the mobile app, just follow the below steps.
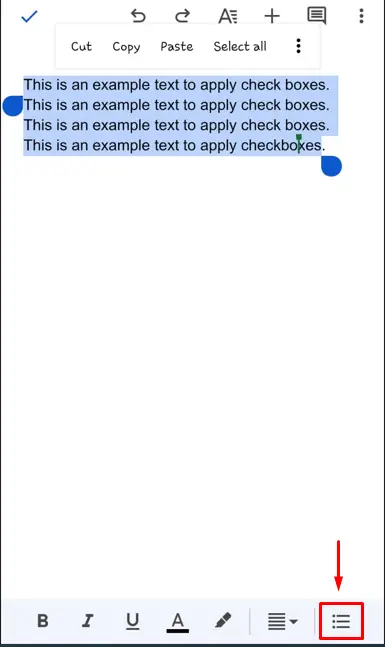
Open your “Google Docs” on your mobile and open the document:
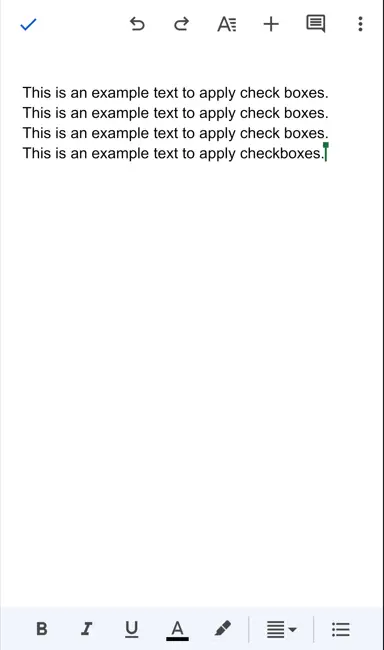
Now, select the content to apply checkboxes and click on the bullets option as described in the screenshot below:
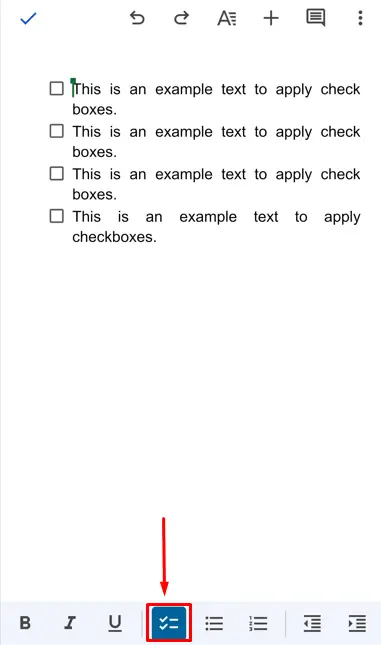
After clicking, the bar will scroll left, and there will be an option for a checklist just click on that, as mentioned in the screenshot below:
This is all from the Google Docs guide.
Conclusion
First, select the lines and add the checkboxes through the “Format” option (available on the menu bar) or from the “Bulleted options” (available on the toolbar). Moreover, the users can also use the shortcut key “CTRL+SHIFT+9”. This Google Docs guide has demonstrated all three methods to insert checkboxes in the document. Apart from that, the Google Docs mobile method is also illustrated here.
