In Google Docs. Wrap Text is a feature in Google Docs to arrange the text around the image. It shows the interaction of text with the inserted image. Keeping in view the importance of text wrapping, the objective of this guide is to illustrate the possible ways to wrap text in Google Docs. The outcomes of this post are as follows:
Let’s have a look at the first method.
How to Wrap Text in Google Docs?
Google Docs offers the “Wrap text” icon to help the user wrap the text around an image. The essential steps to wrap a text in Google Docs:
Step 1: Open Google Docs Document
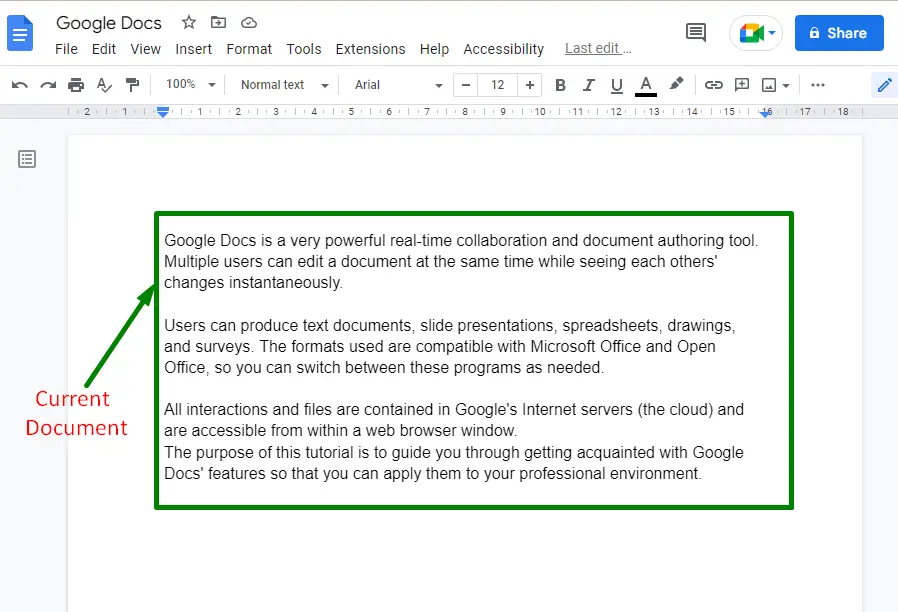
Firstly, open Google Docs on the local system. Select a new blank document and write some text:
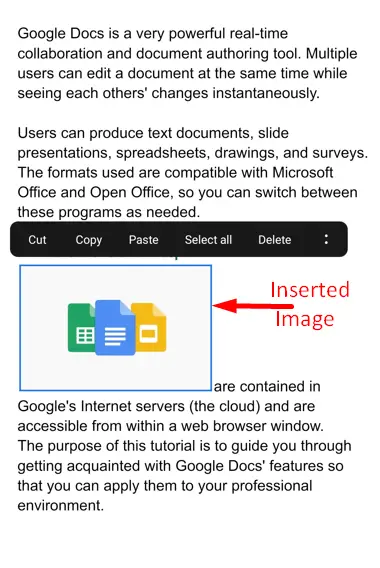
Step 2: Insert an Image
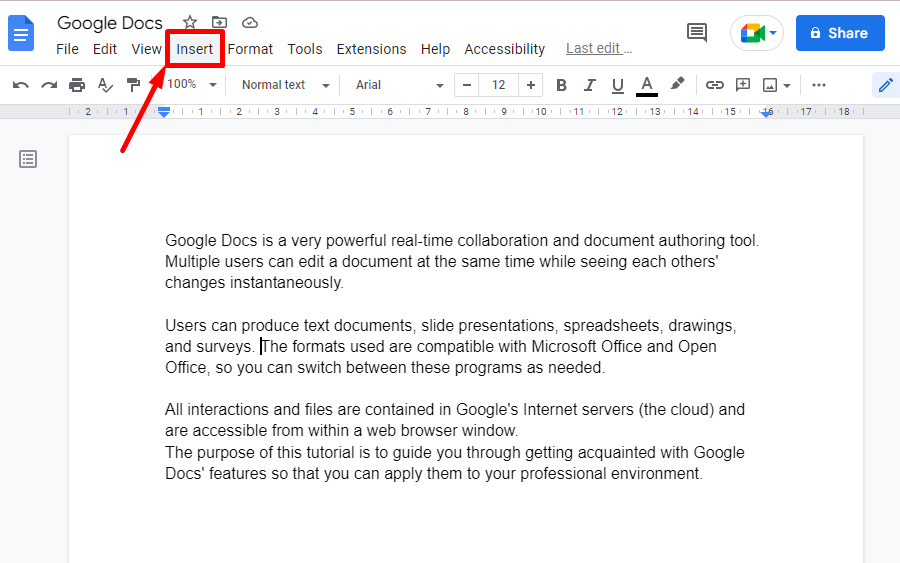
Now, place the mouse pointer where the image is to be inserted. It generates a drop-down list having numerous options:
Click on the “Image” option. A submenu will open, then choose “Upload from computer”:
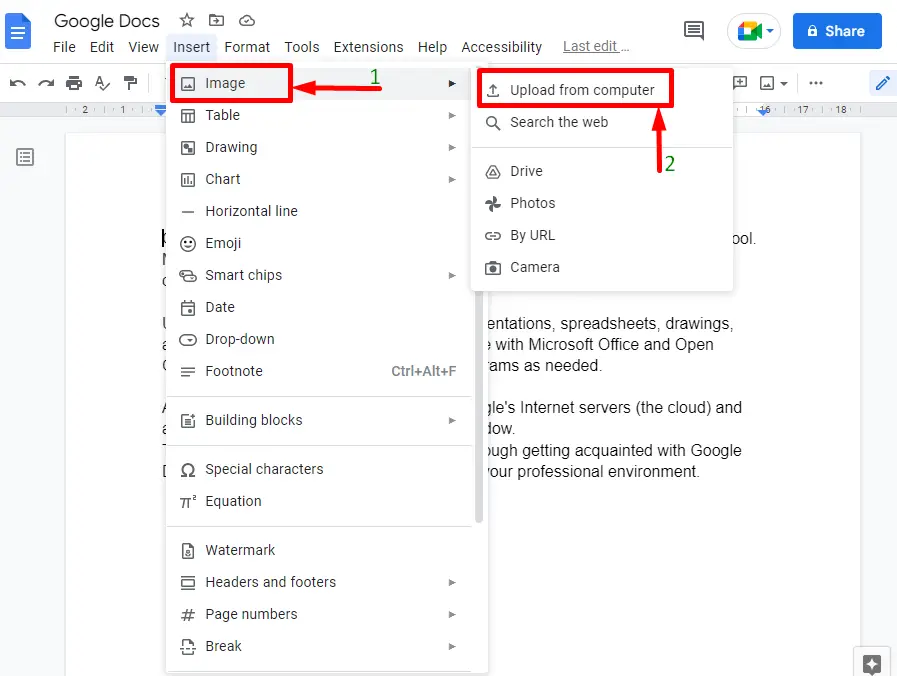
A “Google Docs” image is inserted. The user can either carry out the image from Drive or Photos or search the web where the required image is placed.
Step 3: Wrap the Text
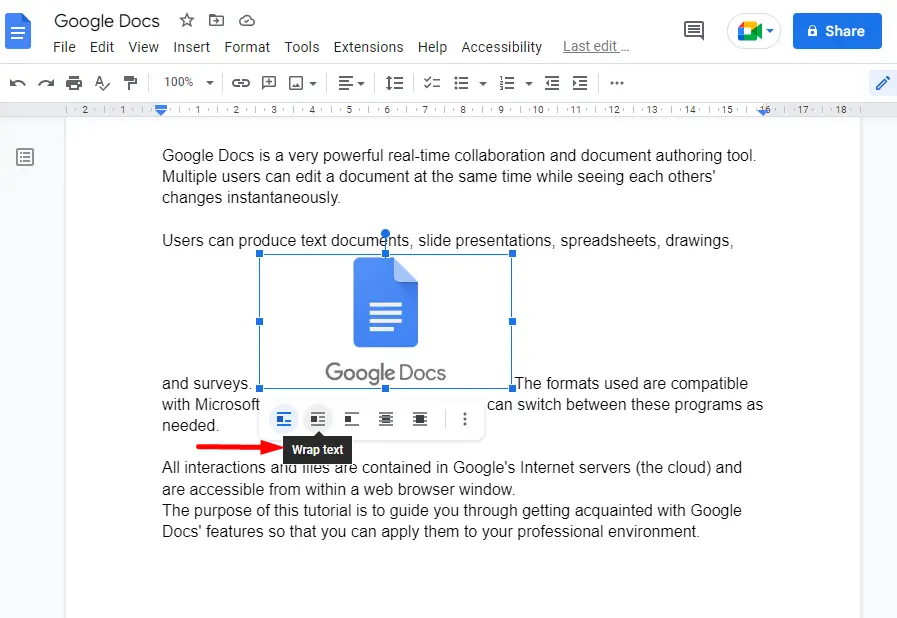
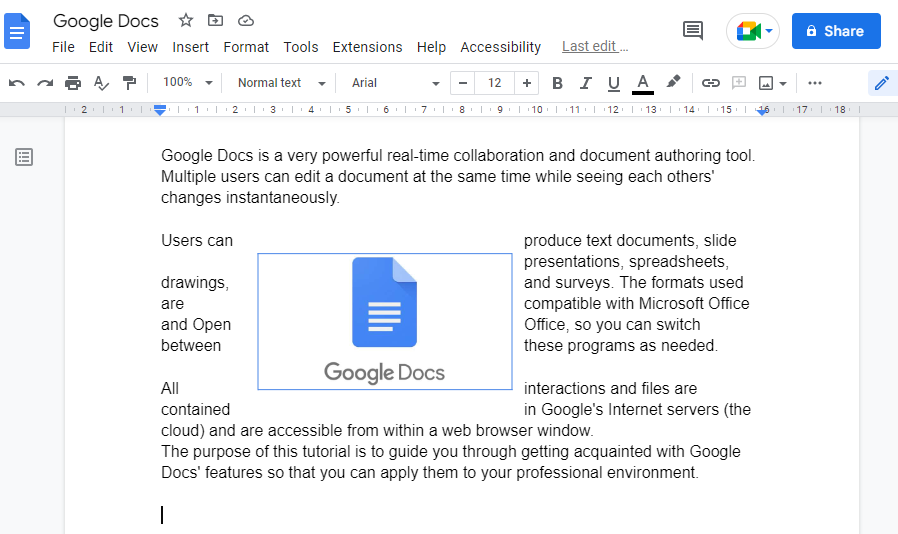
Next, click on the inserted image. A small menu bar will open below the inserted image of the current document. Press the “Wrap text ” icon to wrap the text around the image:
The written text is wrapped around the image now, as shown below:
Step 4: Adjust the Image Position (Optional)
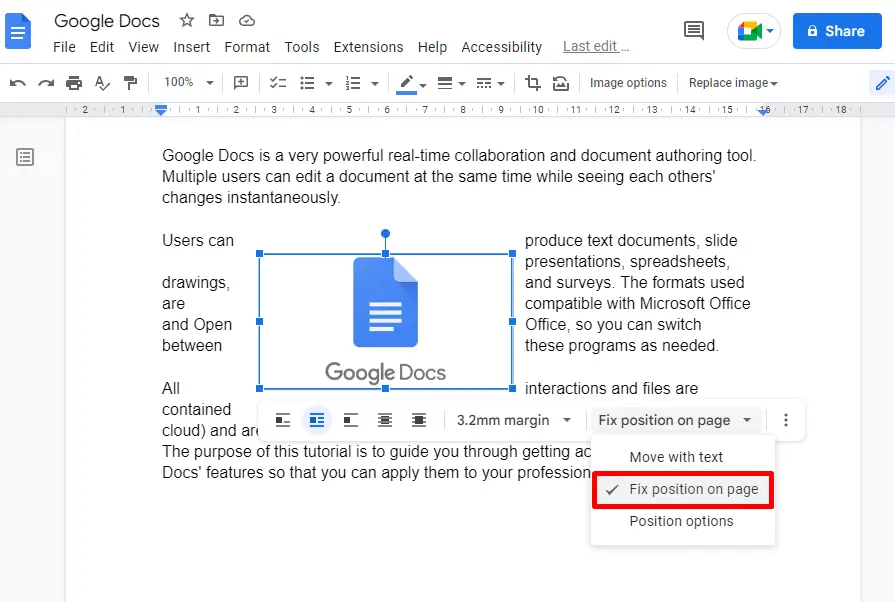
The position of the inserted image can also be changed. For this task, click on the “Position” option from the style menu bar of the image. A list having two options will pop up.
- Option 1: Fix the position on the page
- Option 2: Move with text
To fix the position, select the “Fix position on page” option on the existing page or to move with text, select “Move the text”.
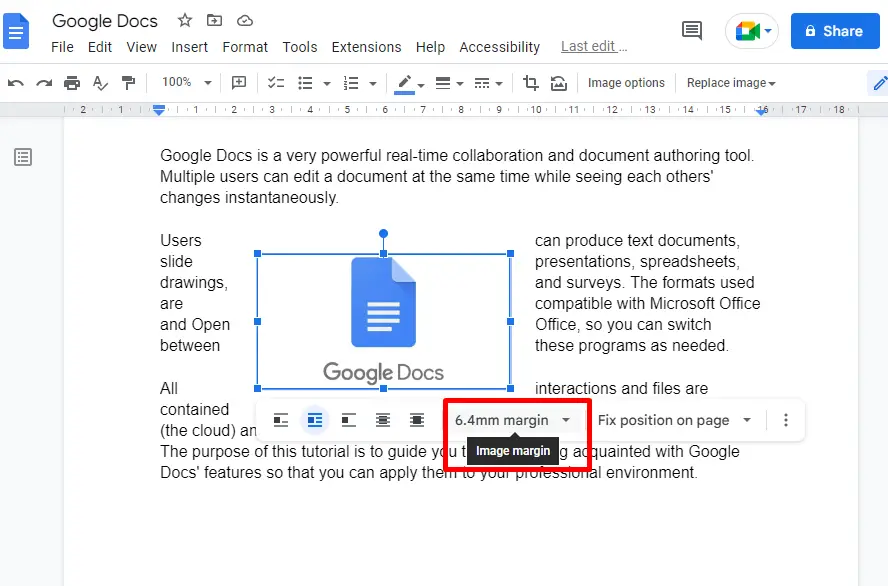
Step 5: Set the Image Margin (Optional)
The user can also change the margins of the image from the written text by selecting the “Image Margin” option from the menu bar of the inserted image. In the current situation, “6.4mm” is selected:
All the steps of method 1 are completed here.
How to Wrap Text in Google Docs Mobile App?
Google Docs mobile application also provides the “Wrap text” option to help its users for wrapping the text. The process comprises various steps that are explained below:
Step 1: Open Google Docs Mobile App
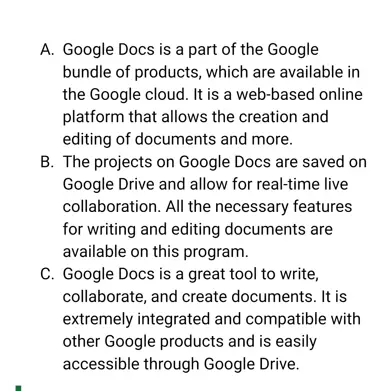
Open the “Google Docs” application on the mobile. Select a new or existing document. For this situation, an existing document is supposed to be selected:
Step 2: Insert an Image
Now, insert an image at the place of the cursor. The image is taken from the internal storage of the phone:
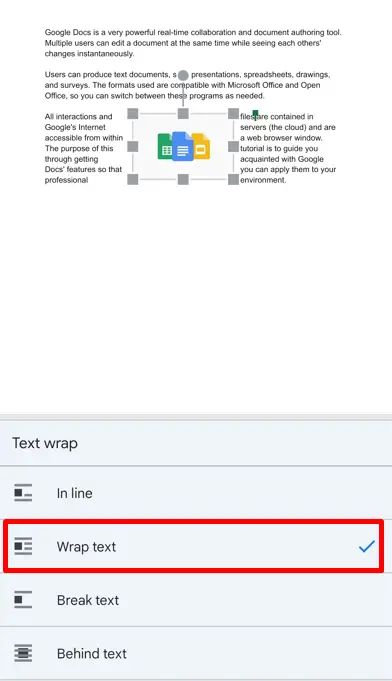
Step 3: Wrap the Text
Select the “Wrap text” option from the menu bar by clicking on the inserted image:
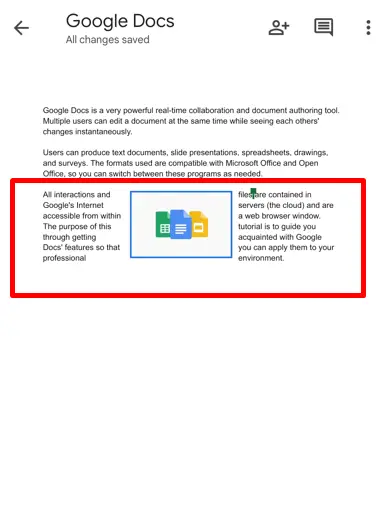
The user can also change the position and margins of the image (existing) by using the “Margin” and “Position” options. The wrapped text around the current image is shown below:
That’s all from this guide!
Conclusion
Google Docs allows users to wrap text by following two methods: Using the “Wrap text” icon in Google Docs and Using the “Wrap text” option in Google Docs mobile application. The user can change the image and text settings options from the set of options. This post has demonstrated all the possible methods to wrap text in Google Docs.
