In Google Docs, the AutoCorrect option is used to correct the spelling and grammar mistakes in the document. Users can replace or ignore the suggestions given by the AutoCorrect option. By default, these options are enabled in Google Docs. However, its settings or usage can be customized as per the requirement. In this Google Docs post, we will demonstrate the possible methods to use AutoCorrect in Google Docs.
The content covered in this post is as follows:
- Method 1: Using Spelling and Grammar
- Method 2: Using Preferences
- Bonus Tip: How to Use AutoCorrect on Google Docs Mobile App?
Let’s start with this guide.
Method 1: Using Spelling and Grammar
The first method to use AutoCorrect in Google docs is the ”Spelling and Grammar” option available in the “Tools” tab of the Menu Bar. The below steps are performed to do it practically:
Step 1: Open the Document
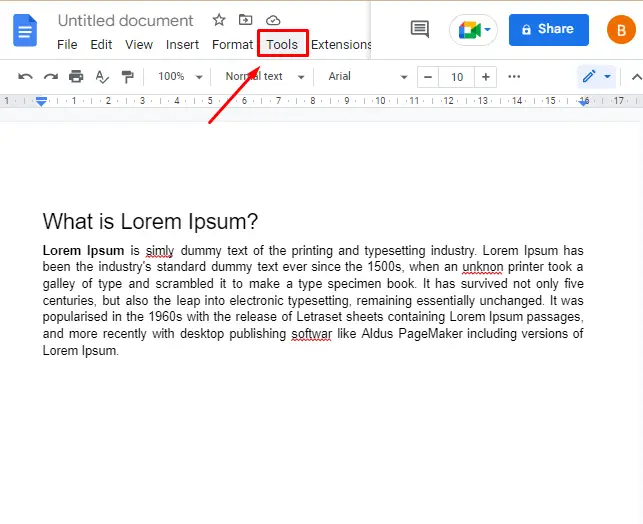
Open the existing document (or you may use it in the blank document) and click on the “Tools” option of the MenuBar:
Step 2: Click on “Spelling and Grammar Check”
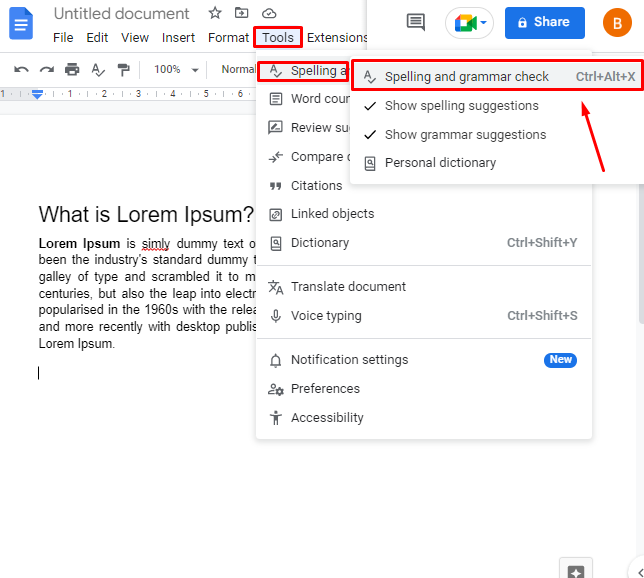
Place the cursor on “Spelling and grammar” and click on the “Spelling and grammar check” option from the drop-down:
Step 3: Accept or Ignore the Suggestions/Corrections
A pop-up will appear in front of the user, and the suggestions can either be accepted or ignored by clicking on the “Accept” or “Ignore” option. The process can be seen below “GIF” where the suggestions are being accepted. Once all the suggestions are accepted, a pop-up message will appear “Documents look good”:
Note: The AutoCorrect option can be invoked by pressing the shortcut key “Ctrl+Alt+X”.
Method 2: Using Preferences Option
Another method to use the AutoCorrect option is the “Preferences” option which is also available in the “Tools” tab of the MenuBar. From the preferences setting, the user can check or uncheck the checkboxes for a different setting to use AutoCorrect. Let’s practice this method using the following steps:
Step 1: Open the Document
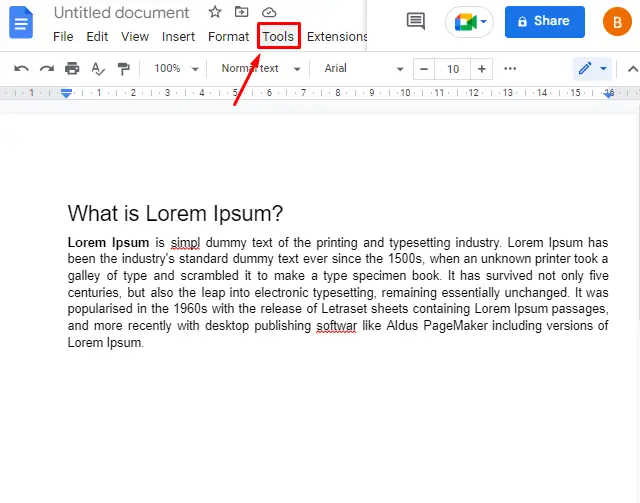
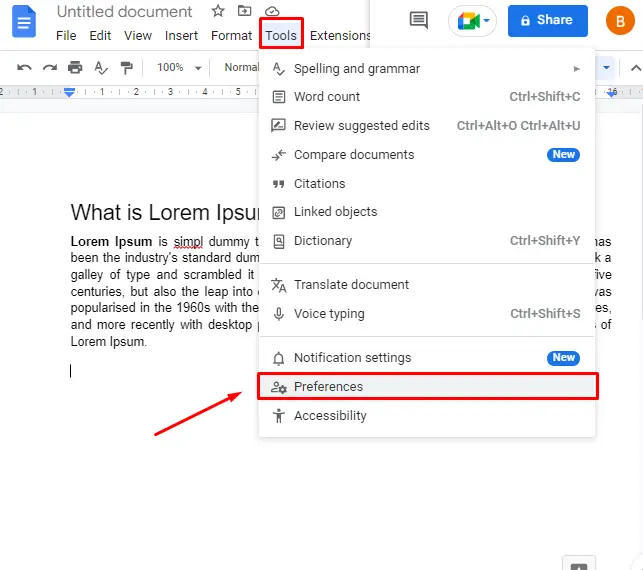
Open the existing document and click on the “Tools” option of the MenuBar:
Step 2: Open Preferences
Now, click on “Preferences” from the drop-down:
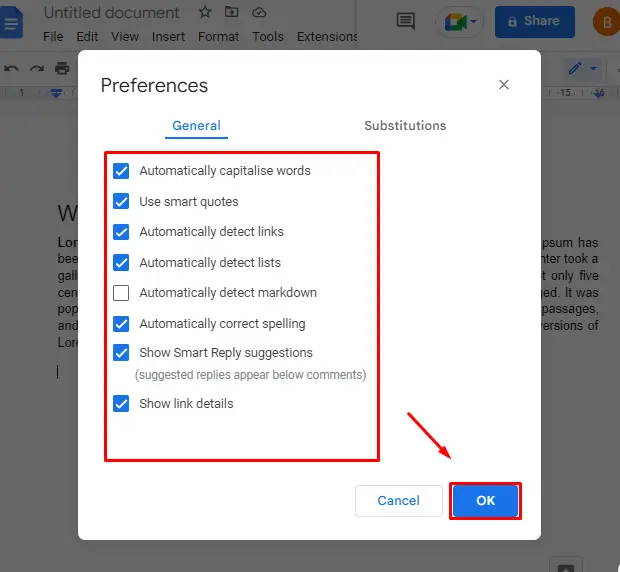
A dialog box will appear in front of the user; make sure that the following checkboxes are marked, then press “OK”:
Step 3: Check Words For AutoCorrect
The next step is to right-click on the words which have blue or red lines, then click on the suggested words as appear in the pop-up. For clearer demonstration, a “GIF” is captured as shown below:
These are the methods for the desktop version of Google Docs.
Bonus Tip: How to Use AutoCorrect on Google Docs Mobile App?
Google Docs support for Mobile Apps is also available, and AutoCorrect can be used on the Mobile App as well. Let’s discuss the AutoCorrect method for the mobile app:
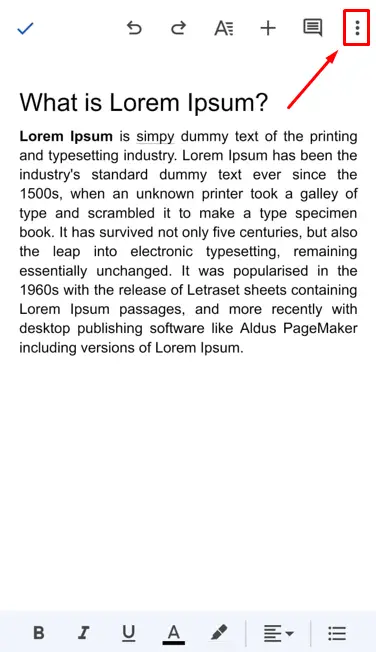
Step 1: Open the Document
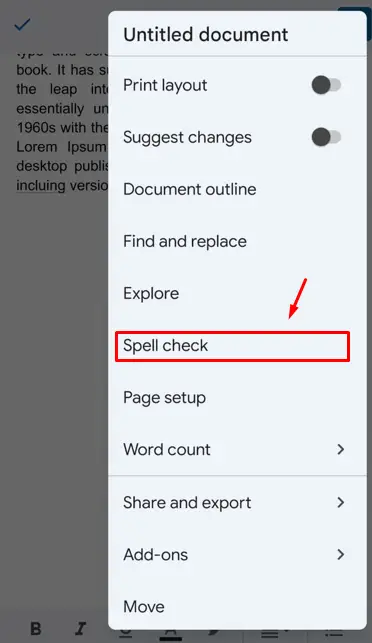
The first step is to open the document and click on the 3 dots available on the top bar:
Step 2: Open Spell Check
Now, click on the “spell check” option from the drop-down :
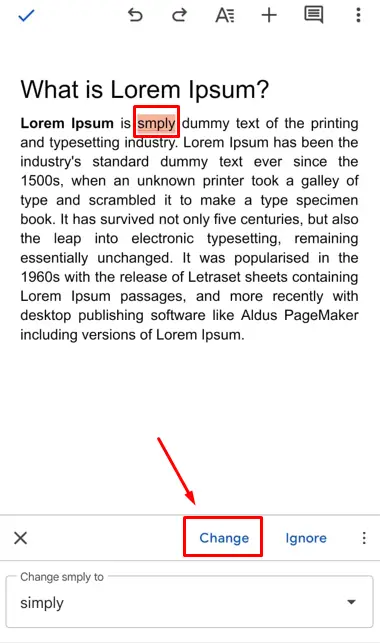
Step 3: Correct the Words
A pop-up will appear from the bottom of the screen by clicking on “Spell check” and click on “Change” to apply autocorrect :
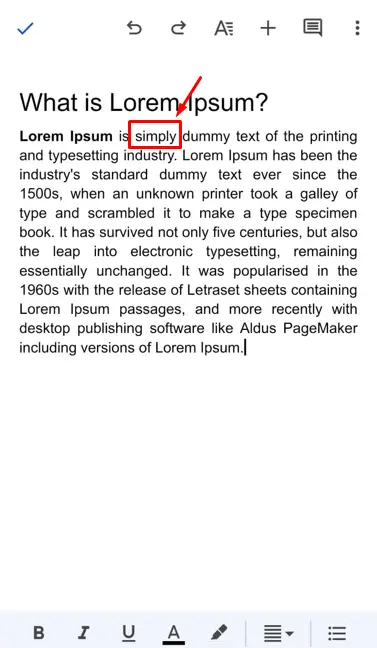
Step 4: Verify the Results
The correction of text will be applied to the word as shown in the below image:
That’s it from this guide.
Conclusion
In Google Docs, AutoCorrect is used by clicking on the “Spelling and grammar check” or by using the “Preferences” setting from the “Tools” option of the MenuBar. In this article, two methods to use AutoCorrect have been demonstrated with a step-by-step guide. Apart from that, the mobile method to use AutoCorrrect is also explained in this post.
