
In Python, the “matplotlib” library is used for the data visualization process, graphical plotting, data analysis, etc. To access this library, it must be imported at the start of the Python program; if not, the error “ModuleNotFoundError” is invoked in the program.
This write-up provides a reason and solution regarding the “no module named matplotlib” error in Python. The following aspects are discussed in this Python blog post:
- Reason: matplotlib is not Installed in Python
- Solution 1: Install matplotlib in Python (Windows)
- Solution 2: Install matplotlib in Python (Linux)
- Example: How to Create a Uniform Graph Using matplotlib in Python?
Reason: matplotlib is not Installed in Python
The “ModuleNotFoundError: No module named matplotlib” occurs in Python when the user tries to import the “matplotlib” library without installing it in the system. The “No module named matplotlib” also occurs when we install the library in an incorrect environment. The error will look like this:
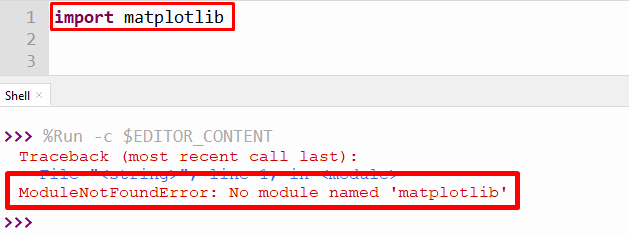
The above snippet shows that the module “matplotlib” was not installed in our system.
Solution 1: Install matplotlib in Python (Windows)
To resolve this error, install the “matplotlib” module by following the given below steps in Python:
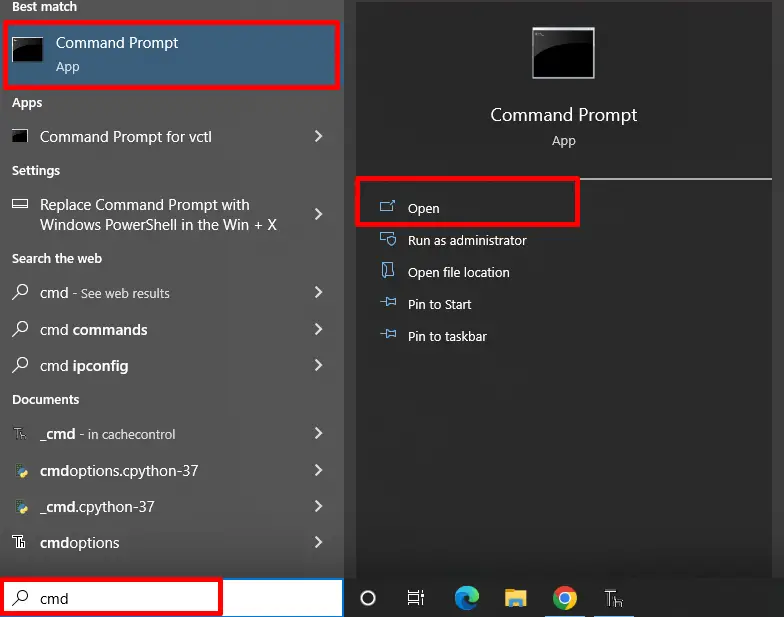
Step 1: Open Command Prompt Terminal (CMD)
To open the cmd, go to the start menu and search for the command prompt:
Step 2: Install matplotlib Using pip
Now, after opening the command prompt terminal, the next step is to install “matplotlib” using the pip command. To install “matplotlib”, type the given below command in cmd:
> pip install matplotlib
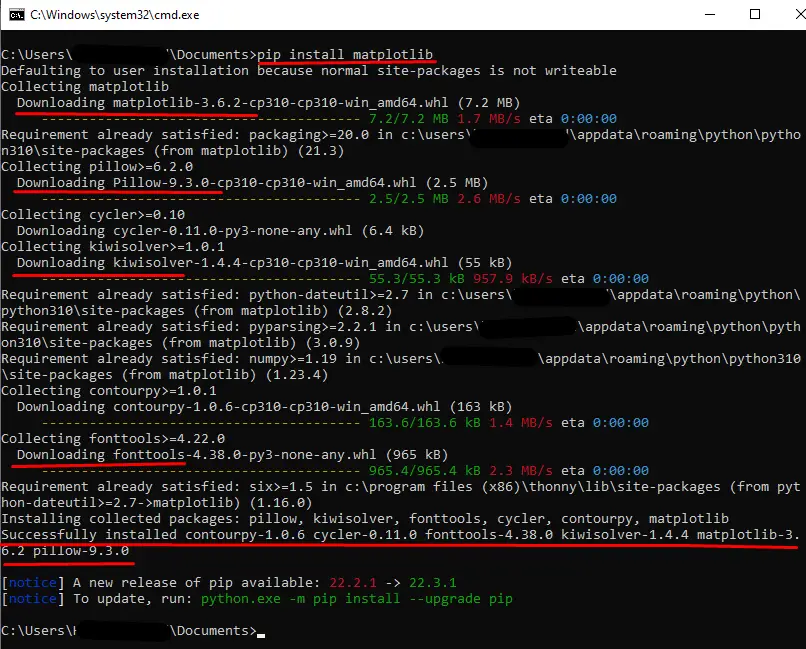
The above snippet shows that after typing the command “pip install matplotlib”, the system downloads all its resources, including other modules required to work along with “matplotlib”.
Note: If you get a permission error while installing this “matplotlib” module, then type the following command in the cmd terminal:
> pip install matplotlib --user
To install “matplotlib” for Anaconda and Jupyter Notebook, type the following command in their respective terminal:
# Install matplotlib for Anaconda
conda install -c conda-forge matplotlib

# Install matplotlib for Jupyter Notebook
!pip install matplotlib
Solution 2: Install matplotlib in Python (Linux)
To install “matplotlib” in Linux type the given below commands in the terminal according to your respective Linux distributors:
# for Debian/Ubuntu
$ sudo apt install python3-matplotlib

# for Arch
$ sudo pacman -S python-matplotlib
# for Fedora
$ sudo dnf install python3-matplotlib

# for RedHat
$ sudo yum install python3-matplotlib
Verification of matplotlib Module
After installing the “matplotlib” module now we can check whether our module successfully installed or not. To check the version and other details regarding the “matplotlib” module, type the following command:
> pip show matplotlib
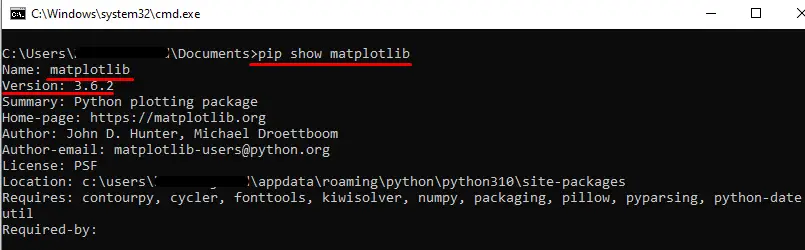
The above snippet shows the “matplotlib” version and all other details like path location requires modules, etc.
Example: How to Create a Uniform Graph Using matplotlib in Python?
In the example given below, the “matplotlib” module is used to create a uniform graph:
Code:
import matplotlib.pyplot as graph

x_axis = [5,10,15]
y_axis = [5,10,15]

graph.plot(x_axis, y_axis)

graph.xlabel('x - axis')

graph.ylabel('y - axis')

graph.title('Graph: Uniform Constant ')
graph.show()
In the above code, the “matplotlib” module is imported as a graph. The “x” and “y” axis numeric values are plotted on a graph using the “plot()” function. To label the “x” axis and “y” axis, the “xlabel()” and “ylabel()” functions are used in the above program.
Output:
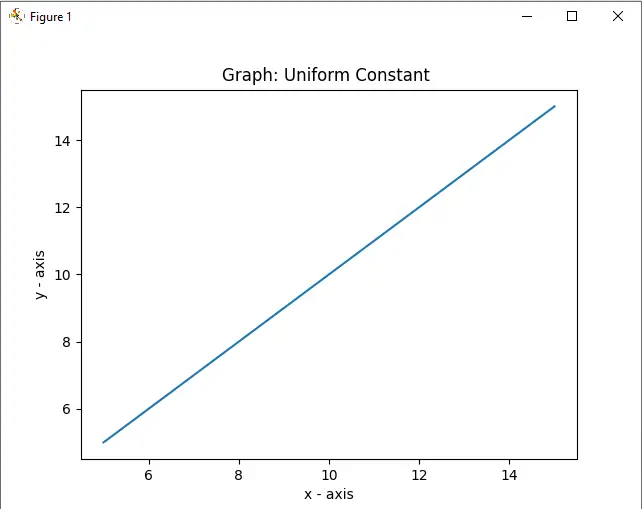
The above output shows a uniform plot generated using the “matplotlib” module.
Conclusion
The “ModuleNotFoundError: no module named matplotlib” occurs in Python when a user tries to import the “matplotlib” module without installing it to a system. To resolve this error, the “matplotlib” module is installed in Python using the simple “pip” command “pip install matplotlib” in Windows. Moreover, the solution for various Linux distributions is also presented. This article has presented a detailed guide on various reasons and solutions for the “no module named matplotlib” error in Python.