Modprobe is a command-line utility that helps users add or remove kernel modules without rebooting the system. There are two kernel modules: built-in and laudable, but only the laudable ones can be added or removed.
These modules are stored in the “/lib/modules/<kernel version>” directory, which a user with administrative or root privileges can only access.
This article will cover everything related to the modprobe command in Linux, including adding or removing kernel modules using the following content:
- What is the modprobe Command in Linux?
- How to Use the modprobe Command in Linux?
- Adding Maodules
- Removing a Module
- Resolving Alias
- Blacklisting a Module
- Resolving Errors or Forced Installation
Let’s discuss the above topics starting with the modprobe command in Linux.
What is the modprobe Command in Linux?
The core functionality of the modprobe is dependent on its syntax, which is illustrated below.
Syntax:
To use the modprobe command, the following syntax should be followed.
$ sudo modprobe <options> <module name>
As the operation is associated with the kernel modules. Thus a sudo user is allowed to execute it.
The working of the modprobe command depends on the options listed below.
| –force-modversion | Ignore the module version on insertion or removal of the module. |
| –show-modversions | To see module version dependencies. |
| -D | Lists the modules along with their dependency files. |
| -n | Shows the output without executing insertion or removal options. |
| -s or –syslog | To get a more detailed error message using Syslog. |
| -q | To mute error messages. |
| -v | Unmutes the error messages and allows the user to see a more detailed message. |
| -d | It uses the kernel version instead of a specified kernel. |
| -c or –showconfig | Exits the wizard after displaying the current configuration. |
| -h | Displays a list of commands and their use. |
| -v | To check the current version of modprobe. |
How to Use the modprobe Command in Linux?
The modprobe management options allow the users to handle the installation or removal of modules, including the following.
Example 1: Adding Modules
This option allows the users to work with multiple modules in terms of insertion or removal, and the syntax of using this command is:
$ sudo modprobe <options> -a <first module name> <second module name>
And now, we’d add two modules named ‘soundcore’ and ‘hideep’ using his command.
$ sudo modprobe -a soundcore hideep
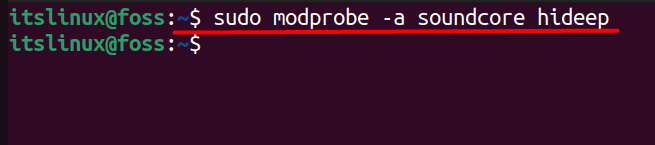
You can replace the module names mentioned above with any module you want to add, and they will be automatically loaded into the Linux Kernel.
Example 2: Removing a Module
Using the ‘-r’ option, you can remove the laudable module from the Linux kernel, and the syntax is as follows:
$ sudo modprobe -r <Module Name>
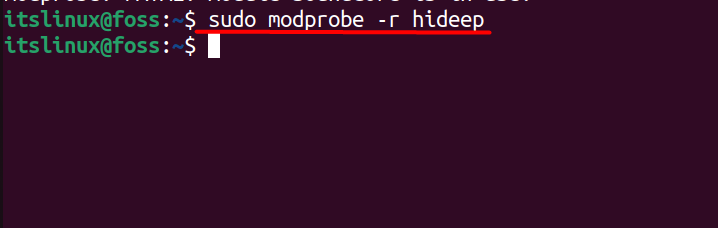
For example, we are to remove the module called hideep, which can be done using this modprobe command.
$ sudo modprobe -r hideep
Example 3: Resolving Alias
Using the ‘-R’ option, users can look up all the matching alias of any module name, as seen below:
$ sudo modprobe -R <module name>
Now, we’d see if we have a module called ‘img_i2s_in’ that exists or not using this modprobe command with ‘-R’.
$ sudo modprobe -R img_i2s_in

And we’d see a simple output that only includes the module’s name, as seen above, but we’d see this error if there’s no matching.

Example 4: Blacklisting a Module
The -b or -use-blacklist option of modprobe allows the user to blacklist modules which prevents the automatic loading of modules into the kernel. It can be used like the syntax below:
$ sudo modprobe -b <module name>
For example, we’d blacklist a module called ‘img_i2s_in’, so we’d use this modprobe command with the flag ‘b’.
$ sudo modprobe -b img_i2s_is

The module’s name is to be replaced with the module you want to blacklist, but the syntax should remain the same. This option is useful where you want to use a better module, and blacklisting prevents the automated loading of the module.
Example 5: Resolving Errors or Forced Installation
-f or -force option removes errors related to versions while inserting or removing the kernel module. Users can use it in the following way:
$ sudo modprobe -f <Module-Name>
For example, while adding the module called ‘soundcore’, there could be a version issue that would prevent the terminal from adding it, so we’d use this modprobe command with the flag ‘-f’.
$ sudo modprobe -f soundcore

The name ‘soundcore’ is to be replaced with any other module adding which you’re facing version issues that would be impossible to insert or remove.
That’s all from the working/usage of the modprobe command in Linux.
Conclusion
The Linux kernel is modular, making it easy for users to add modules; to do that, we have the “modprobe command,” which allows users to add or remove the laudable modules without rebooting the system. This article has demonstrated the working and usage of the modprobe command in Linux with its practical implementation through the examples.