
The APT package manager supports a secure environment with the combination of a public-private key pair. Ubuntu authenticates the downloaded packages for third-party sources using these keys and allows the specified package, whether installed or not.
While dealing with these packages, an error “the following signatures couldn’t be verified because the public key is not available” is displayed in the terminal.
This article aims to explain multiple solutions to handle the above-stated error. The supported content of this guideline is as follows:
- Reason 1: Public Key is Missing
- Solution: Import Public Keys
- Reason 2: Added Public Key is Expired
- Solution: ReImport the Updated Key
Let’s practice the reasons and solutions for the error.
Reason 1: Public Key is Missing
After adding the new package from the third-party source, the error arises when updating the system repository. The system is unable to verify the key. Therefore, the system does not allow the installation of packages from other sources.
Solution: Import Public Keys
The easiest solution is to import the public key into the system. While importing the public key, users must ensure the “root” privileges via the “sudo” command. The below script will import the public key:
$ sudo apt-key adv --keyserver keyserver.ubuntu.com --recv-keys 7721F63BD38B4796
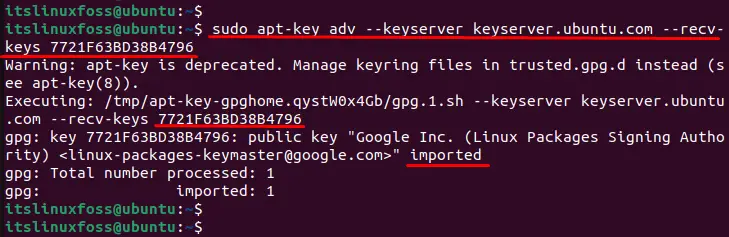
The output shows that the “7721F63BD38B4796” key has been successfully imported into the system.
Reason 2: Added Public Key is Expired
Another reason that comes across is when the public key has expired. Therefore, the error message is displayed on the screen. To check out the list of existing public keys that are stored in the system, run the below script:
$ apt-key list
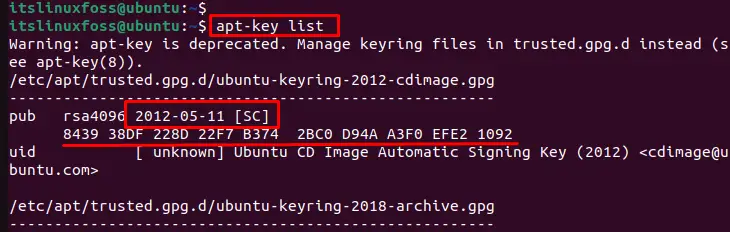
The output shows that the public key has expired.
Solution: ReImport the Updated Key
If the key is expired, then you need to remove that key and add the updated one. The step-by-step procedure is mentioned below:
Step 1: Remove Expiry Key
To remove the expiry key, the “del” option is utilized with “sudo” permission by specifying the expiry key:
$ sudo apt-key del "8439 38DF 228D 22F7 B374 2BC0 D94A A3F0 EFE2 1092"

The output returns the “OK” message that successfully deletes the particular key.
Step 2: Import the New Key
After successfully deleting the expired key, you can import the new key from the source “https://keyserver.ubuntu.com/”. To import the public key into the system, follow the below script:
$ sudo apt-key adv --keyserver keyserver.ubuntu.com --recv-keys 7721F63BD38B4796

The output shows that the “7721F63BD38B4796” key has been successfully imported into the system.
Verify Expiry Date of Public Key
To check the expiry date of the inserted public key, the “list” utility is used to display the information regarding public keys:
$ apt-key list
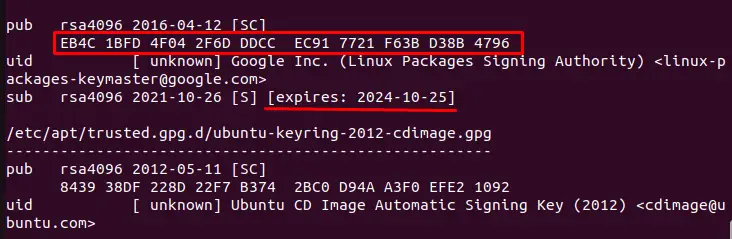
The output shows that the added public key will expire on “2024-10-25”.
This post has listed possible reasons and solutions to fix the error.
Conclusion
The error “the following signatures couldn’t be verified because the public key is not available” comes across when the system does not identify the public key or the public key is expired. It can be resolved by importing the public key and visualizing it through the “apt-key list” command. This guide has explained the possible solution to encountering the error.
