
When Ubuntu is installed on the computer along with the Windows Boot Manager, the grub is set by default, and it will boot Ubuntu. We can change the boot order of the Grub and make Windows boot by default.
In this blog, we will explore how we can change the Grub Boot order to make Windows boot by default the blog’s content is:
- Prerequisites: Install Ubuntu With Windows Boot Manager
- Method 1: Making Changes in the Grub Configuration file
- Method 2: Installing the grub-customizer
Let’s start the blog after ensuring that the Linux distribution has been installed along with the Windows Boot Manager.
Prerequisites: Install Ubuntu With Windows Boot Manager
Before proceeding to the blog, ensure Ubuntu has been installed on the computer with the “Install Ubuntu along with Windows Boot Manager” option during the installation. If it is not, then you can install it by following the link mentioned.
Method 1: Making Changes in the Grub Configuration file
To change the boot order of the Grub, we will open the grub file located at /etc/default/grub. To make the changes such that Windows boots by default, follow the steps explained.
Step 1: Open the Grub Configuration File
The configuration file can be opened by using any text editor, but it is recommended to use the nano text editor because it comes pre-installed on Ubuntu:
$ sudo nano /etc/default/grub

Step 2: Find GRUB_DEFAULT in the File
Next step is to find the line “GRUB_DEFAULT” in the file because it defines the operating system which has to boot first:
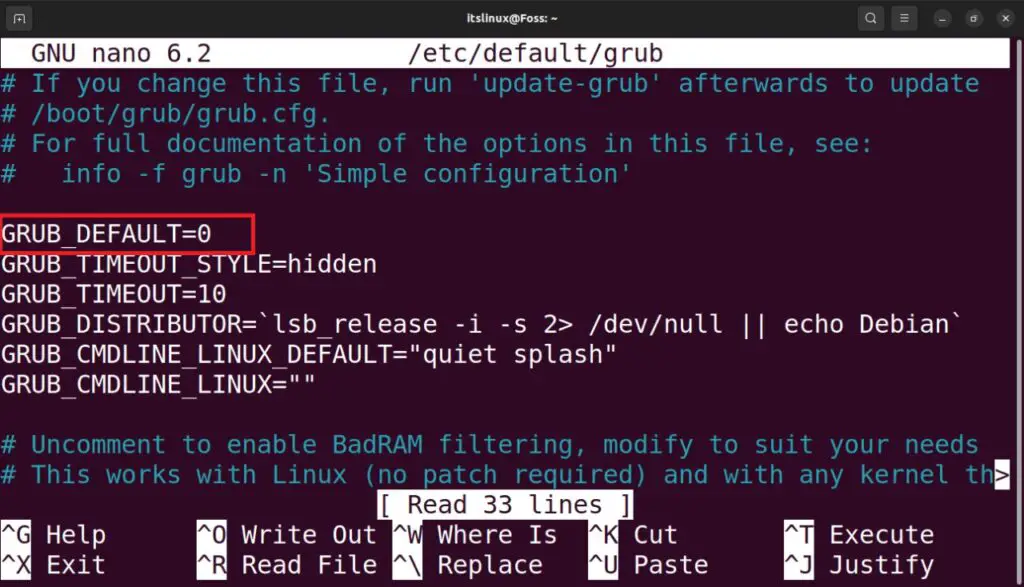
When the line is found, we see that the value 0 has been assigned. At the start of the blog, we can see that we have three options, Ubuntu, Advanced Option for Ubuntu, and Windows Boot, Manager. These three options are denoted by 0, 1, and 2, respectively.
Step 3: Change the Value of GRUB_DEFAULT
In order we want to make the Windows Boot Manager to be boot by default, we have to assign its value “2” to the GRUB_DEFAULT:

Save the file with the shortcut key CTRL+S and exit the text editor using the CTRL+X shortcut key.
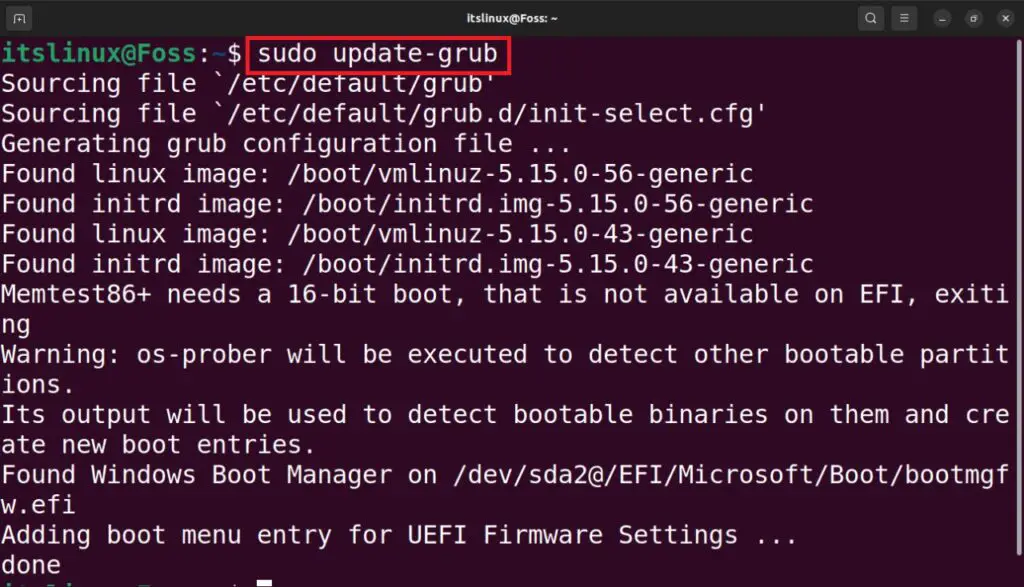
Step 4: Reload the Grub-update
To update the changes in the grub configuration file, we have to run the command:
$ sudo update-grub
Step 5: Reboot the Computer
After updating the GRUB, restart the computer:
$ sudo reboot
When the computer is restarted, you can see that the “Windows Boot Manager” is set to the first position and will boot by default:

Method 2: Installing the grub-customizer
Another method to make the Windows boot default by changing the Grub boot order is the installation of the grub-customizer. The grub-customizer is used in Linux to manage the grub orders and the computer’s partitions.
Step 1: Add the PPA Repository
We can install it by adding the official PPA repository of Grub-customizer:
$ sudo add-apt-repository ppa:danielrichter2007/grub-customizer

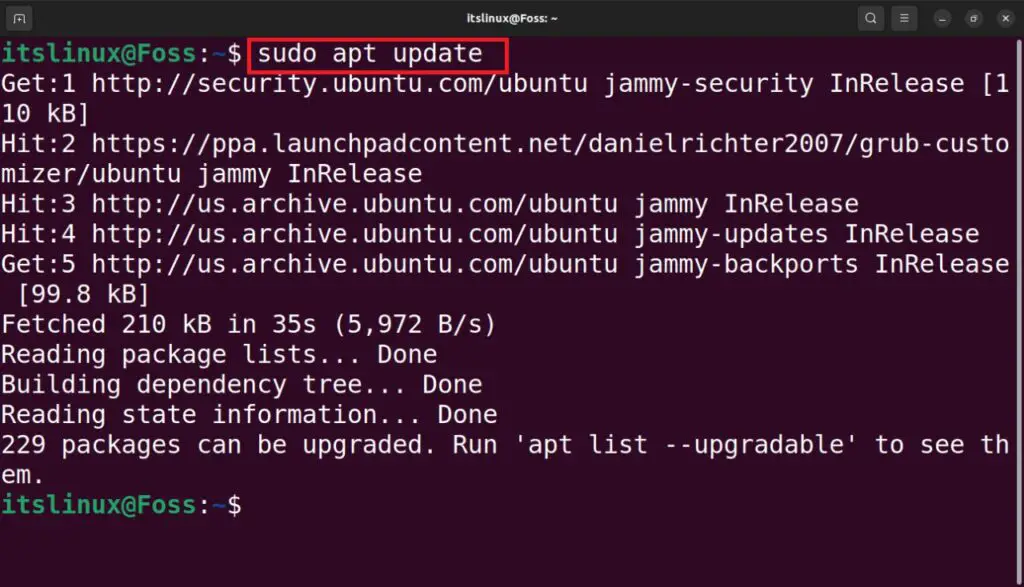
Step 2: Update the Packages
After adding the repository of the grub-customizer, update all Ubuntu packages:
$ sudo apt update
Step 3: Install grub-customizer
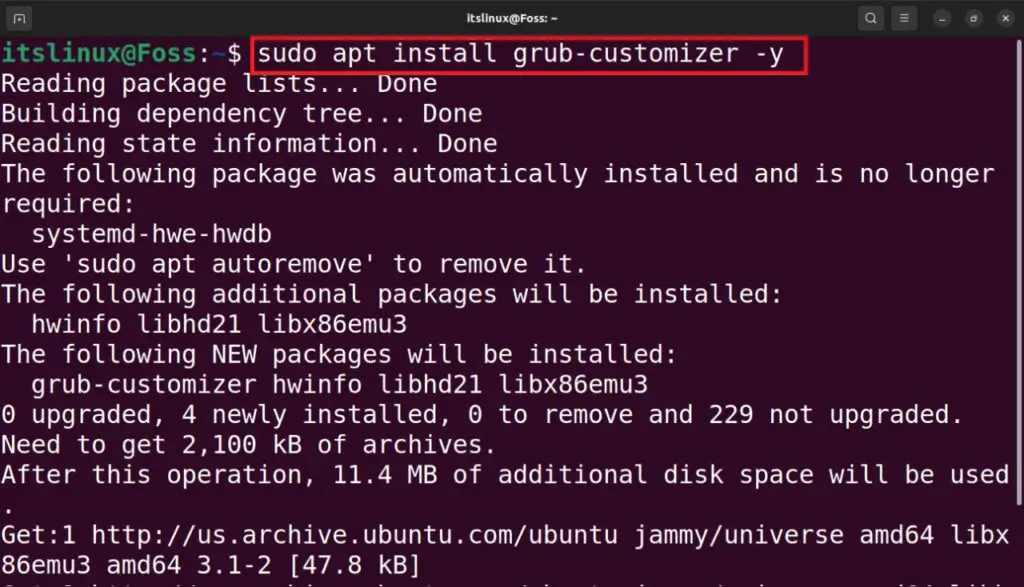
Now, its time for the installation of the grub-customizer with the apt package manager:
$ sudo apt install grub-customizer -y
Step 4: Launch the grub-customizer
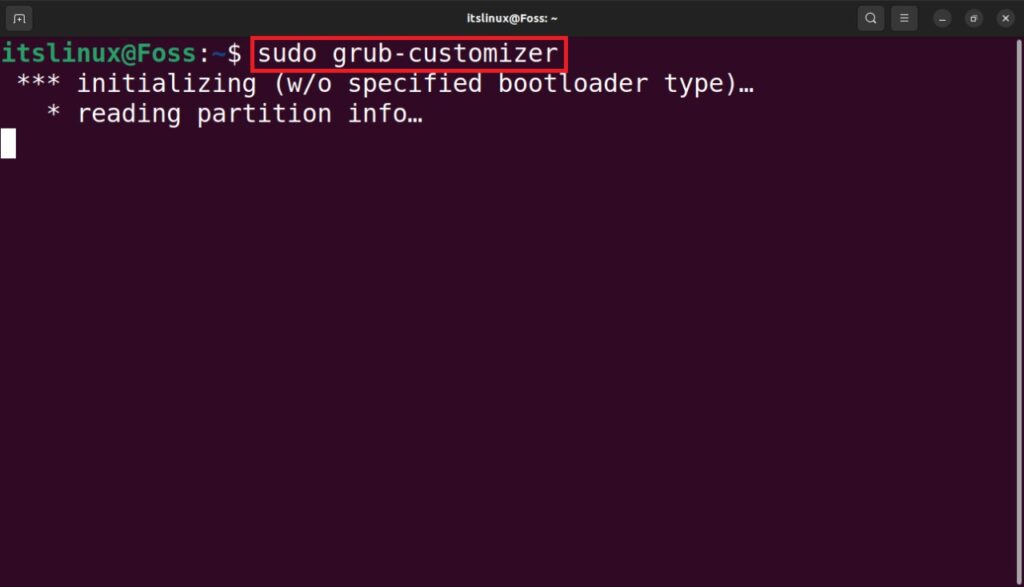
After the installation is completed, launch the grub-customizer:
$ sudo grub-customizer
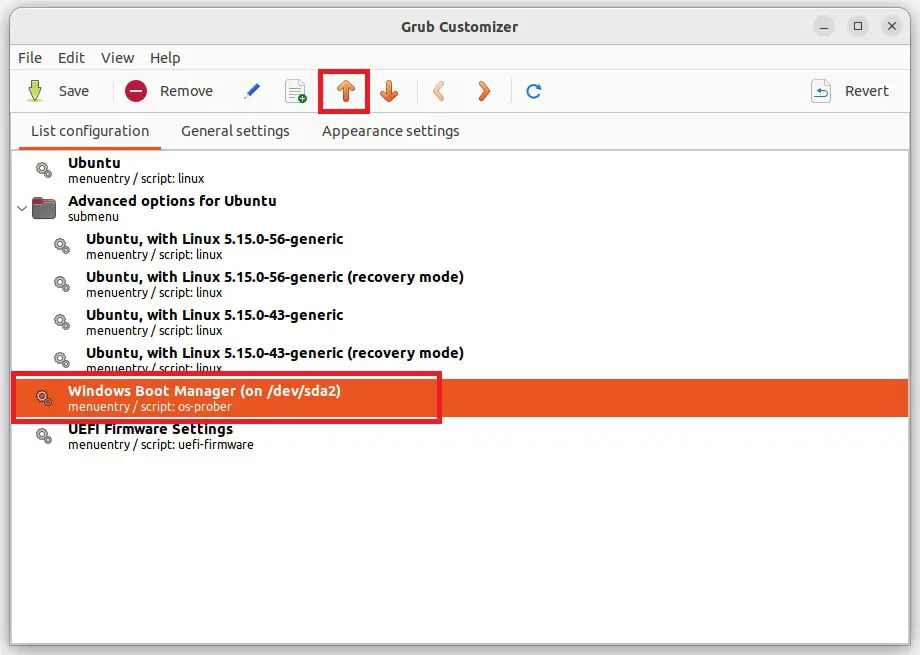
Step 5: Change Grub Boot Order
The grub-customizer is launched and then click on the “Windows Boot Manager” and with the upward arrow, move it to the top of the menu:
Now, click on “Save” to save the boot order of the Grub:
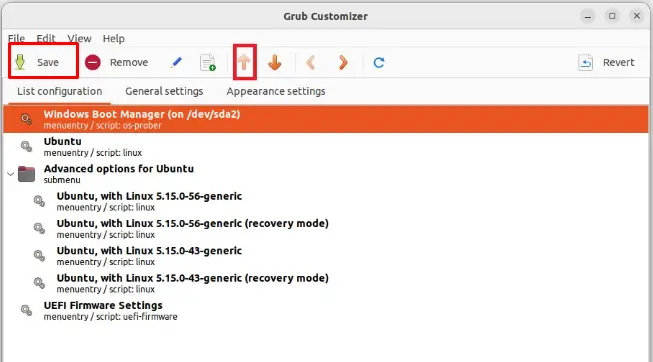
Then restart the computer, and you will change the grub boot order has been changed as well the “Windows Boot Manager” is set to boot by default:

That’s how you can change the GRUB boot order.
Conclusion
To change the boot order and make the Windows default, run the command “sudo nano /etc/default/grub” and change the value of GRUB_DFAULT. Another method of changing the Grub boot order is to install the grub-customizer. This post has briefly described the methods to change the Grub boot order.
