RealVNC Viewer is a cross-platform program to control/manage the machines through computers/mobiles, remotely, i.e., VNC: Virtual Network Computing. It connects you to the remote machine, through the VNC Viewer program. VNC Viewer is well-known for its usability and portability. It offers features such as screen sharing, multiple monitor support, real-time collaboration, privacy of your data, and much more.
Because of its extensive features and cross-platform support, RealVNC Viewer is well-liked by Linux/Ubuntu users. This post will guide you through the installation and usage of RealVNC Viewer on Ubuntu 24.04 and other Linux distributions.
Outline:
- How to Install RealVNC Viewer on Ubuntu 24.04 and Other Linux
- How to Install RealVNC Viewer on Arch-Based Distros
- How to Use RealVNC Viewer on Ubuntu and Other Linux Distributions
- How to Remove RealVNC Viewer From Ubuntu 24.04 and Other Linux
- Bottom Line
How to Install RealVNC Viewer on Ubuntu 24.04 and Other Linux
RealVNC installable package files are available on their Official Website. For Ubuntu/Debian and their derivatives, you need to get the “.deb” and the “.rpm” packages for the RHEL/Fedora-based distributions. Perform the below steps to install RealVNC Viewer on Ubuntu 24.04 and Other famous Linux distros.
Step 1: Download the Package File
Navigate to the Downloads Page and get the package file as per your Linux distribution. Here, we are downloading the “.deb” file:
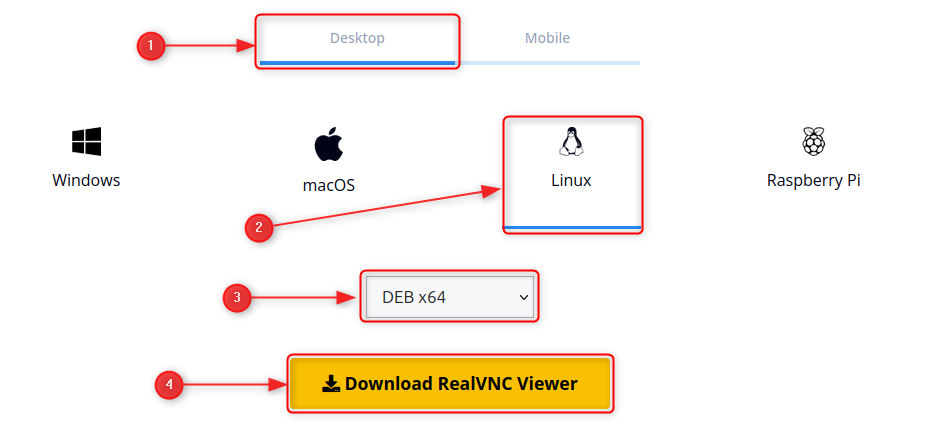
Note: You can choose the various packages available in the dropdown list.
Step 2: Install VNC Viewer | For Ubuntu and RHEL Based
Use the appropriate package manager (as per the package file) and install the VNC viewer. For instance, the “apt” package manager is used to install the “.deb” files:
sudo apt install <package/path/.deb>

Similarly, to install the RealVNC Viewer from the “.rpm” package (for RHEL and Fedora-based distributions), you can use the below command:
sudo dnf install <package/path/.rpm>
Step 3: Verifying the Installation | Launching the VNC Viewer
You can check it out in the applications menu and launch it to ensure that RealVNC Vieweris installed correctly:

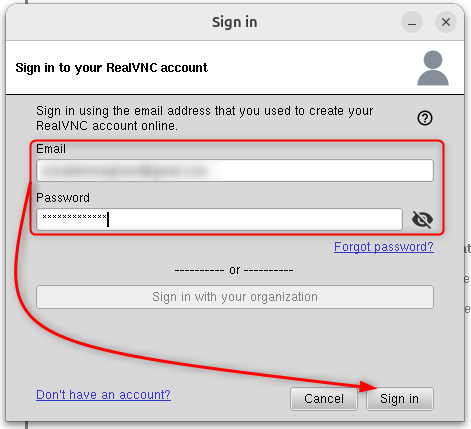
You need a bit of initial setup (RealVNC account sign-in) to start using it, as can be seen below, i.e., you must have the RealVNC account, if not, you need to create it to get started with the RealVNC Viewer:

We used the email and password to sign it, i.e., you can create the account instantly by clicking on the “Don’t have an account?” and proceed with the on-screen instructions to complete the set-up:
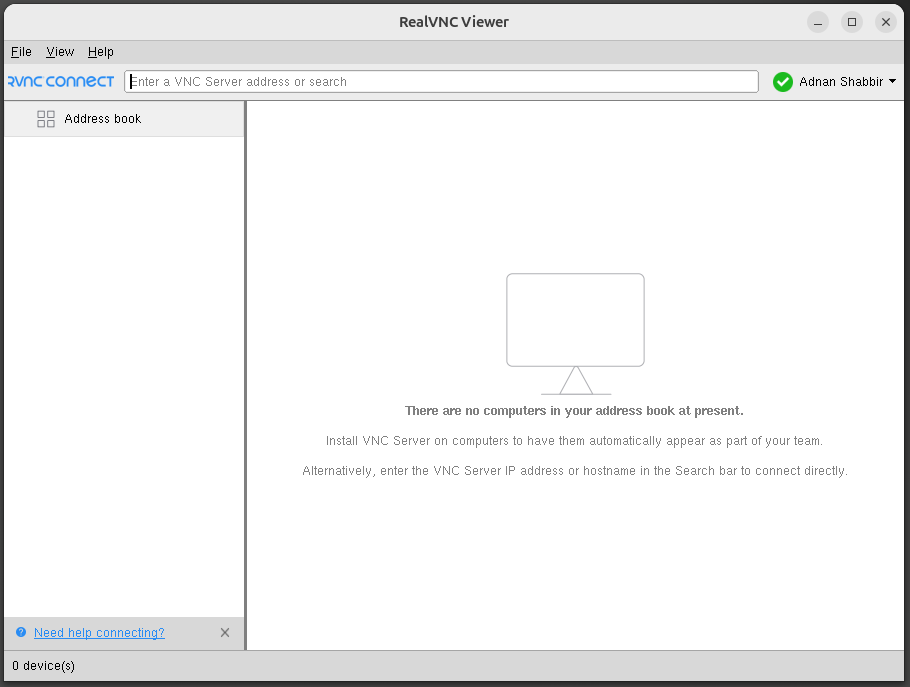
And here is the interface of the RealVNC Viewer:
This method refers to only Ubuntu/Debian and RHEL-based distros. Let’s learn how it is installed on the Arch-based distributions:
How to Install RealVNC Viewer on Arch-Based Distros
The VNC Viewer’s installation is different for Arch-Based distributions. VNC Viewer is available on the “Arch User Repository” for Arch-based users. This AUR is accessed using any AUR helper, i.e., package managers for AUR.
Follow the below steps to learn how VNC Viewer is installed on Arch Linux:
Step 1: Get Any AUR Helper
Tens of AUR Helpers are available. Here we are installing “yay” using the following commands (run them in sequence):
sudo pacman -S --needed base-devel git
git clone https://aur.archlinux.org/yay.git
cd yay
makepkg -si
Step 2: Install RealVNC Viewer
Now, use the following command to install RealVNC Viewer from the AUR:
yay -S realvnc-vnc-viewer
Now, you have learned to install RealVNC Viewer on all the famous Linux distros. Let’s explore its usage.
How to Use RealVNC Viewer on Ubuntu and Other Linux Distributions
As discussed, VNC Viewer provides the connection feasibility to a VNC Server. Before you start using the VNC Viewer, the VNC Server must be configured on your remote machine. If the Server is configured, just follow the below steps to connect to a remote machine via the VNC Viewer:
Step 1: Create a New Connection
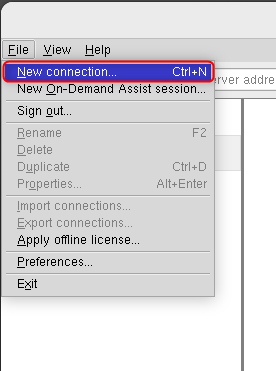
Open the RealVNC Viewer and click on the “File” and select “New connection”:
Enter the IP Address of the VNC Server and a general name (to be used by your VNC Viewer):

Step 2: Establish a Connection
Now, navigate to the address bar and search the newly set connection using its name, i.e., “linuxgenie-kali” in our case:

A prompt appears asking you to enter the password, i.e., set while configuring the VNC Server:

And you will be connected to your remote machine, as our Kali system is now accessible from the Ubuntu’s VNC Viewer:

That’s how you can use the RealVNC Viewer to connect to the remote machine.
Tip: How to Install RealVNC Connect (RVNC) on Ubuntu 24.04 and Other Linux
Instead of installing the Server and Viewer, you can directly get the RealVNC Connect (RVNC). The RVNC carries both the server and the viewer. Thus, it is more beneficial instead of installing the server and client/viewer separately. The VNC Viewer is also backed up by the RealVNC Connect. However, it is disturbed separately, if installed separately. Here’s the installation
Step 1: Download the VNC Connect Package File
Open the Official Website and download the VNC Connect app setup for Linux:
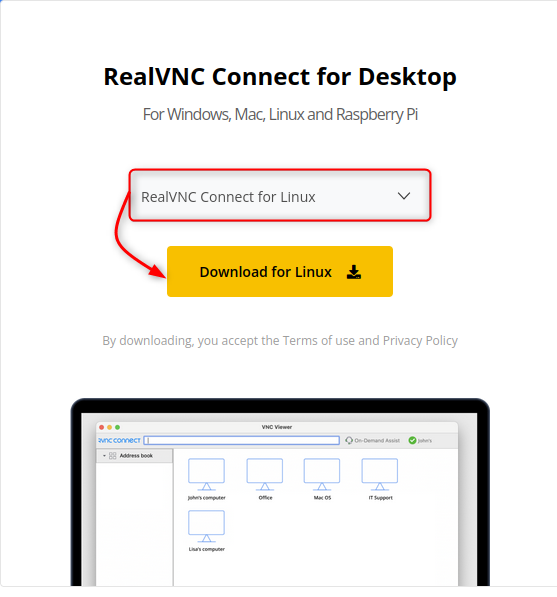
Step 2: Extract the Files and Make it Executable
The downloaded file is in “tar.gz” format, you need to extract it using the “tar” command:
sudo tar -xf <File-Name>

The extracted file is not executable by the user. Grant the execution permissions to the user/group using the “chmod” command:
sudo chmod ug+x <File-Name>

Right now the executable can only be accessed by using the complete path of it. To make it system-wide available for the current user, create its symbolic link in the “/usr/bin” directory, as we did here:
| sudo ln -s <path/of/executable> /usr/bin/new-executable |

Now, the executable can be launched from any location (for the current user).
Step 3: Launch VNC Connect Setup | Install VNC Viewer and Server
Once the Setup file is made executable, you can run the file (newly made executable in Step 2) from the terminal. The launcher will further lead you to install the Server and Viewer, automatically:
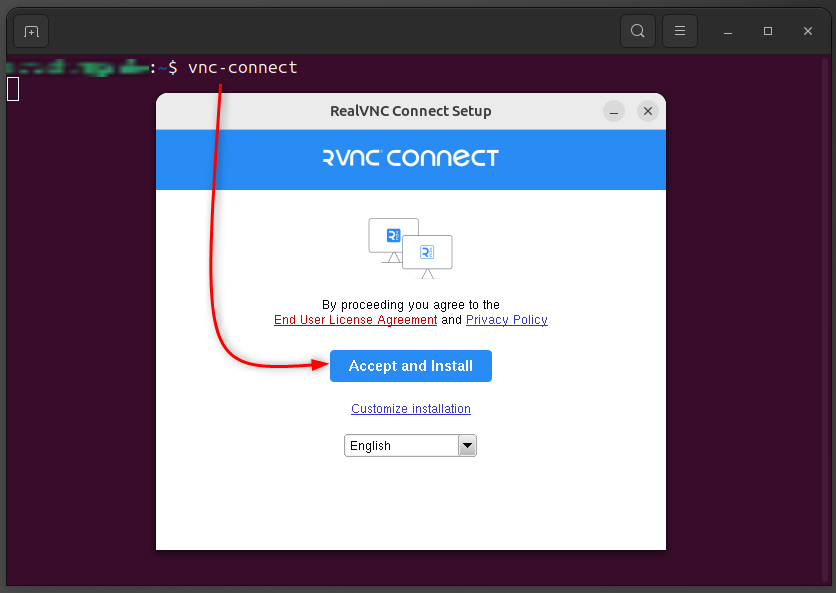
User authentication is required to setup VNC Connect:

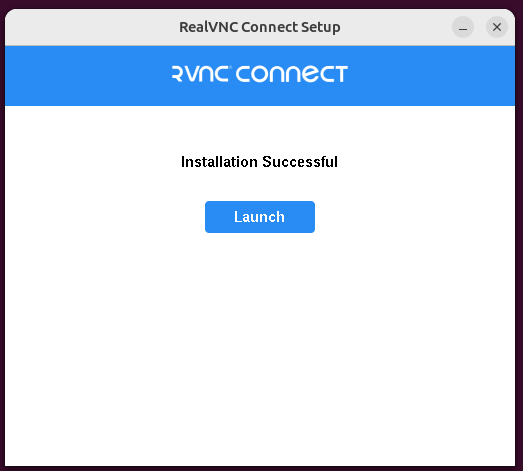
Meanwhile, the VNC Viewer and Server will be installed and the VNC Connect is ready to launch:
This will create GUI instances of the VNC Viewer and Server which can be viewed from the applications menu, as shown below:
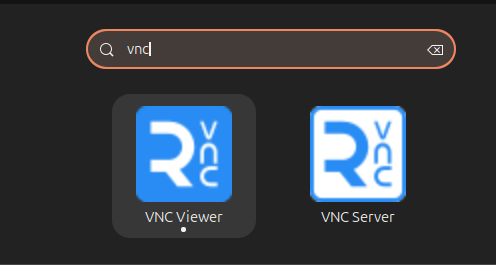
Note: The GUI instance of the Server is just to start the server, nothing else. However, Viewer can be used, as we described in the “How to Use” section.
How to Remove RealVNC Viewer From Ubuntu 24.04 and Other Linux
You need to identify which method you followed for installation. For instance, “apt” for Ubuntu/Debian, “dnf” for Fedora/RHEL, and AUR helper for Arch-Based distros. Here are the steps to remove RealVNC Viewer from Ubuntu 24.04 and other Linux distros.
sudo apt autoremove real-vnc-viewer             #Ubuntu/Debian
yay -R realvnc-vnc-viewer                       #Arch/Manjaro
$ sudo dnf remove real-vnc-viewer               #Fedora/RHEL
That’s how to deal with RealVNC Viewer on Ubuntu 24.04 and other famous Linux distros.
Bottom Line
To install RealVNC Viewer on Ubuntu 24.04, download the “.deb” package file and use the “apt” or the “dpkg” command(s) to install RealVNC from that downloaded file. Similarly, you can install it for the RHEL/Fedora-based distros.
This post has listed the way to install RealVNC Viewer on Ubuntu 24.04 and other popular Linux distros.
