The increasing competition between the operating system makes the developers create new functionalities, ultimately resulting in the dual boot of different OSs. it is the same case with Ubuntu and Windows. What if you want to access the files from Windows while the system is booted in Ubuntu, and no disk is showing in the “Other Locations” directory? It is possible to access Windows files from Ubuntu.
This guide explains how users can access Windows files from Ubuntu in dual-boot.
- Why do we Need to Access Files of Windows From Ubuntu?
- Why can you not Access Windows Files From Ubuntu?
- Access Windows Files From Ubuntu
Why do we Need to Access Files of Windows from Ubuntu?
While working on Ubuntu, there is a good chance that you might need a file from Windows. That file could be text, audio, video, or other file types. For example, a user must restart the system, boot into Windows, send a file, and reboot into Ubuntu. It is a bad practice to follow and highly inappropriate.
To get rid of this problem between the operating systems, Ubuntu supports FAT, FAT32, NTFS, and many other file systems through which the users can access the files of Windows from Ubuntu.
Why Can you not Access or View the Windows Files From Ubuntu?
You cannot access Windows files from Ubuntu because the disk(s) in which the Windows is installed is not mounted on the system.
The mounting, in simple words, is the ability of the operating system to make the disks or media accessible through the current file system of the computer. For example, Linux does support all the file systems used on Windows, which isn’t the same as Windows as it does not support major Linux file systems such as ext, ext2, ext3, ext4, and others.
How to Access Windows Files From Ubuntu?
While using Ubuntu, there are a few steps to be followed to access Windows files:
Step 1: Install NTFS-3G
The NTFS-3G is a driver for handling NTFS (used in Windows) file systems. It has features and can be used on Linux, macOS, FreeBSD, Android, and many other operating systems. To install it, use this command:
$ sudo apt install ntfs-3g
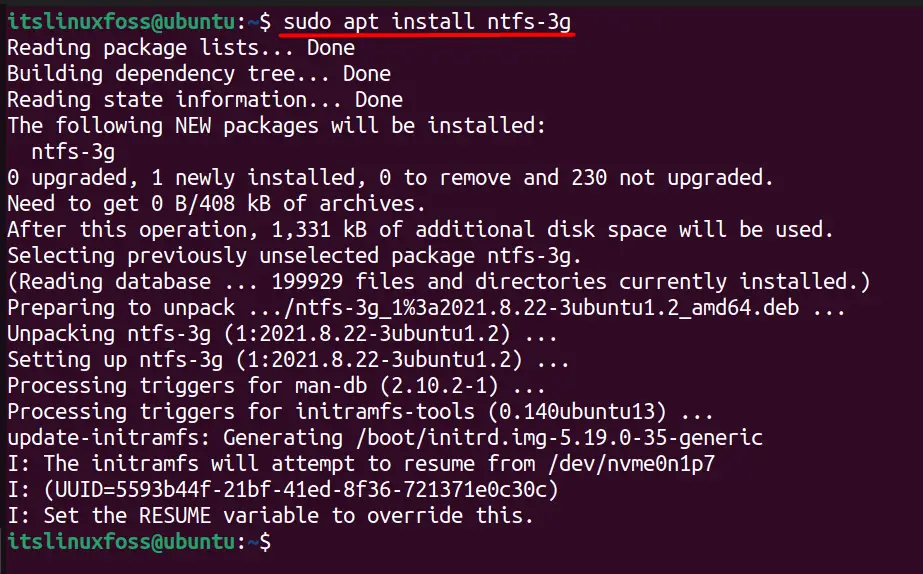
The above image confirms the installation of NTFS-3G on the system.
Step 2: List the Partition Tables
By the use of fdisk command and “-l” flag, let’s list the disk as in this format:
$ sudo fdisk -l
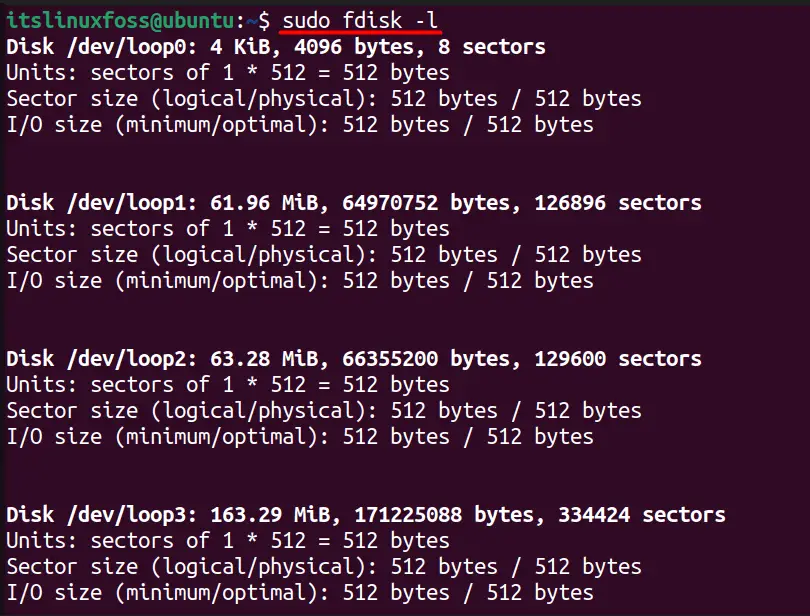
The fdisk command is used to create, manipulate, and display the partition tables, scroll down to view the
more readable results, such as below:
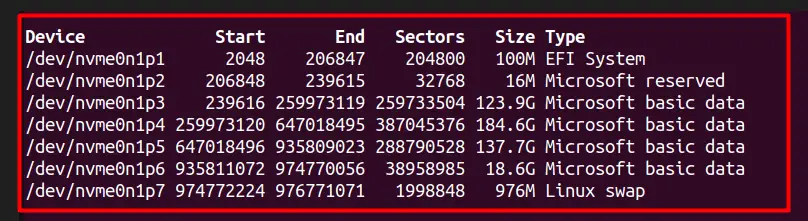
Note: The above image is a result of dual-boot, and the results can be different whether you have a different hard drive or using Wmware.
From here, note down the disk you want to mount/access. Let’s say it is “/dev/nvme0n1p4” in this case.
Step 3: Install gparted to Check if the Disk is Mounted or not
The gparted is a free GUI-based tool that can do multiple operations on the disk, including creating, deleting, resizing, growing, shrinking, and much more. It can also check whether the disk is mounted on the system. Use this command to install it:
$ sudo apt install gparted
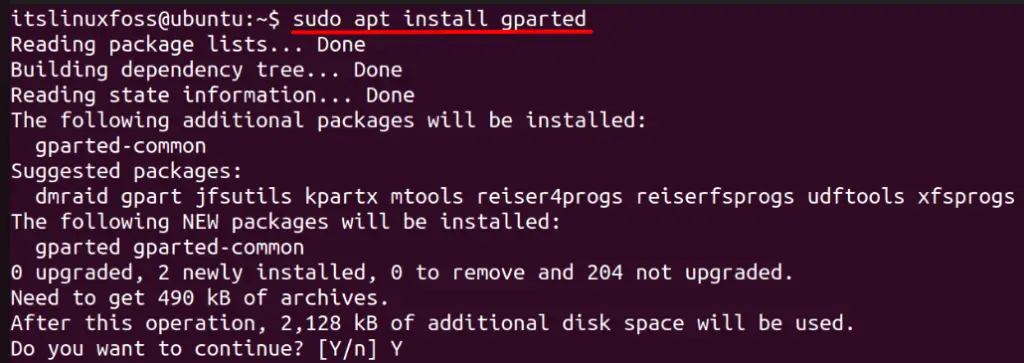
After entering “Y,” the installation process will continue.
Let’s open the gparted using this command, and it will ask for the user password:
$ gparted
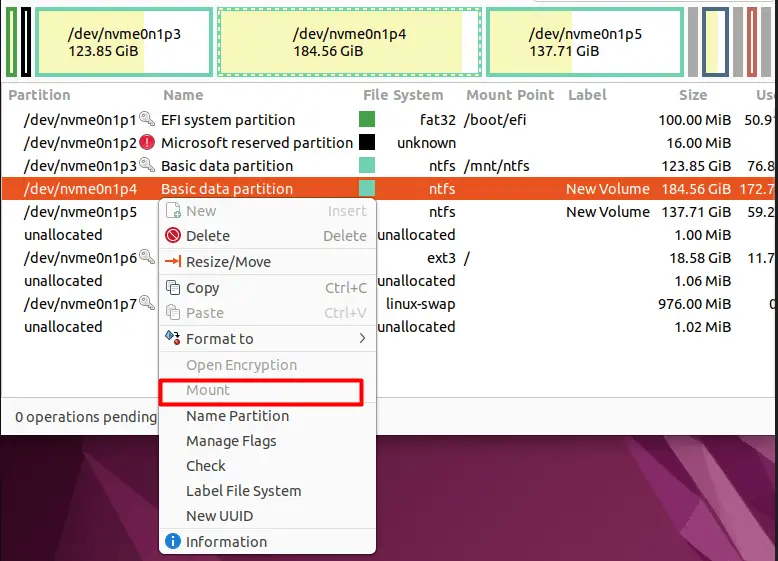
By looking at the above image, it is evident that the disk is not mounted, and the mount point isn’t created where it can be mounted.
Step 4: Create a Mount Point
The mount point is a directory of a file system linked to another (logically). First, create a new directory in the “/mnt” directory:
$ sudo mkdir /mnt/ntfs

When the above command is executed, a new directory ntfs will be created in /mnt folder.
Step 5: Mount the Disk
When the mount point is created, use this command to mount the disk:
$ sudo mount -t ntfs-3g /dev/nvme0n1p4 /mnt/ntfs

Here is the breakdown of the above command:
- The “mount” invokes the mount command.
- Flag “-t” limits the set of filesystem types.
- The “ntfs-3g” userspace NTFS driver for Linux that is used with the mount command in the disk mounting.
- /dev/nvme0n1p4 is the name of the disk to be mounted.
- /mnt/ntfs is the location on the Linux system where the disk has mounted.
The disk (where Windows is installed) is now mounted on Ubuntu, and users can access the Windows file from Ubuntu.
Step 6: Check the Mounted Disk
To access the mounted disk, using the cd command and the ls -l command to list files is recommended:
$ cd /mnt/ntfs
$ ls -l
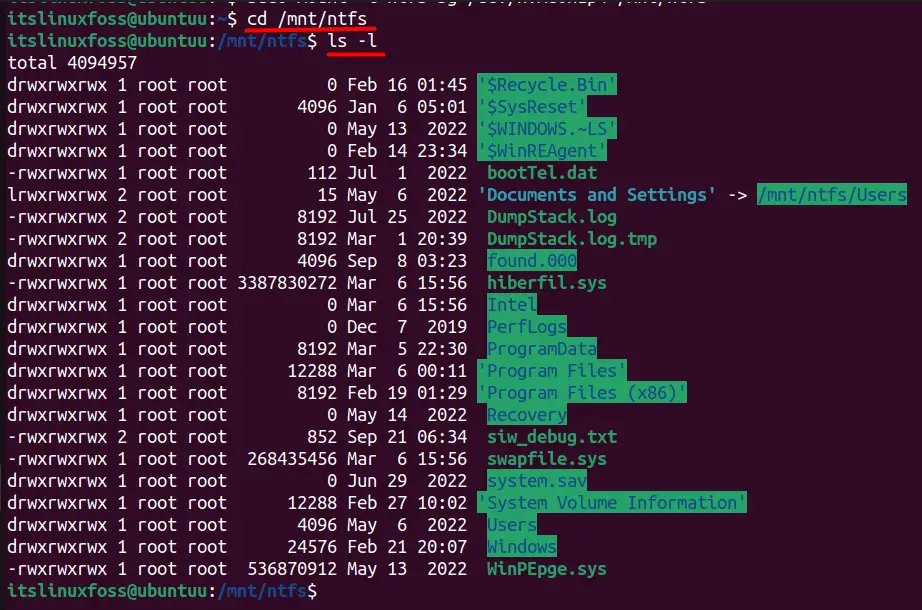
The listed files indicate that the Windows files can now be accessed.
Conclusion
To access Windows files from Ubuntu, the disk where the Windows is installed needs to be mounted. Although all the disks are mounted by default from Ubuntu (18.04) LTS (Bionic Beaver), in some cases, it is not, so ntfs-3g, along with the mount command, is used to mount the unmounted disks in a mount point.
This guide has shed light on how users can access Windows files from Ubuntu.

Saryia is a technology entrepreneur and digital publisher specializing in Linux, open-source technologies, and developer education.