
Linux provides very efficient features to its user, one of them is the use of the groupadd command. The groupadd command is used to create different groups in Linux, in which you can add multiple users and assign them the permissions of writing, reading, and executing the different files.
If we are working in a huge network with multiple users, we have to distribute different responsibilities among these users, for example to some users we will grant the permissions of editing the files so we need to give them editing permissions, and likewise, to some users, we want to test the files so we have to grant them file execution permissions.
Granting each user permissions of files is quietly hectic so a better approach is this make the groups of the users and assign them the permissions collectively. In this write-up, we will explain the utilization of the groupadd command to create groups in Linux.
How to create new groups using the Groupadd command in Linux
The groupadd command is used to create new groups in Linux, Linux has the capacity of handling 1000 to 60000 groups, which means 1 will be the root user and the other 999 will be system users. These users have unique ids which are known as the UID, the groups have the GIDs and the list of GIDs is available in the login.defs file.
The root users and the system users who have access to the “sudo” command can use the groupadd command to create the new groups. The general syntax of using the groupadd command for creating groups:
$ groupadd [option] [group name]The explanation to the general syntax of the groupadd command is as it uses the two parameters; one is the options for some specific purpose and the other one is groupname. The options which can be used the groupadd command:
| Options | Explanation |
| -f | This is used to forcibly create the group |
| -g | It is used to assign the GID of your own choice |
| -K | It is used to assign a GID by giving it a specific range from minimum to maximum |
| -o | It is used to assign a non-unique GID to the group |
| -p | It is used to secure the group by setting a password for it |
| -h | It is used to display detailed information using by opening its help menu |
To understand the usage of the groupadd command and these options, we will create some groups in Linux. First, we will create a simple group with the name “myGroup” without using any options:
$ groupadd myGroup
As we discussed earlier, either the root user can use the groupadd command or system users who have access to the sudo command else it will generate the error as displayed in the above output. Now we will use the sudo command with the groupadd command:
$ sudo groupadd myGroup
The group, myGroup, has been created successfully, to confirm this, we will use the tail command to display the last ten lines of the file, /etc/group because the newly created groups are placed in the last:
$ sudo tail /etc/group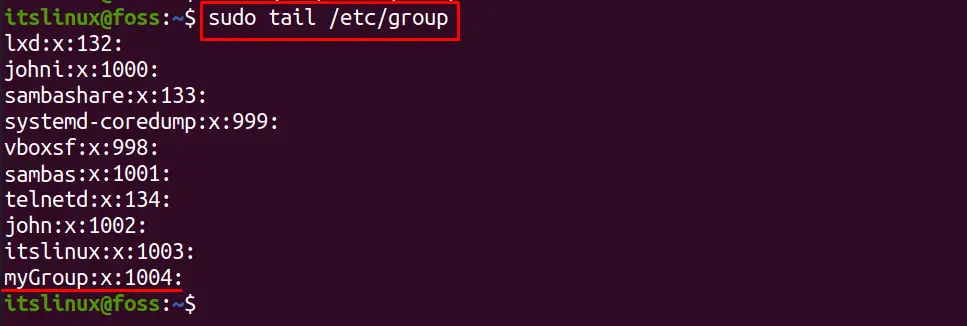
The group has been created with the GID 1002, now we will create a new group with the same name using the groupadd command:
$ sudo groupadd myGroup
The error has occurred of “group ‘myGroup’ already exits”, to ignore this error and forcibly execute the command of groupadd with the same name we will use the “-f” option in the command:
$ sudo groupadd -f myGroup
We have observed that on creating the group, it has been assigned with the GID by default. To assign the GID of our own choice, we will use the “-g” flag with the groupadd command:
$ sudo groupadd -g 1010 myNewGroup
To verify the execution of the command, use the command:
$ sudo tail /etc/group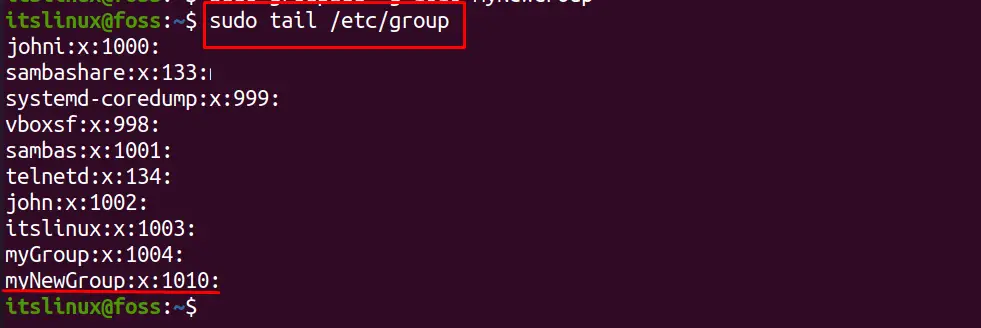
The “myNewGroup” has been created with the GID “1010”, we have also discussed that the GID should be in the range of 1000 to 60000, so if we want to assign a GID from the range of 10000 to 20000, we will use the “-K” flag:
$ sudo groupadd -K GID_MIN=10000 -K GID_MAX=20000 mygroup1
To check the GID of “mygroup1”, run the command:
$ sudo tail /etc/group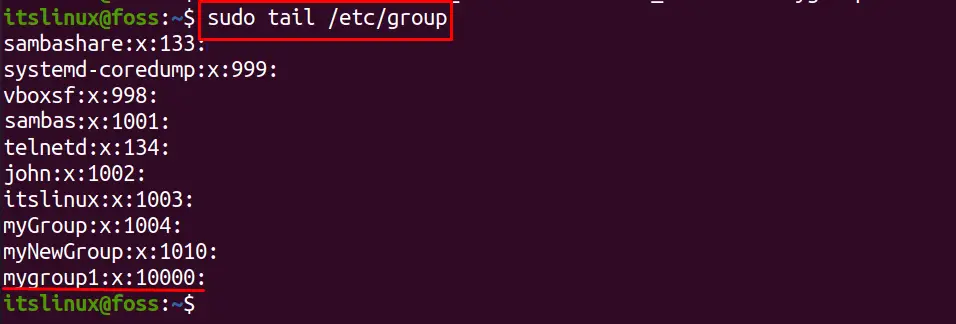
Similarly, if we want to assign any group the same GID which is already been assigned, we use the “-o” flag, let us say, we want to assign 1010 to mygroup2:
$ sudo groupadd -og 1010 mygroup2
For the validation of the above-executed command, use the command:
$ sudo tail /etc/group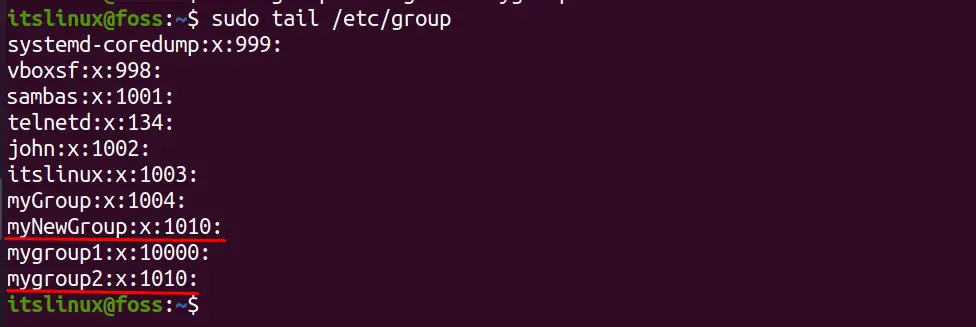
In the output, we can notice that both groups; myNewGroup and mygroup2, have the same GID, 1010. To secure the access of the groups, we can protect them by assigning them a password, for this purpose, we will use the “-p” flag and them type the password. Let us create a group mygroup3 and assign it a password, ”mypassword”, we will use the command:
$ sudo groupadd -p mypassword mygroup3
If we need to know more information about the groupadd command, we can use its help by using the “-h” flag:
$ sudo groupadd -h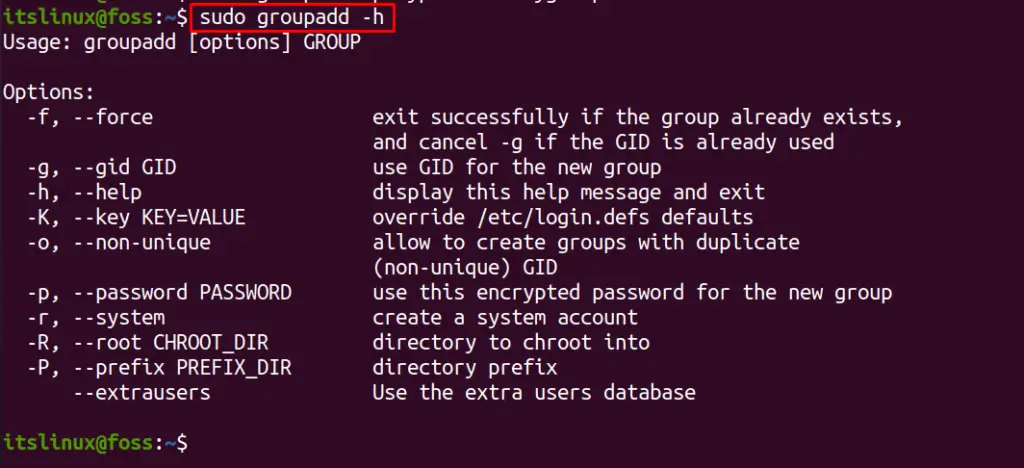
Conclusion
The groupadd command is used to create new groups in Linux, these users can assign specific permissions by granting the permissions to the groups. It is very useful in huge networks, where multiple users can be granted the same permissions by adding them to a single group. In this write-up, we have discussed the usage of the groupadd command in Linux for creating the groups. We have also explained the usage of its different options with the help of examples.

Saryia is a technology entrepreneur and digital publisher specializing in Linux, open-source technologies, and developer education.